After spending hours, or days, or months…..or years on a piece of embroidery you bet you want to show it off in a great display! A hoop is a standard go-to. But not all pieces look great in a round hoop. Frames to the rescue! Follow along below to learn how to prep your embroidery for mounting in any size frame. For this tutorial, I’m using a planetary series I completed years ago (that also took me a couple years to complete working off and on). Originally, I made some….choices…when I framed them. I was just so excited to get them hung up! I’ve since learned a better method to mount and frame embroidery, and that is what you’ll see step by step below.
Materials
- your fabulous embroidery!
- illustration board or foam core board
- X-acto knife or box cutter
- cutting mat
- ruler
- Wonder clips or clothes pins
- sturdy thread–I recommend using pearl cotton
- mild laundry detergent
- towel
- picture frame large enough for your embroidery (optional, using this mounting method you can hang your embroidery without a frame)
- felt (craft or wool, dealer’s choice!)
- embroidery floss (to match the felt or contrasting)
- Picture frame D-ring or soda can pull tab
- thick hand sewing thread (like Coats cotton or upholstery thread)

Step 1: Prep Your Embroidery
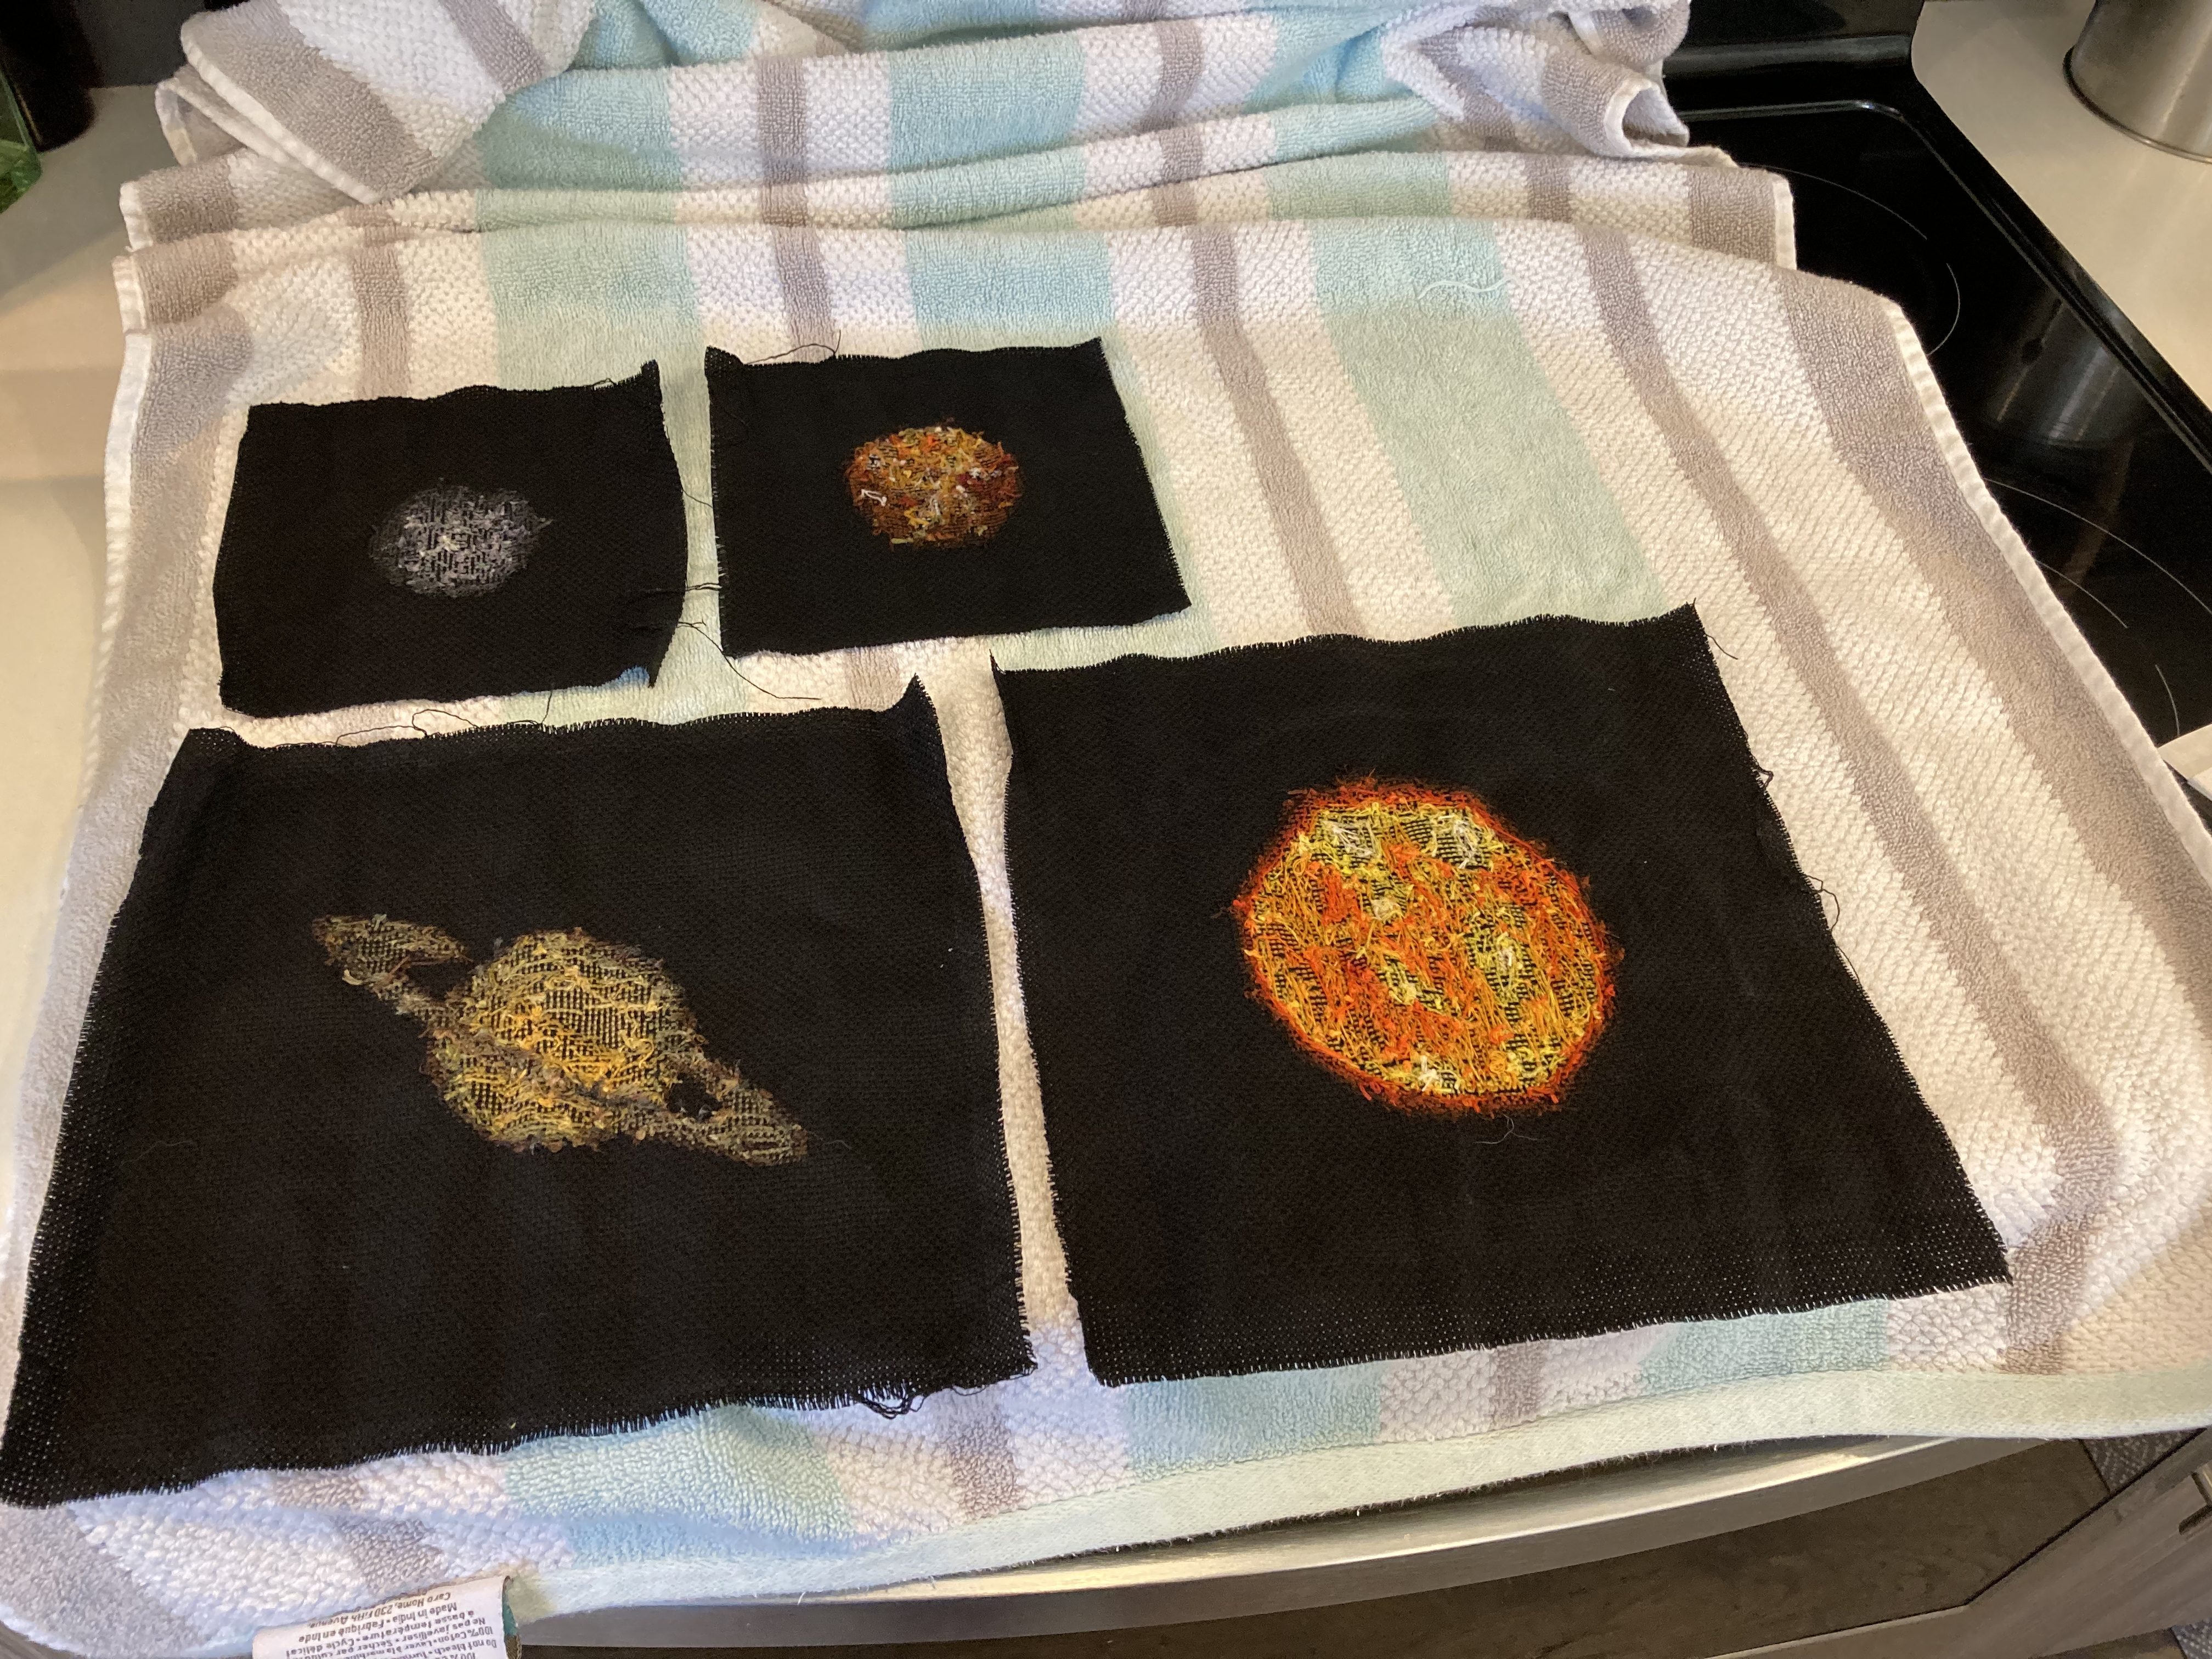
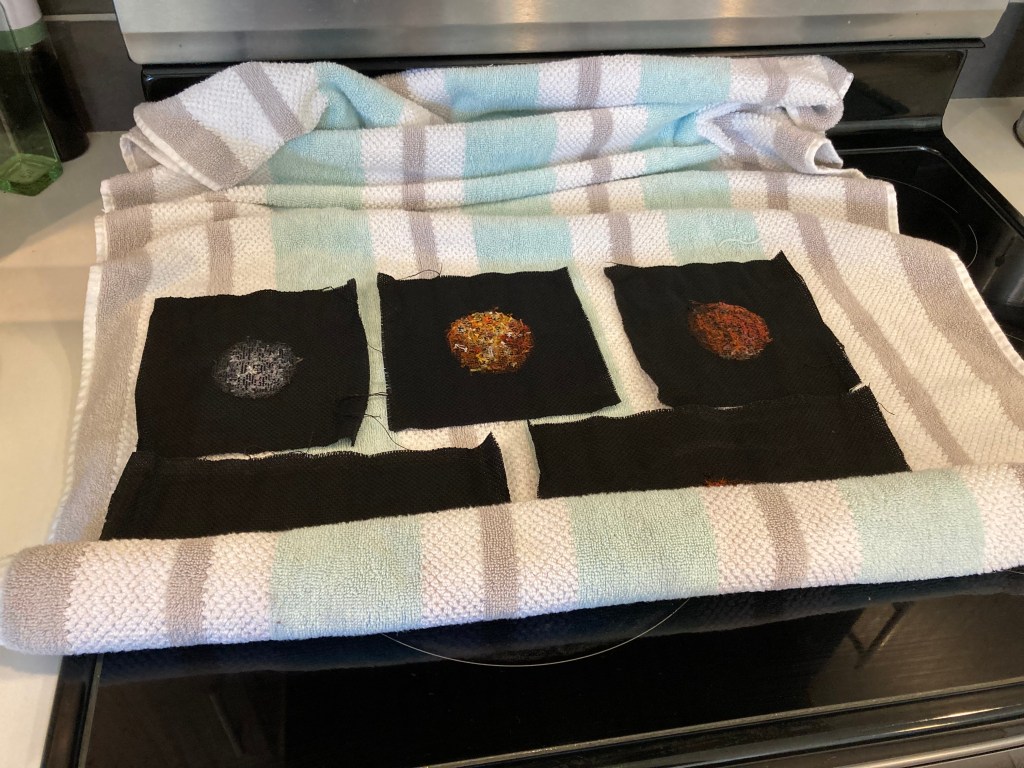
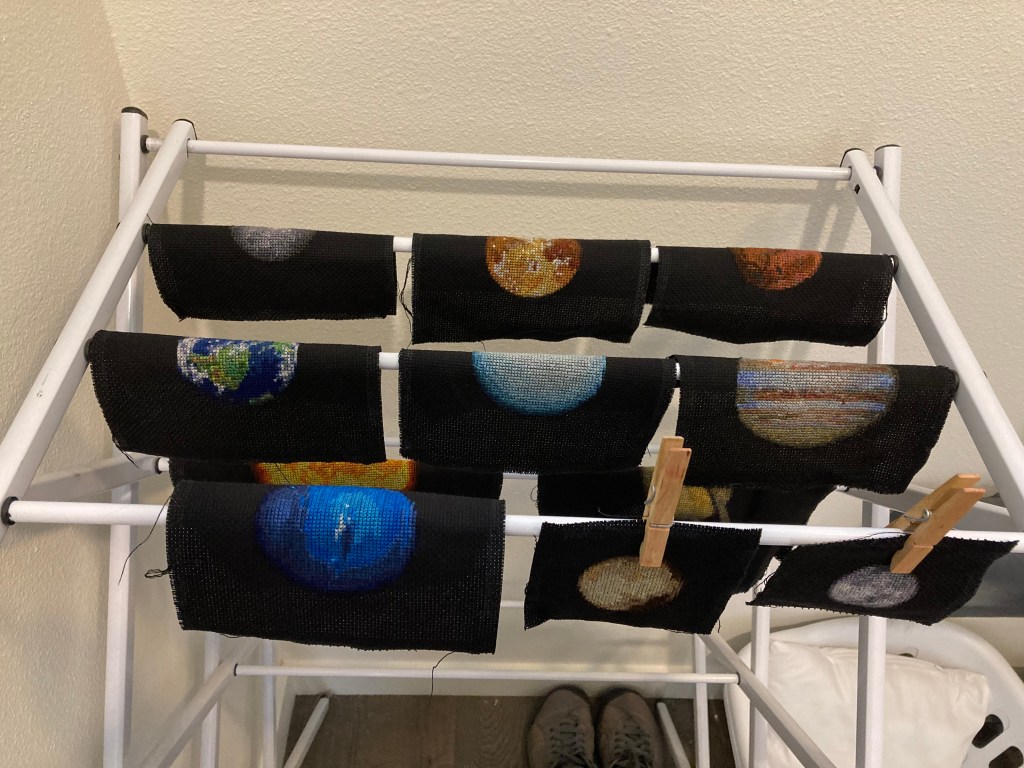
The first step in mounting your embroidery is to wash it to remove any dirt or oils on the fabric from handling it while you were working on it. I use my regular detergent, but a pH-neutral detergent like synthrapol, or a textile detergent used by dyers is also great. Using cool or cold water, add a few drops of detergent–you don’t need much! Because you never know if any of your threads are going to bleed, or in my case, the black Aida cloth, cool or cold water is your best bet to prevent color transfer or bleed. Gently swish your embroidery in the soapy water. If you have a particularly grimy spot, you can gently massage it with your hands or a soft (retired) toothbrush. Run under cold water to rinse. Lay on a towel, and roll it up (like you’re making cinnamon rolls!) and gently press to pull out the excess water. Hang to dry.
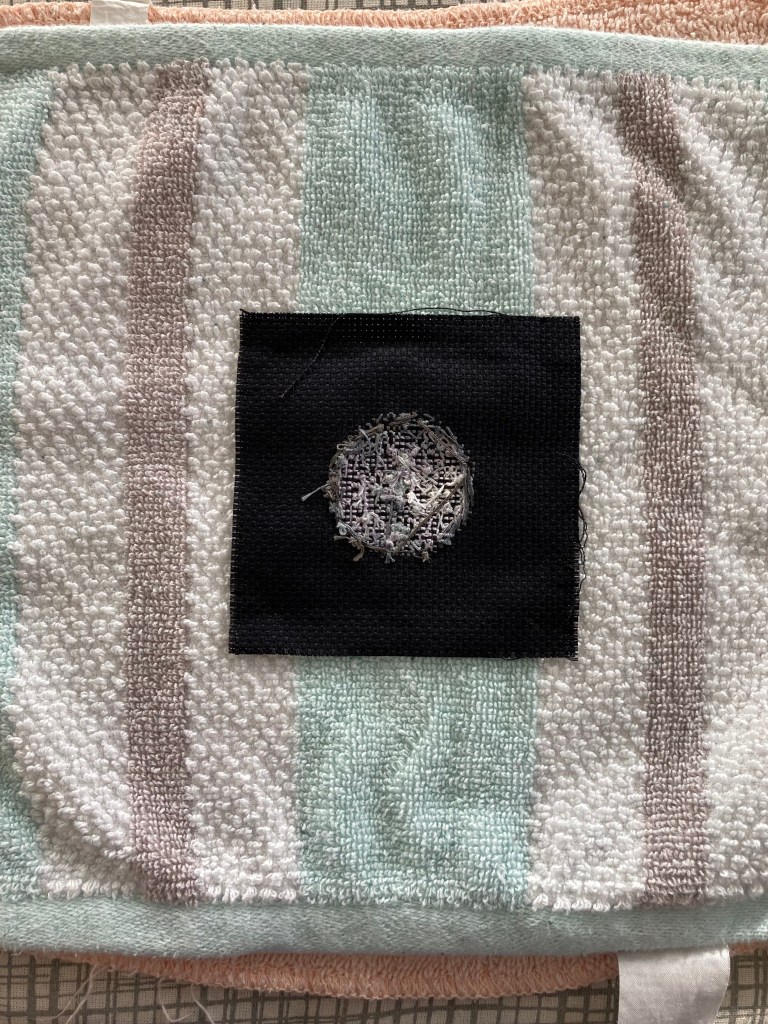
Once your embroidery is dry, you’ll need to iron it to get rid of any wrinkles in the fabric before mounting. Grab a fluffy towel and lay it on your ironing surface–you may even want to fold it over so you have 2 layers of fluff. Lay your embroidery face down on the towel. Place a press cloth or a wash cloth on top, and gently iron (don’t press hard!). Using the loft of the towels helps keep the stitches from being flattened.
On a piece that has a lot of “empty space”, you can use a little steam on the plain fabric to help get rid of any tenacious wrinkles.
Step 2: Prep Your Backing
For backing your embroidery, there are three solid choices: a backing/mounting board, illustration board, or foam core board. Backing/mounting board does have a light adhesive on one side so it can make framing easier, but I personally find it annoying. Foam core is readily available at just about any big box store. The only downside is its thickness–it may be to thick for your frame with the glass. So be sure to take that into account if you go that route. Illustration board is my go-to.
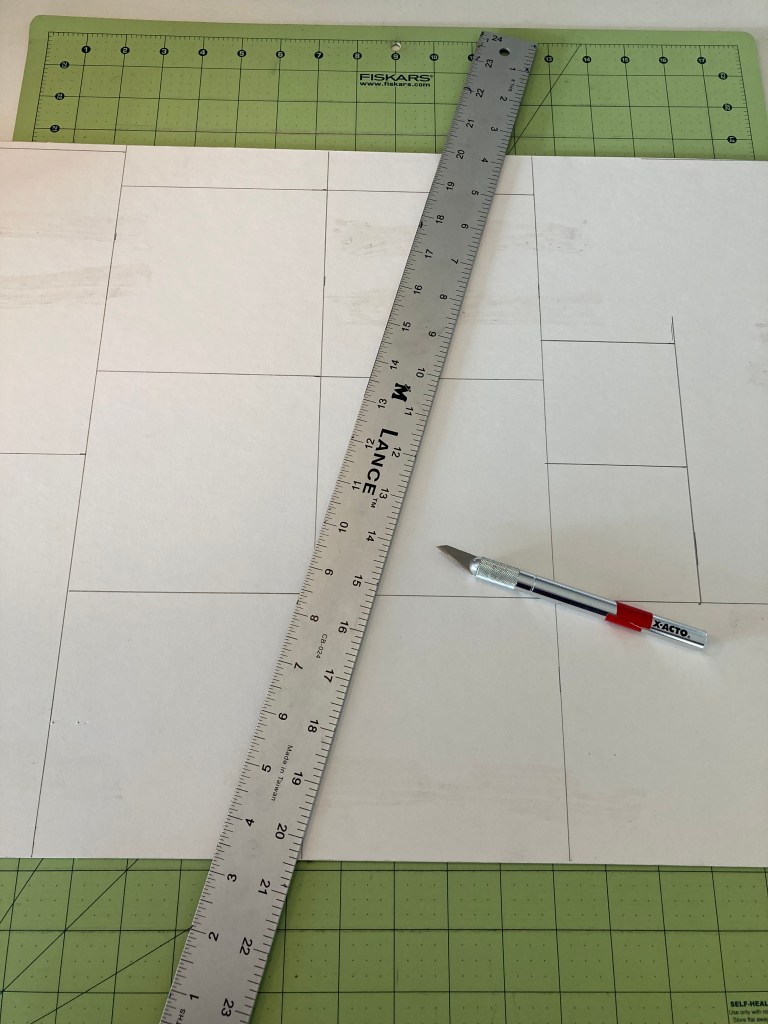
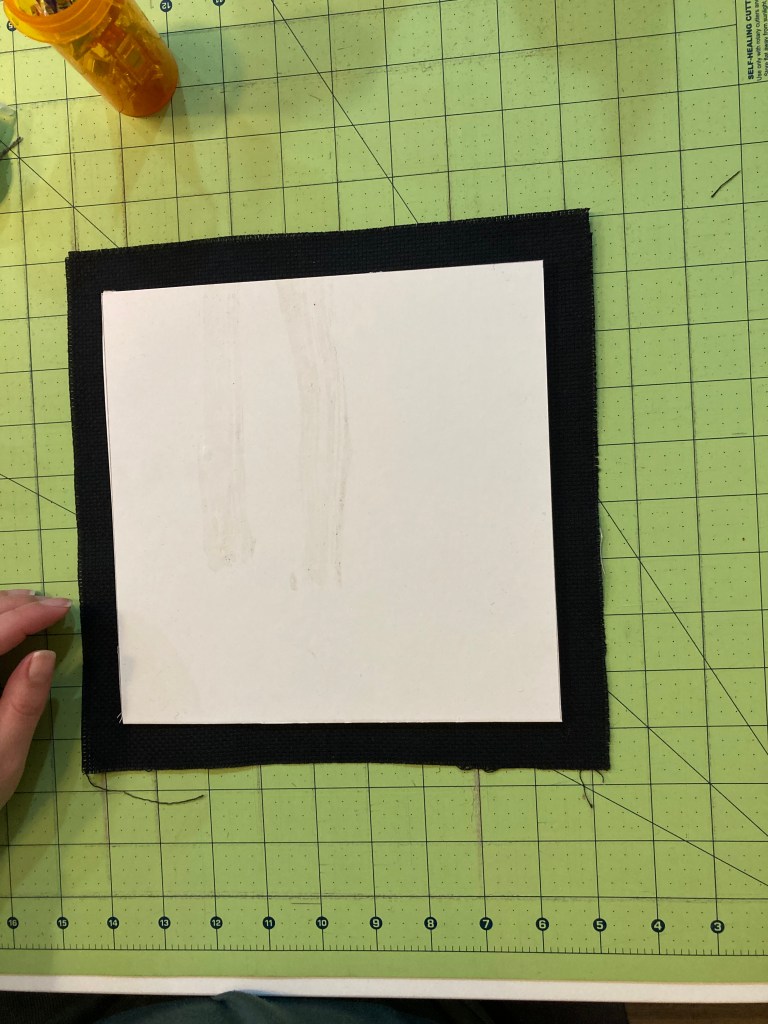
No mater what backing you’re using, you’ll need to cut it down to the side of the back opening of your frame (or your desired finished size if you’re not using a frame). Use a metal ruler and an X-Acto knife to make the precision cuts.
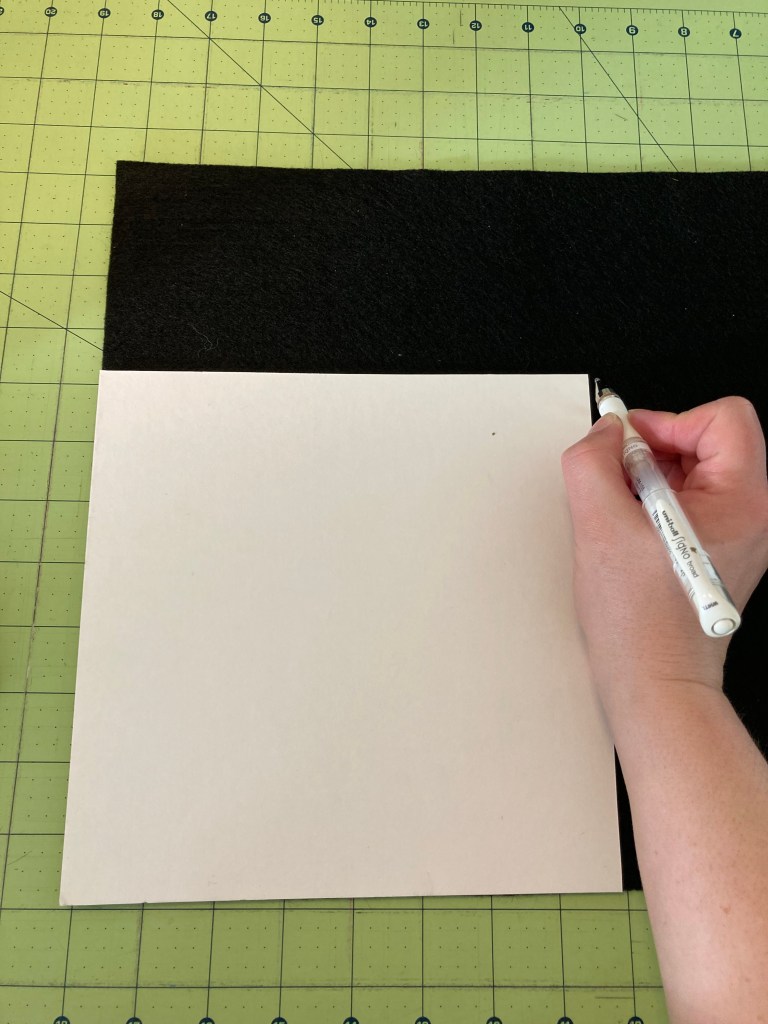
Once you have your backing cut out, you can use it to trace the felt backing. I cut the felt a scant 1/8″ smaller than the traced backing. If your felt is black, metallic or white gel pens make seeing your traced lines super easy!
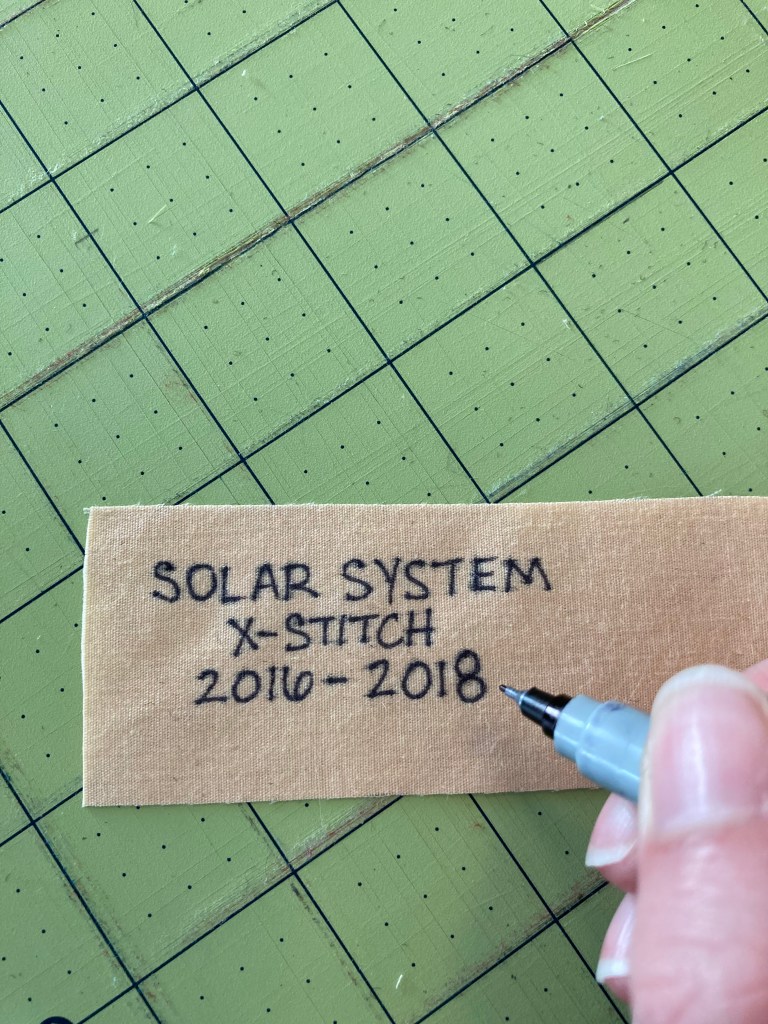
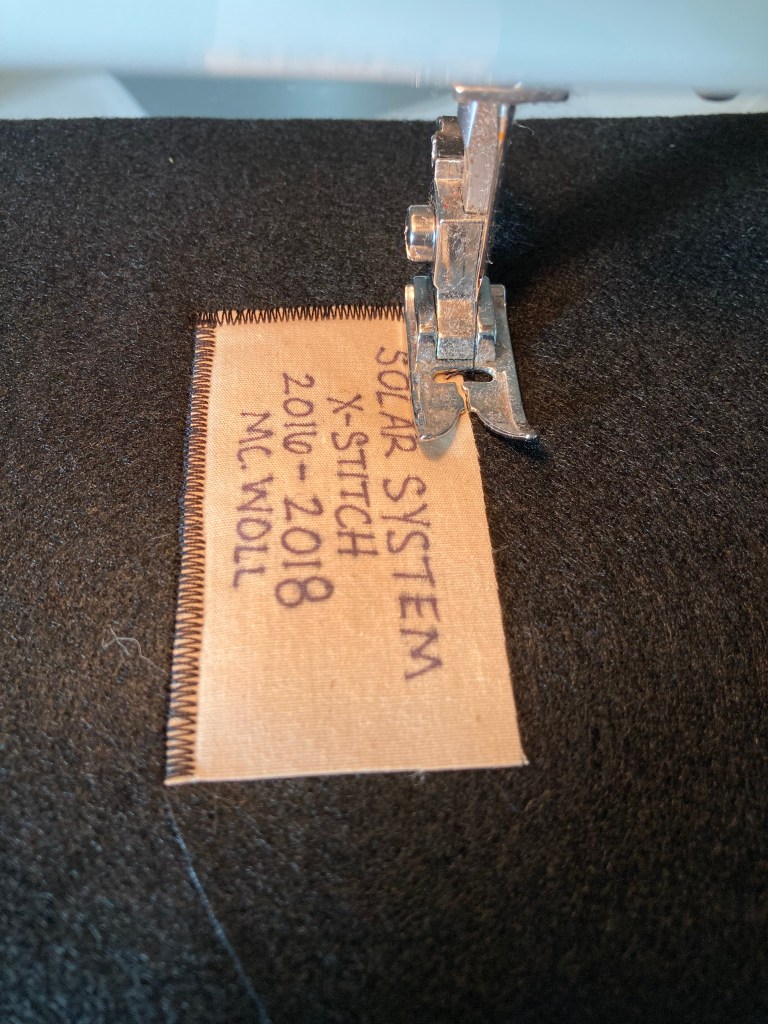
This is also a great time to add a label to your backing felt. For a super simple DIY label, I’m using some Kona cotton from my stash and an ultra-fine pointe Sharpie to write the info and zig-zagging it on to the the felt.
Step 3: Stretch your embroidery
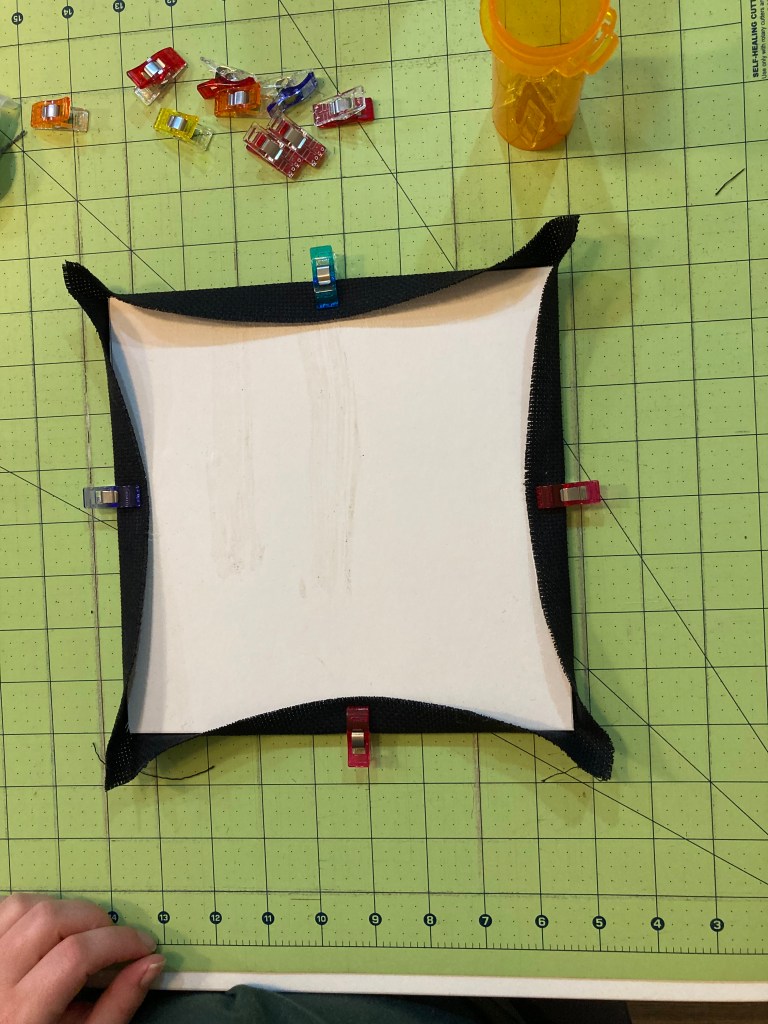
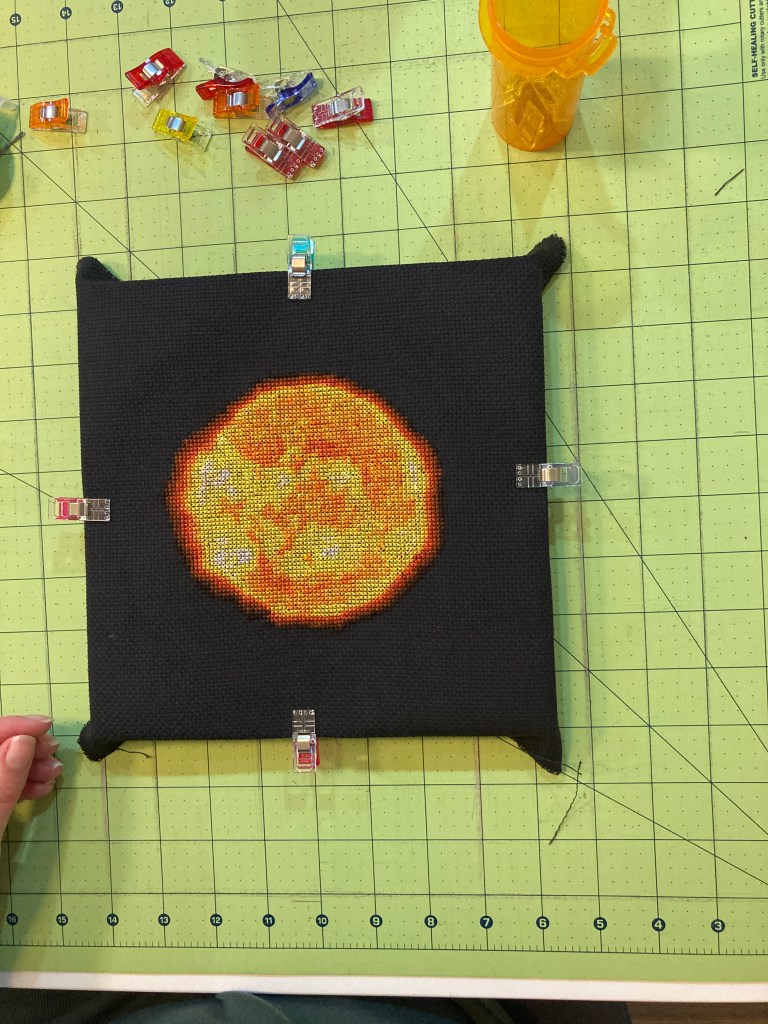
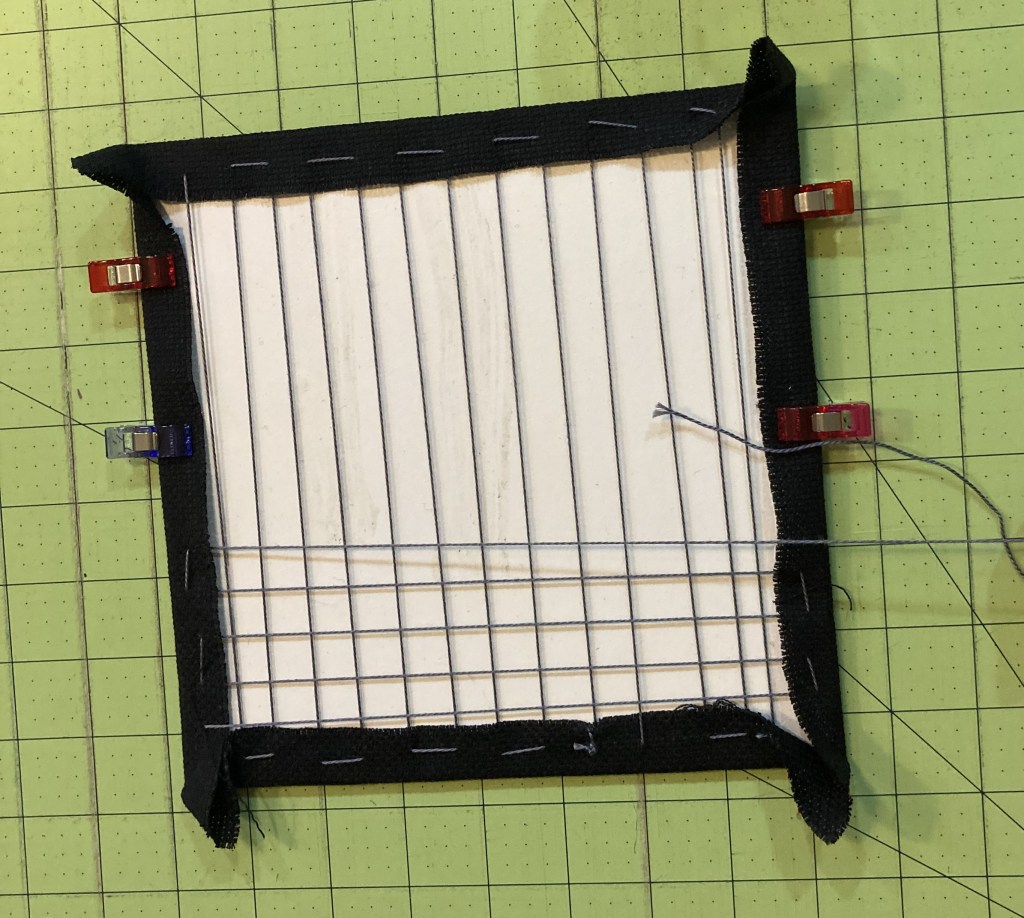
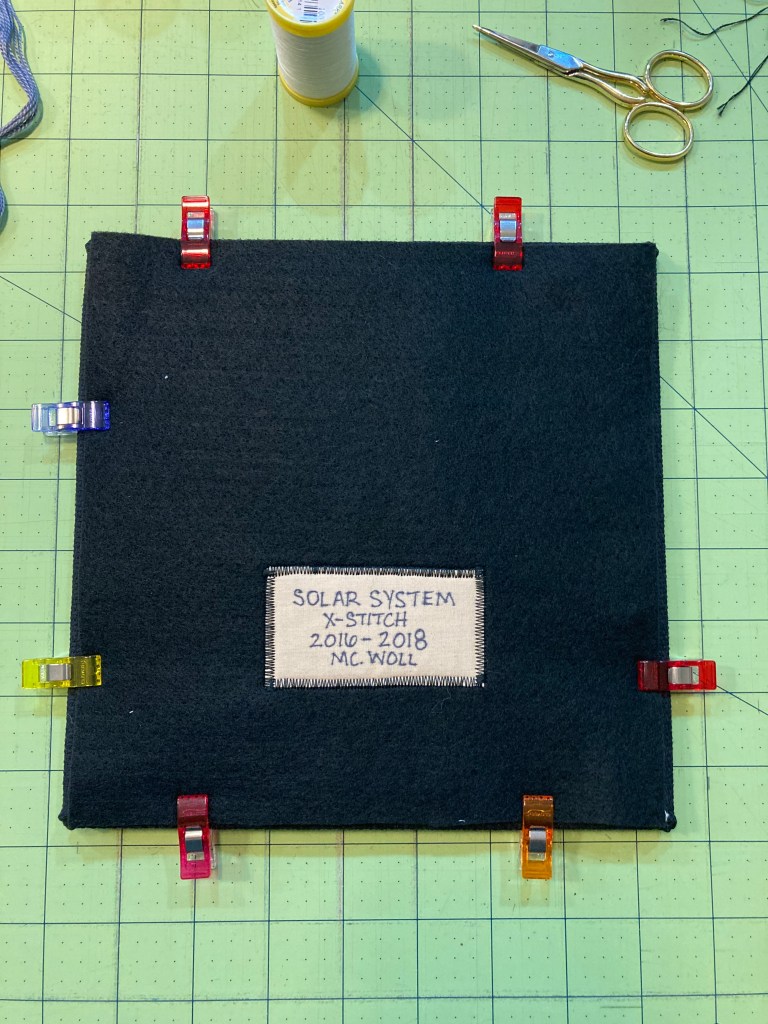
Grab your embroidery, backing, and wonder clips (or clothes pins). Place the embroidery face down, and center the backing on top of the embroidery. Fold one side of the “seam allowance” over the backing and clip in place in the center. Do the same on the opposite side. Repeat for the other two sides. Flip over to make sure your work is centered, and re-adjust as necessary. Once it’s centered, add more clips as needed. Don’t worry about clipping down the corners, let them hang loose, those will get taken care of in a couple of steps.
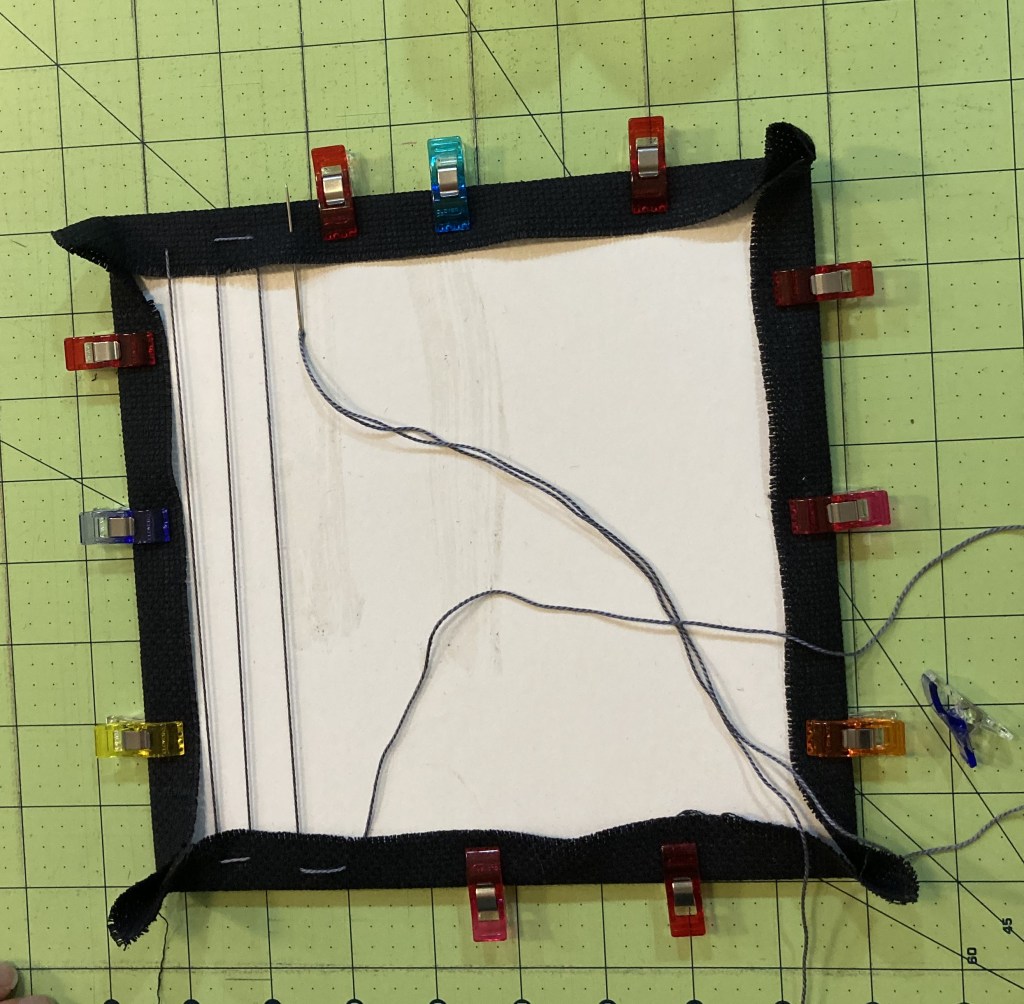
Cut a long (and I mean long) piece of the pearl cotton. I try to cut enough that I can use a single piece and not have to knot off and re-start. Start on one side of the “seam allowance”, keeping about 1/8″-1/4″ from the cut edge. Stitch directly across from your starting point on the opposite side in the seam allowance. Do a stitch about 1/2″ long parallel to the edge of the board, then go directly across to the opposite (starting) side. This will create “tension stitches” that will hold your embroidery taut to the board. Repeat working back & forth side to side, keeping your thread taught the whole time–this is the tension that will keep your embroidery stretched and in place. Knot off with a strong knot, being sure to keep tight tension on the last stitch. Repeat the process with the other two sides, making the new stitches perpendicular to the original.

Step 4: Miter the Corners
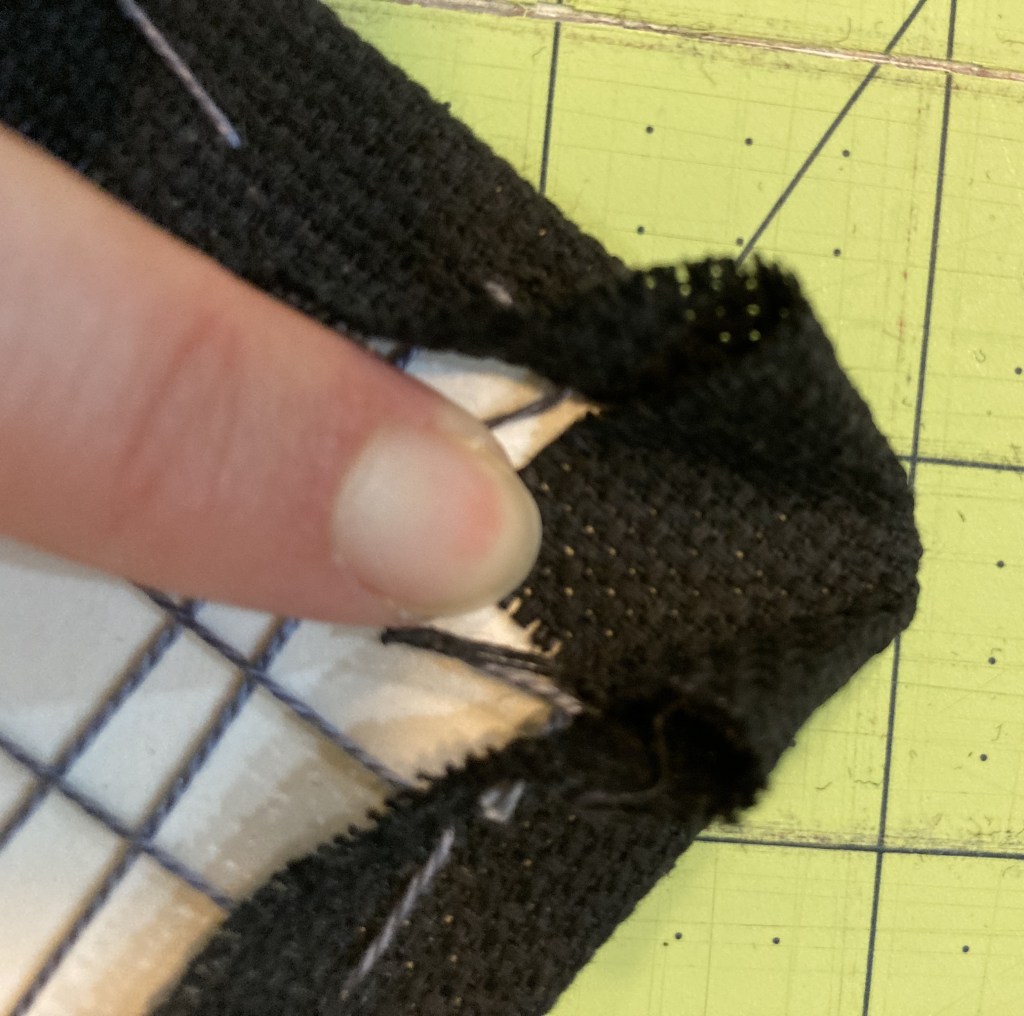
To get crisp pointed corners, you’ll want to miter the corners. It sounds intimidating, but it’s super simple–just three steps! (I promise I’ll get some better pictures, the black aida isn’t super helpful here, sorry.)
- open up the corner and pull the point straight back, flat against the backing
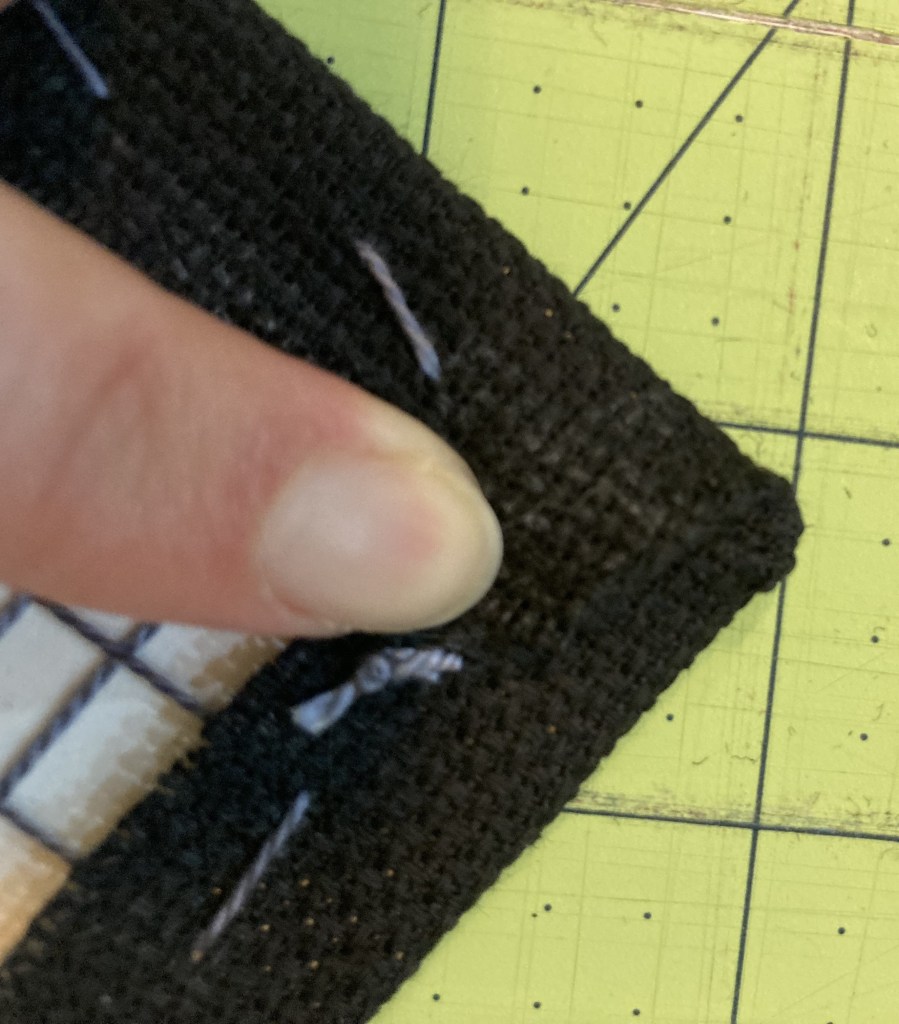
- fold the two “wings” that are created inward. They may overlap, or just butt up to each other. Either is fine.
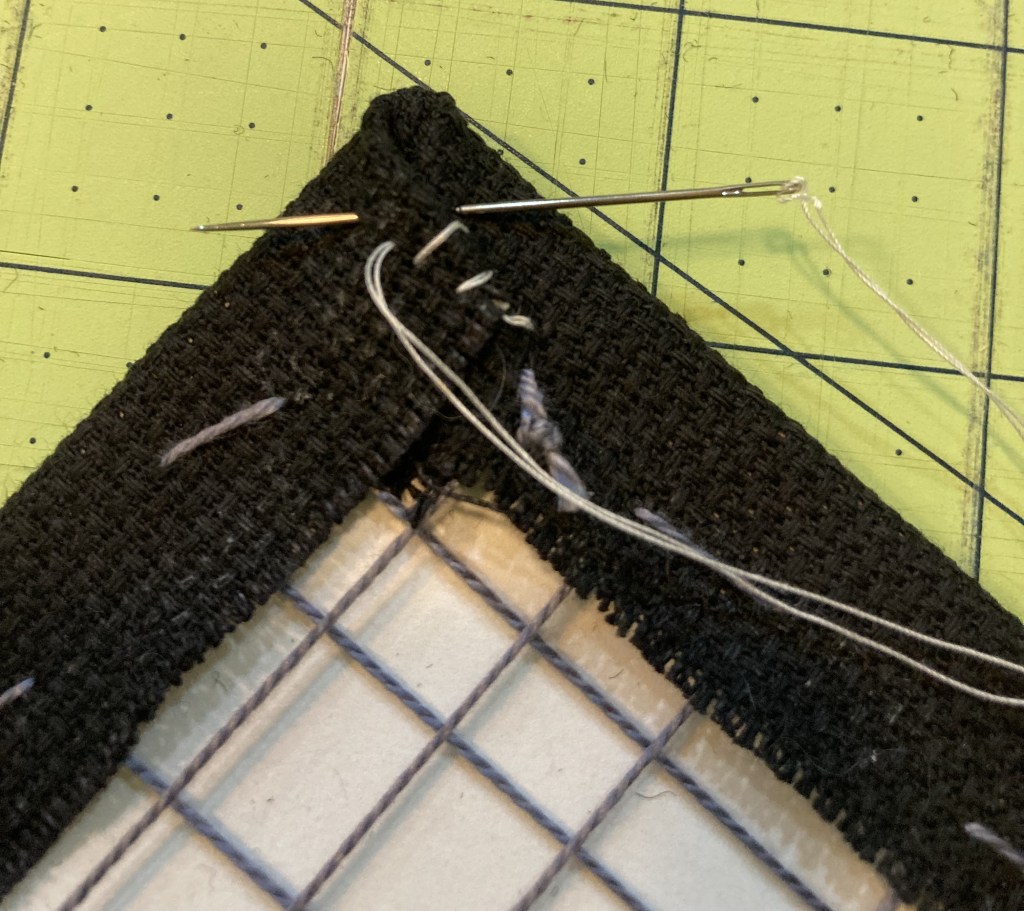
- Whip stitch down the “wings” and viola! Mitered corners!
Step 5: Attach Felt Backing
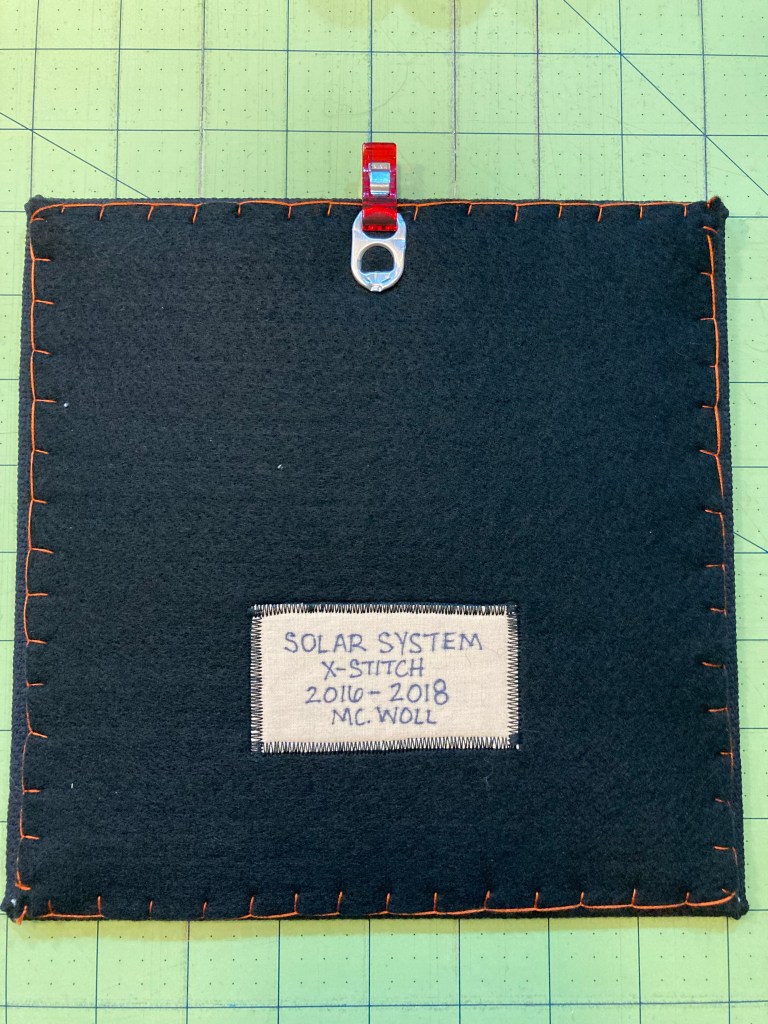
To give the back a finished look and hide all those tension threads, you’ll want to add a felt backing. You already cut them out and added an optional label back in Step 2, so now it’s just stitching it on. Center your felt backing on your mounted embroidery so there is an even amount of aida sticking out on all sides. Wonder clip in place. To stitch, use 2 strands of embroidery floss. You can use a contrasting or a color matching the felt. Stich around all sides using a blanket stitch.


Step 6: Add a Picture Hanger (optional)
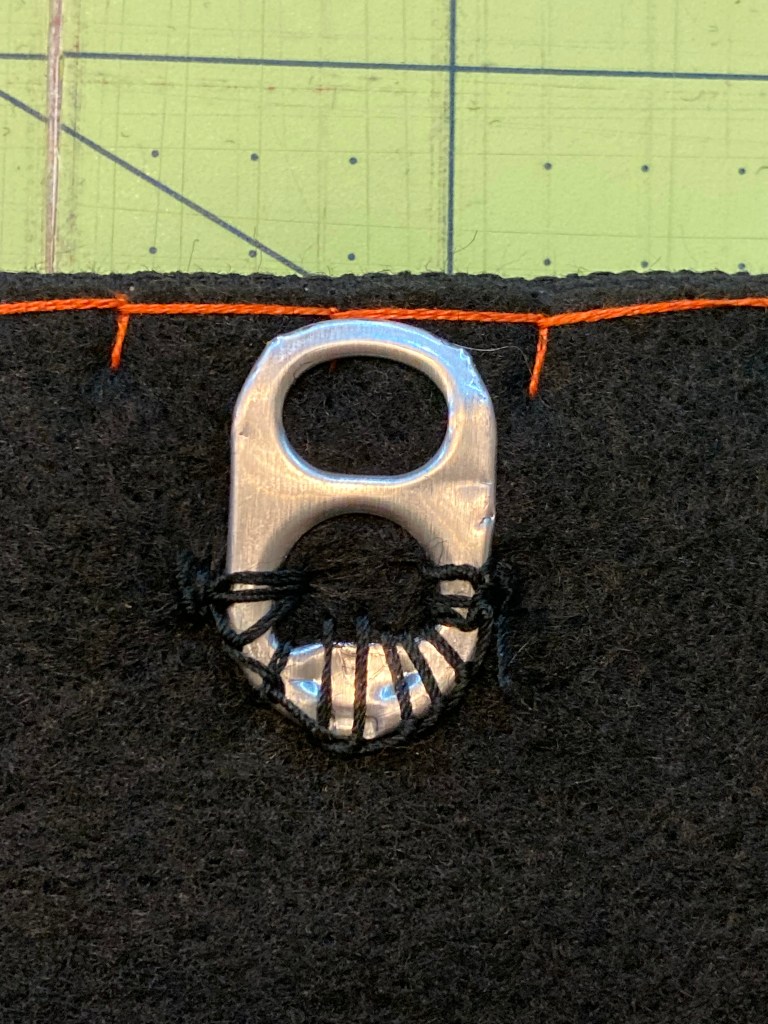
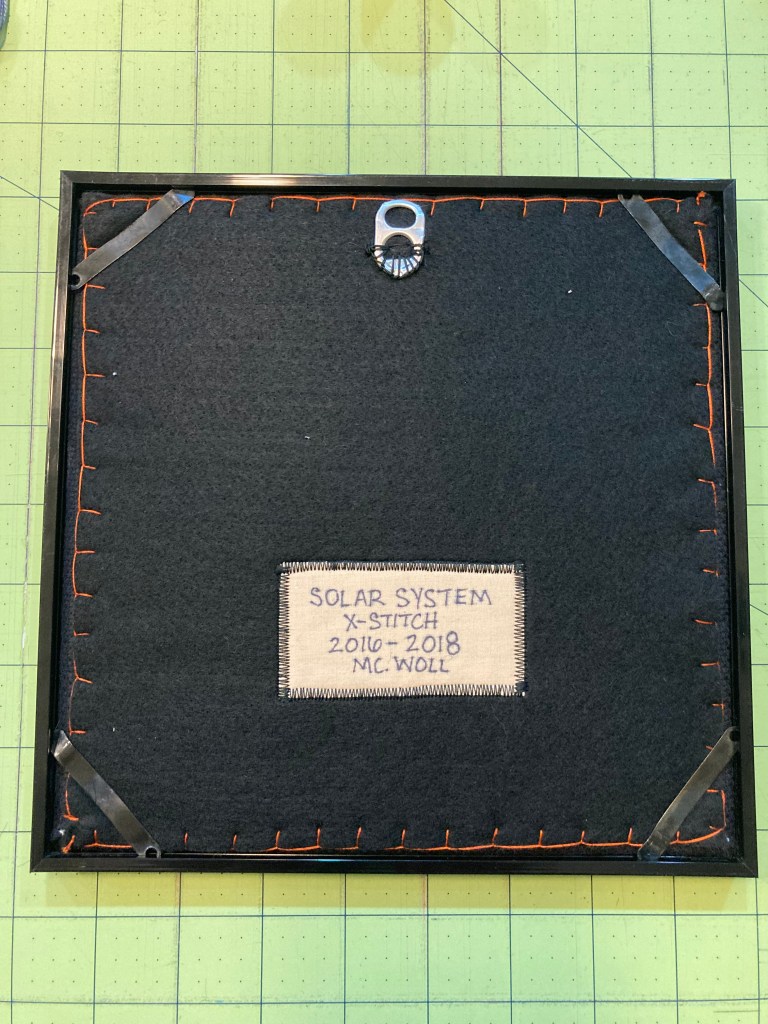
If your backed embroidery + felt is too thick to use the original backing/hanger on your frame, or if you’re not using a frame, you’ll need a way to actually hang your embroidery. D-ring picture hangers are great. But if you want to go really DIY (and recycle!) you can use a soda can pull tab–that’s what I’m using.
- Measuring from edge to edge, determine the center/middle of your mounted embroidery
- Accounting for your frame edge (if necessary) measure down to determine where the top of the D-ring or pull tab needs to go. In my example, I’m measuring down 1/4″ from the edge (my frame is very narrow).
- Clip your D-ring or pull tab in place.
- Using the thick hand sewing thread, stitch down the hardware. Treat it like you’re sewing on a snap, going through the opening multiple times. You may find that using a curved needle is helpful, but it’s not necessary.

Step 7: Frame It!
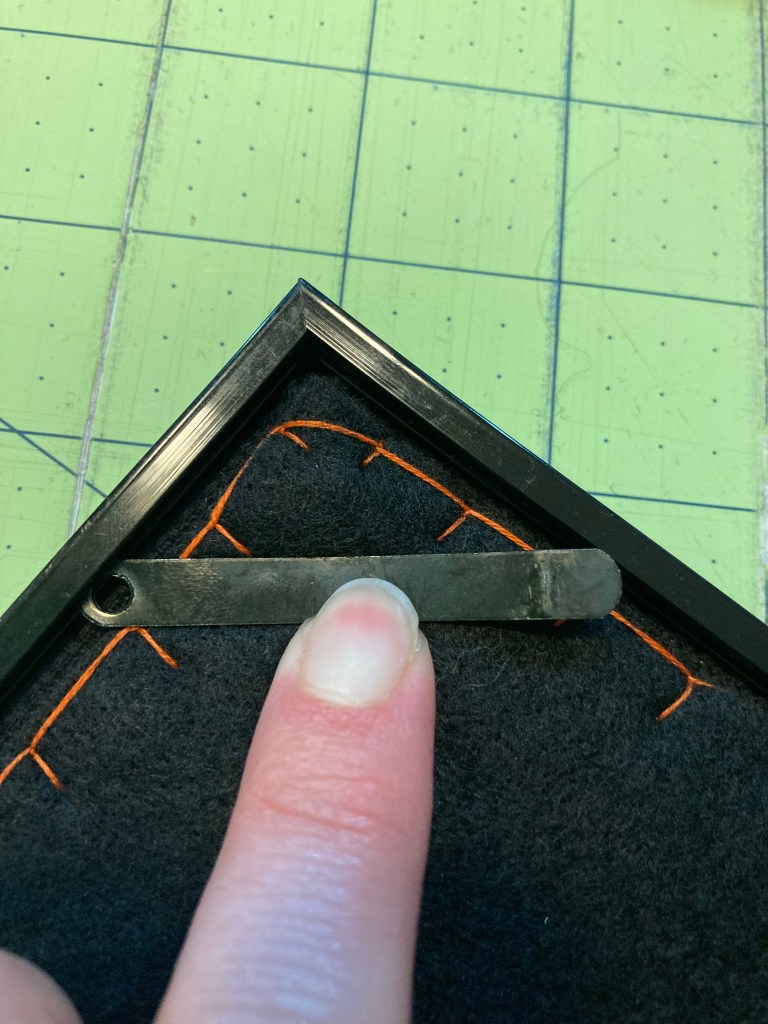
Make sure the glass in your frame is clean and dry on both sides. Place your backed embroidery in the frame. If the glass + embroidery + felt backing is not too thick and you can still use the backing board that the frame came with, slide that in and secure. But, if your piece is now too thick to use the backing board that came with the frame, or like me you don’t have the backing board any more, you’ll need to use some spring clips to secure the embroidery into the frame. I use one on each corner, sliding it between the felt backing and the lip of the picture frame, creating tension that will hold the embroidery in the frame.

I want to see your fabulous work! Tag a photo of your mounted embroidery @mcwolldesigns on Instagram or Facebook!
Subscribe below to get new blog posts right in your inbox!
If you would like to support more crafty and DIY tutorials, you can buy me a virtual coffee. Thank you!
