My workspace at my day job is pretty standard blah (and I work in a costume shop!). Looking to add some pops of color to my little corner of the institution, I did a mini-makeover using fabric and removable wallpaper from Spoonflower. The best part? It’s totally reversable if I ever want to change it! Small changes like these are fast and easy if you need a little refresh and you need it to be reversable due to changing mood, style, or a rental situation.
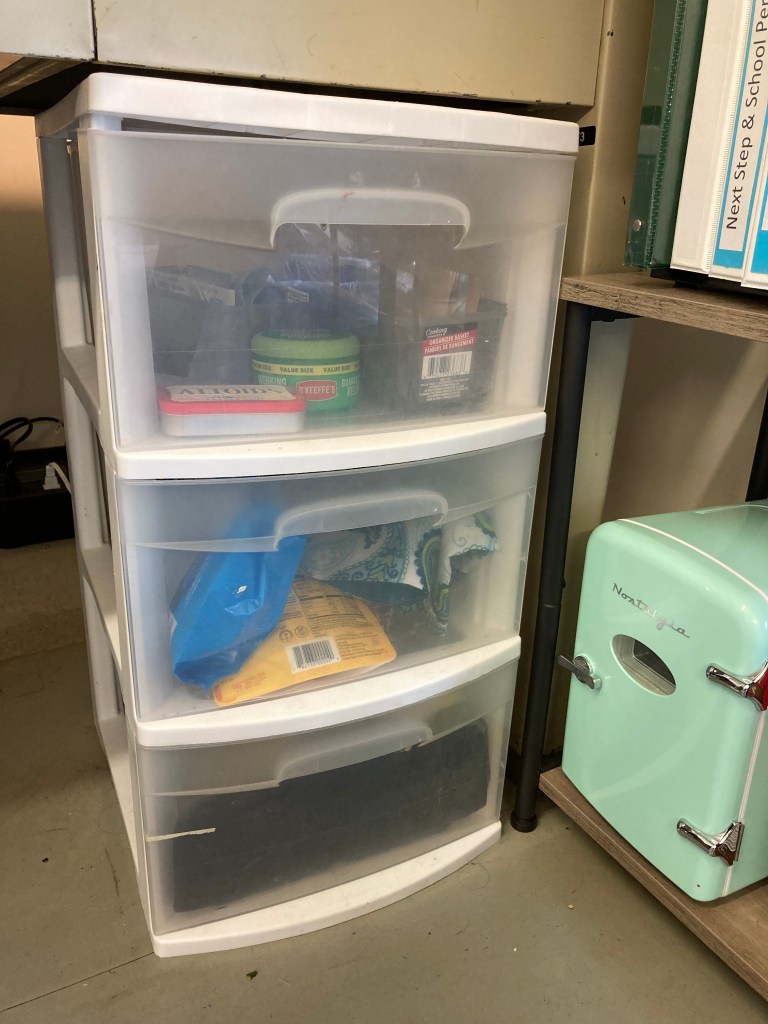
I identified two thigs that I could easily makeover: my bulletin board, and a set of plastic drawers.
Before & After:
Phase 1: Pick a Pattern
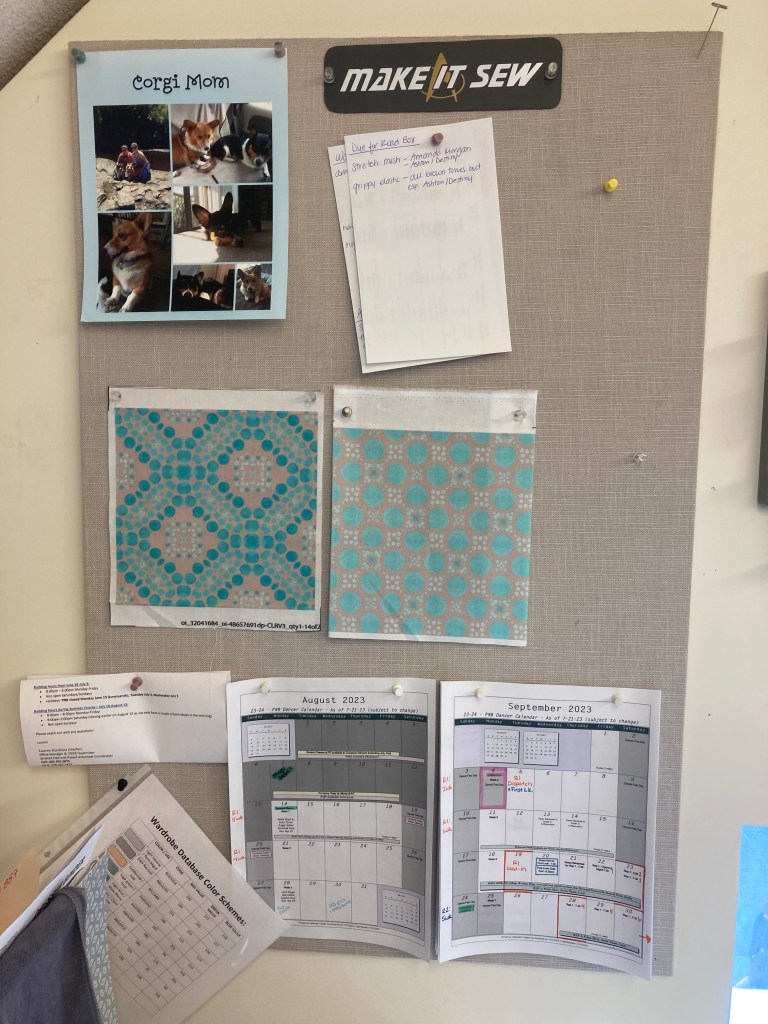
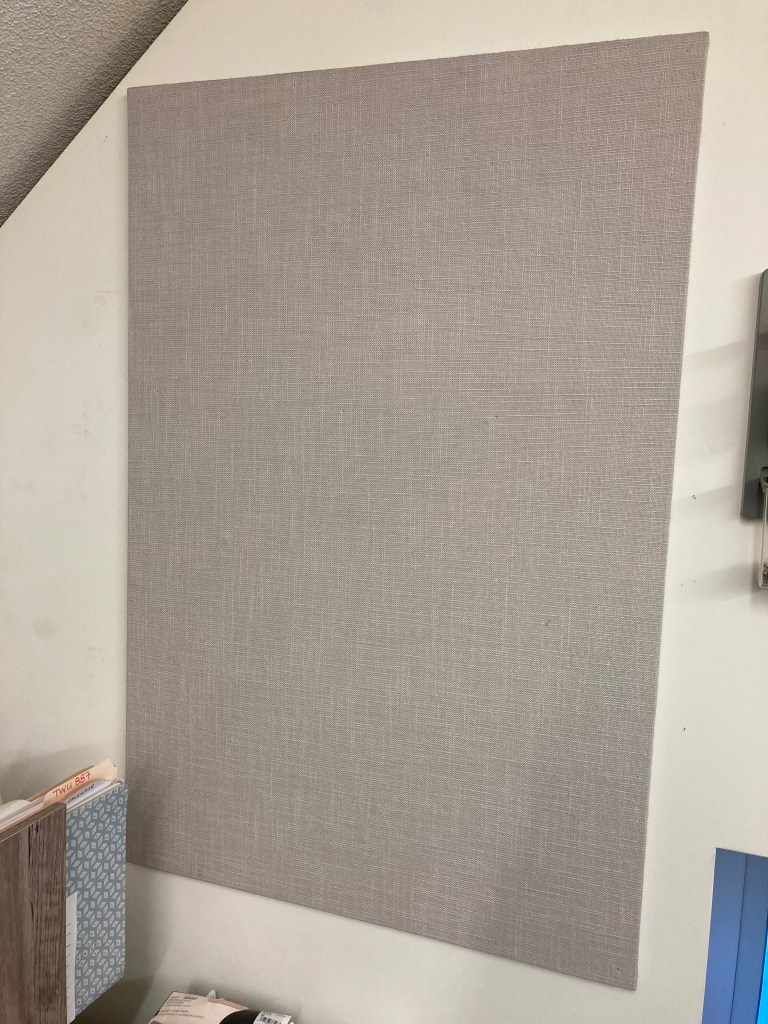
The biggest item in my little corner getting a glow-up is the very blah beige bulletin board. To give it a pop of color, I’m covering it in fabric (fabric won’t show the pin holes like paper). Since it’s the largest item, the pattern used has to be something I can live with for 40 hours a week, so I pinned two different fabric swatches to the board and left them there for a couple of weeks to help me decide which one would work best.
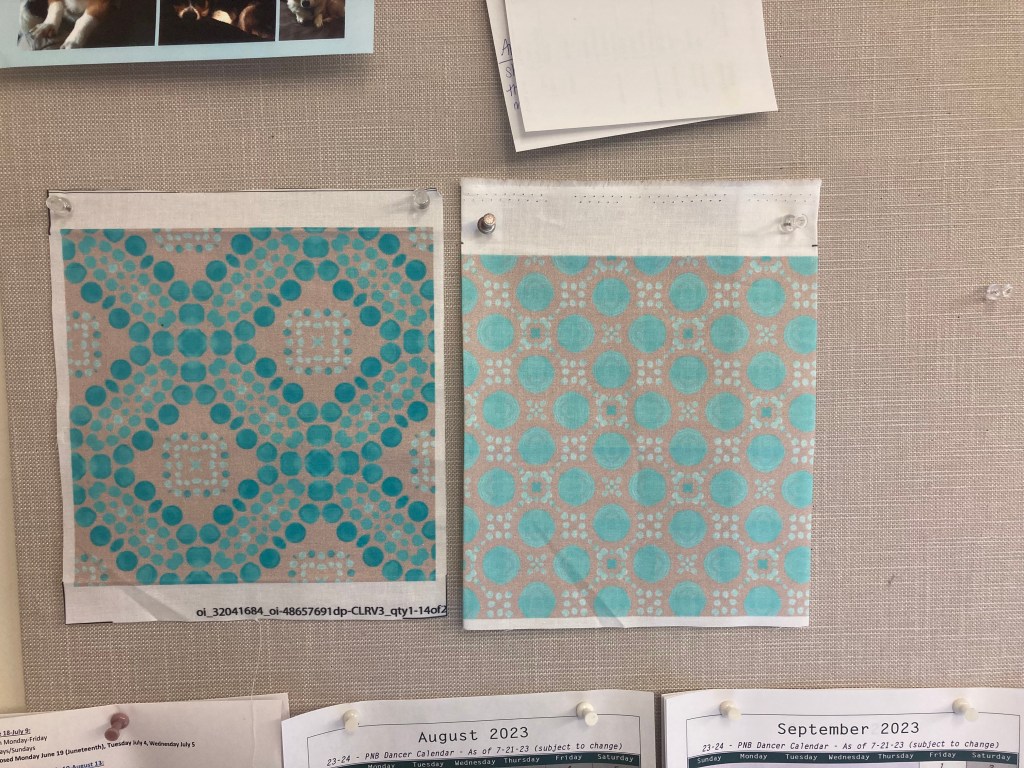
I’m using designs from my Spoonflower shop, and swatches on their Petal Signature Cotton. At 8″ x 8″ these swatches are the perfect size to view a good amount of pattern and having them hanging up for a couple of weeks allowed me to determine if either pattern was going to a) be perfect or b) drive me nuts. Surprisingly, the Peacock Vintage Dot fabric (right) was too blah for this application! So I went with the Peacock Pebble Windowpane pattern (left). I designed Peacock Pebble Windowpane in two different scales, so I used one for the bulletin board (large scale), and the other for the drawers (small scale).
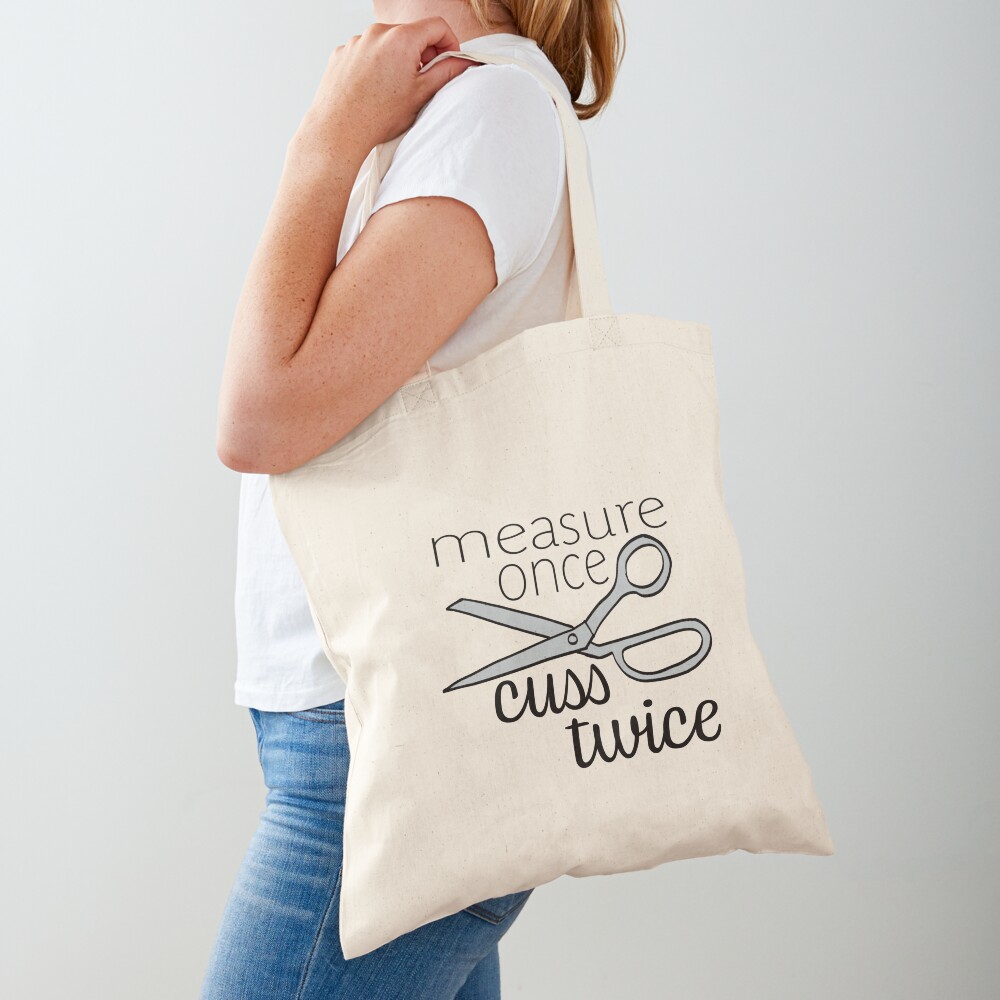
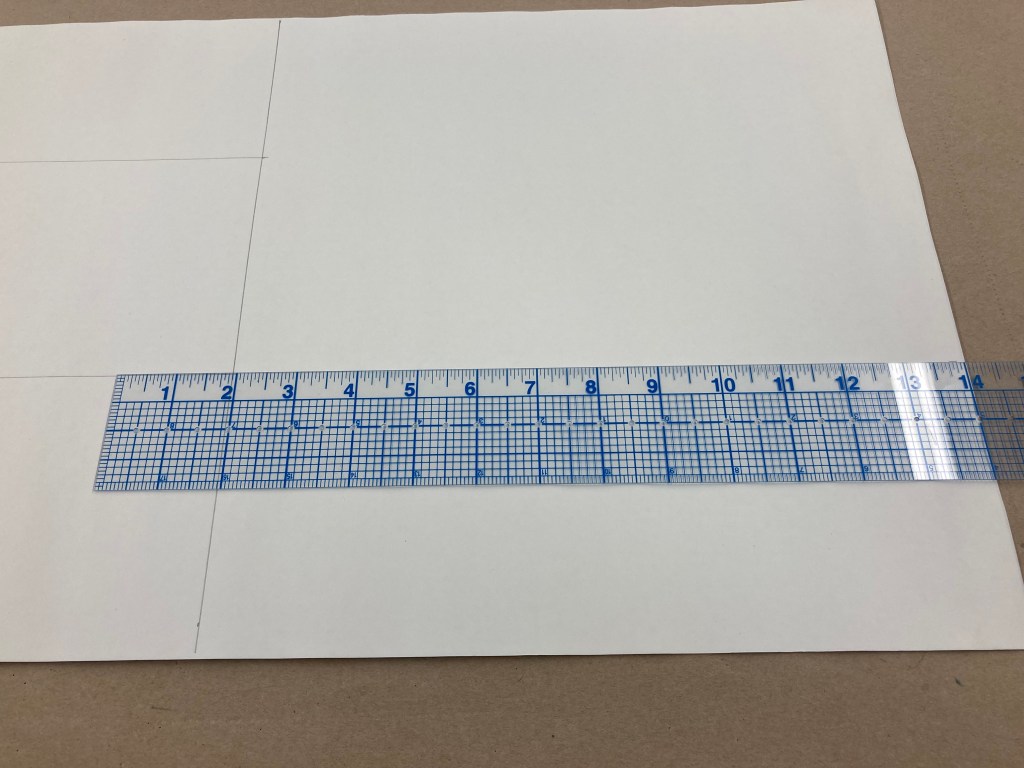
Phase 2: Measure Once, Cuss Twice.

Since my bulletin board measured 24″x36″ I thought I could get away with just buying a yard of fabric (42″ x 36″). Then I pre-washed my fabric. And it shrank. Which is the point of pre-washing but it was still a little frustrating that I was going to be just a little bit shorter of what I wanted. I will admit, this is rather par for the course for me, for personal projects I get a bit more wibbly-wobbly in my measurements. If I was doing this in a professional setting, you bet I would have gotten a bit more fabric for safety!
So if it’s going on a bulletin board, why pre-wash? Well, it will collect dust just hanging there, so being able to wash it now and then and not worry about additional shrinkage is a good thing. And if I want to change up my decor again later, I’ll be able to use this fabric in a different project (fabric collectors never toss anything out!).
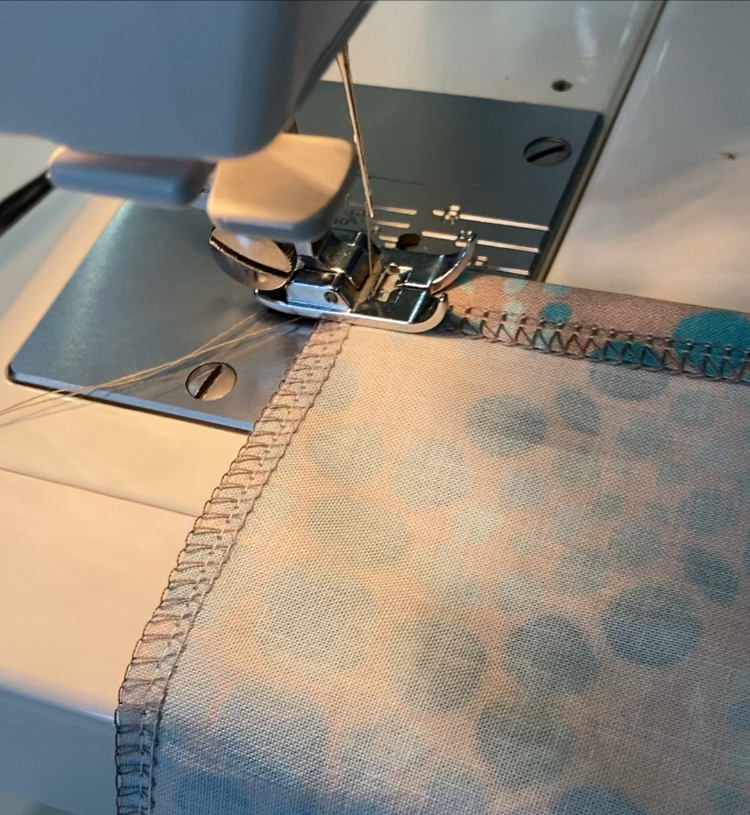
I ended up cutting my fabric with a 1/2″ seam allowance–total cut size 25″x37″. I serged the edges to prevent fraying, but if you don’t have a serger/overlock machine you can cut the fabric with pinking shears to help prevent fraying, or run a zig-zag stitch along the edges.
To hem, I just folded up the 1/2″ allowance and straight-stitched all four sides. To get the seams to lay as flat as possible, I gave it a really good press with seam afterwards.

To attach the final product on the bulletin board, I went with staples. Nothing fancy, just your standard office-issue Swingline. I stapled as close to the edges as I could to maximize posting space.
To make sure the fabric was smooth, I started with the top. Stapling one corner first, I gently stretched it across the top to the other side and stapled that corner. Once secured, I stapled all the way across the top (about 6 staples). Then I smoothed the fabric down, pulling taught as needed, and stapled the center of the bottom. I repeated that with the two bottom corners, then stapled across the bottom like I did with the top. For the sides, it was a little more back and forth. To keep it taught, I stapled in the middle of one of the long sides, then smoothed across to the middle on the opposite side and stapled. Wash, rinse, repeat going side to side until the fabric has been fully secured to the board.
Phase 3: Getting Sticky With It.
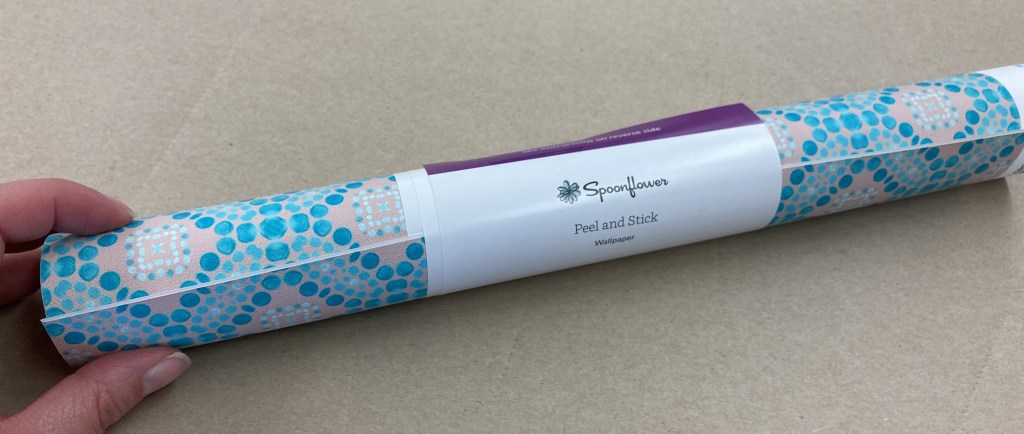
For the plastic drawers, I used Spoonflower’s Peel & Stick Wallpaper. Because of the relatively small size of the area I needed to cover (just the drawer fronts), I ordered a 2’x2′ swatch of the small scale version of Peacock Pebble Windowpane. The paper backing makes it really easy to draw out the sizes/shapes you need. No math mess ups this time!

To apply the wallpaper, it’s just like applying a large sticker or decal. Clean the surface first, and be sure it’s comepletly dry. I started by peeling off about a 1/2″ of the paper backing along the long edge, and lining that up below the drawer pull, and sticking it down. Yes, it is really tempting to pull the whole backing off–resist! Then, slowly peel back the paper backing bit by bit, smoothing it down as you go. It’s a little bit tedious, but it will help ensure that there aren’t any bubbles.
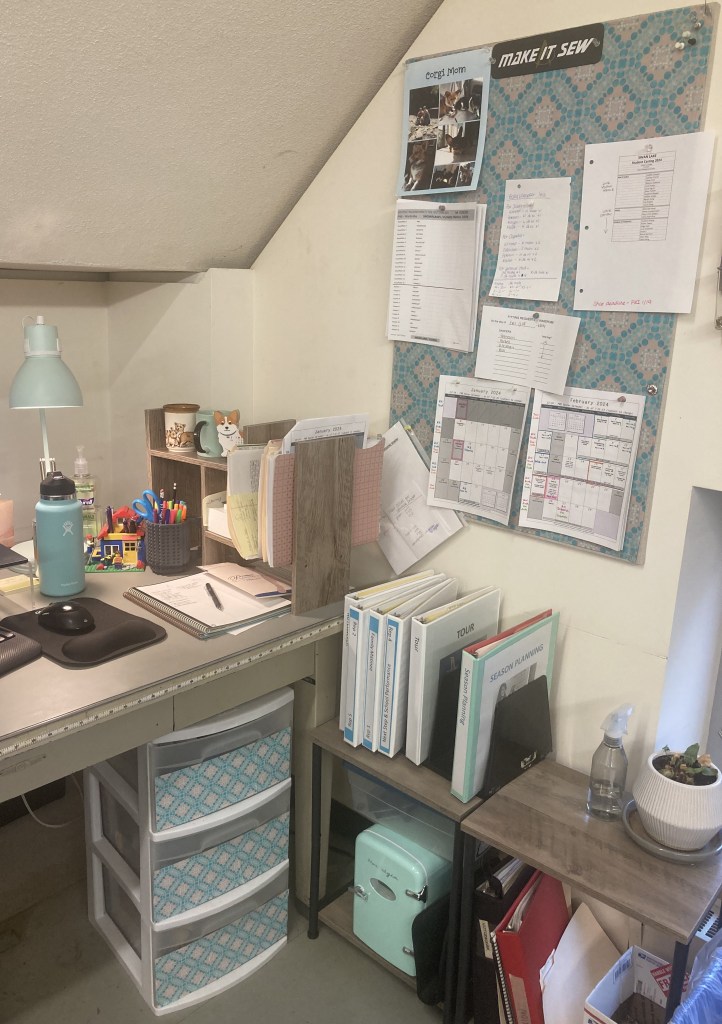
After:
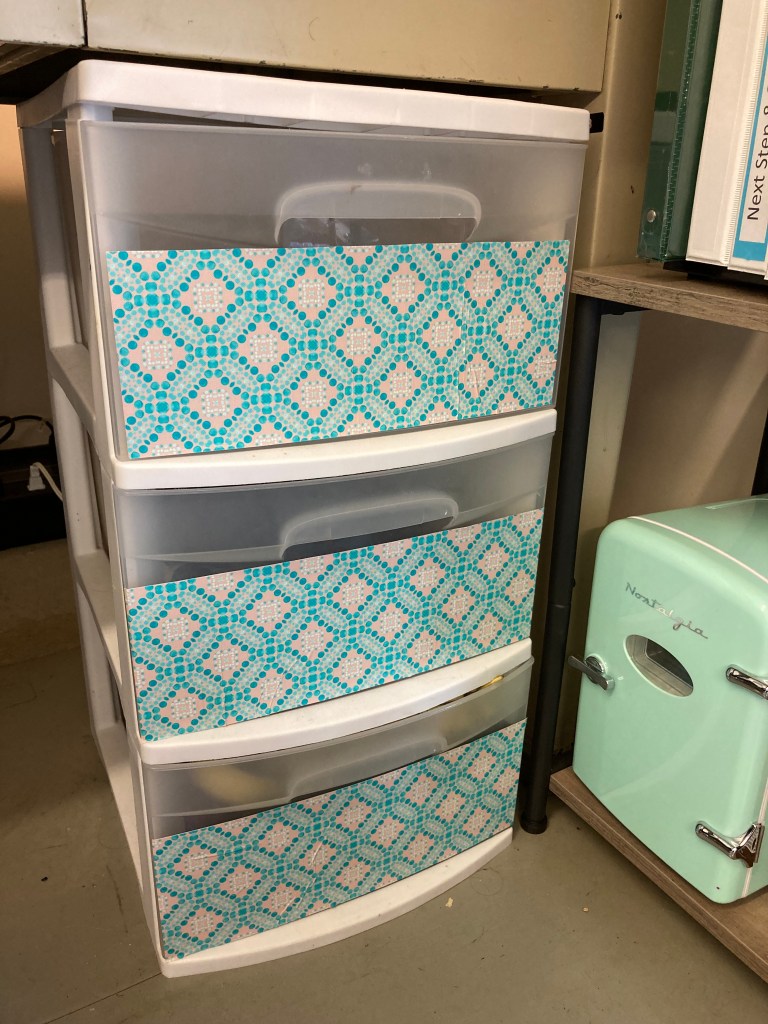

Not too shabby if I do say so myself! It created a nice pop of color, and the fabric and wallpaper designs are subtle enough to not be distracting or obnoxious to my coworkers who share the space. Feeling inspired? I’d love to see your mini makeovers! Tag your mini makeover @mcwolldesigns on Facebook & Instagram.
Subscribe below to get new blog posts right in your inbox!
If you would like to support more crafty and DIY tutorials, you can buy me a virtual coffee. Thank you!
