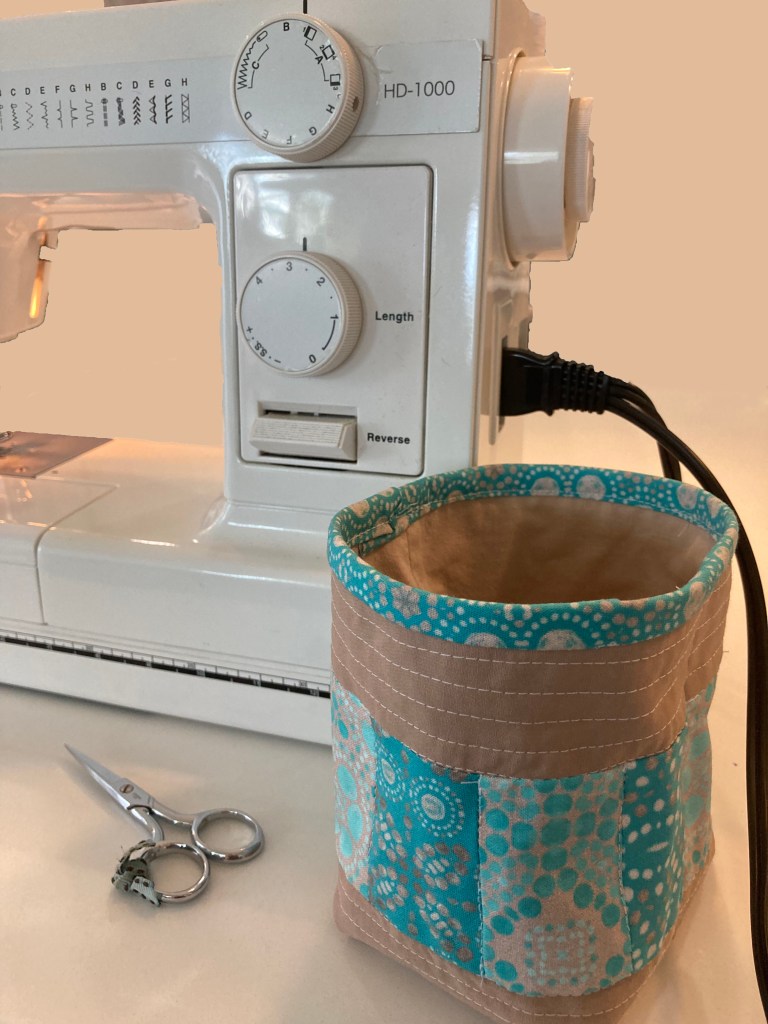
I’m still working through my stash of Spoonflower swatches (among other bits & bobs), so here we are with another scrap buster project! With all straight seams, this is a great project for a beginner–perfect for classes too!
This one is perfect for National Sewing Month. I’m a thread thrower, so this is one of my Top 10 Notions that I will always have out whether I’m at the machine or cross-stitching in the couch. It makes cleaning up any bits of thread a breeze!
Stitch along and download the written tutorial with pattern below!
Materials
- Canvas/denim fabric or quilt batting (18” square)
- Solid cotton fabric for outside (approx.. 12” square)
- Solid cotton fabric for lining (approx. 12” square)–I’m using muslin
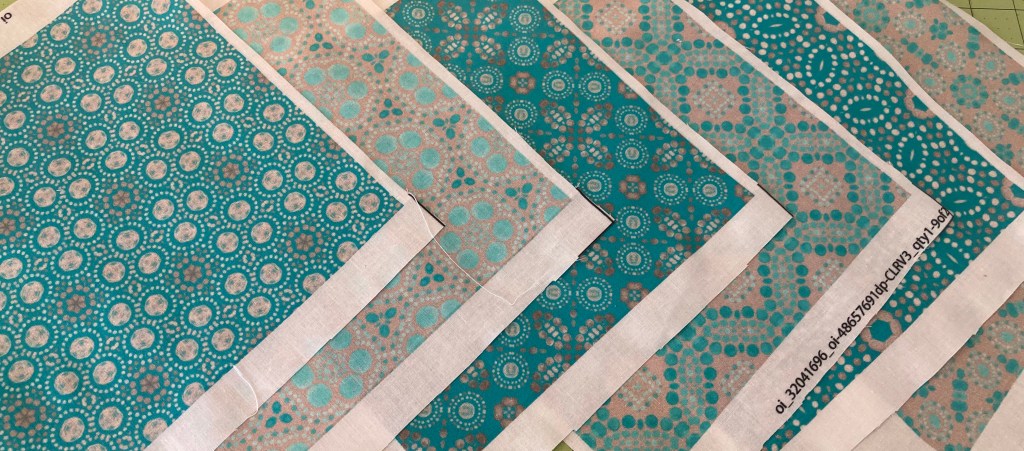
- Patterned fabric scraps (you will have 10 sections in the stripe)–I’m using swatches from my Peacock Pop collection on Spoonflower
- 1” single fold or ½” double fold bias tape; or 8” square of fabric to make your own
- Matching or contrasting thread
- iron
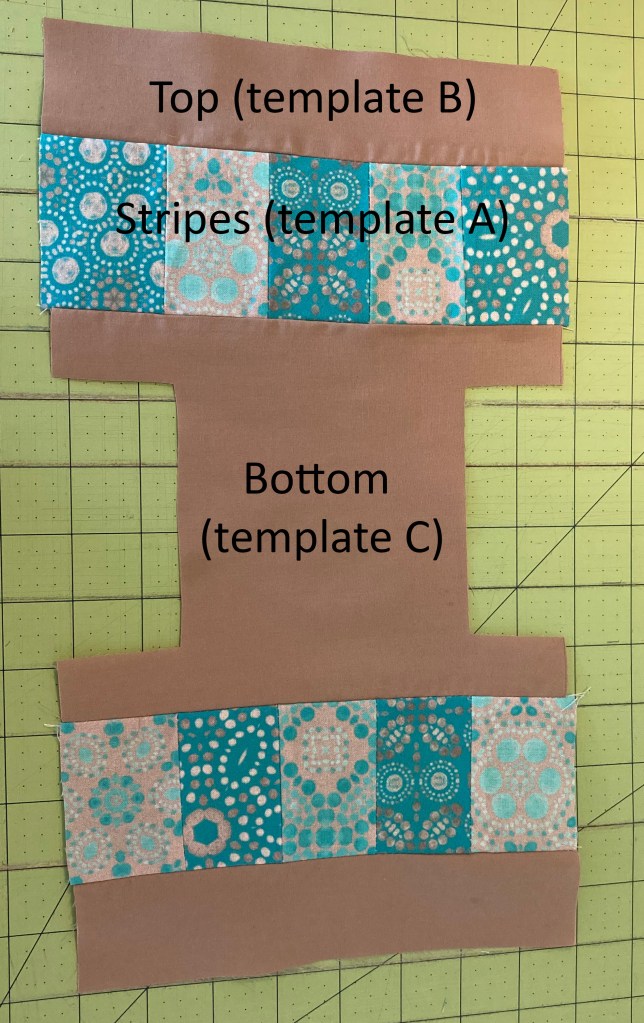
Step 1: Cut
Using the template (download below), cut out your fabrics. For the stripe (Template A), there will be 10 pieces total so get creative! You Each section can be a different fabric, or create an alternating pattern. If you don’t want to to a multi-stripe, you can cut a 3″x8″ rectangle of contrasting fabric to use instead.
The canvas/denim or quilt batting is to help give the bag body to stand up on its own. Use whatever you’ve got! I happen to have some duck canvas in my stash, so that’s what I’m using. You could even use an old pair of jeans!

Step 2: Assemble Stripes
)If you are using one 3″x8″ strip of contrasting fabric instead of a stripe, jump to the next paragraph in this step.) Sew the stripes together. You will be making two strips of 5 sections each. Stitch the rectangle sections (Template A) together along the long side with a ¼” seam allowance. Press seams open.
Pin one striped strip right sides together along the long edge to the long rectangle Template B. Stitch with a ¼” seam allowance. Repeat with the remaining striped strip and the other Template B.


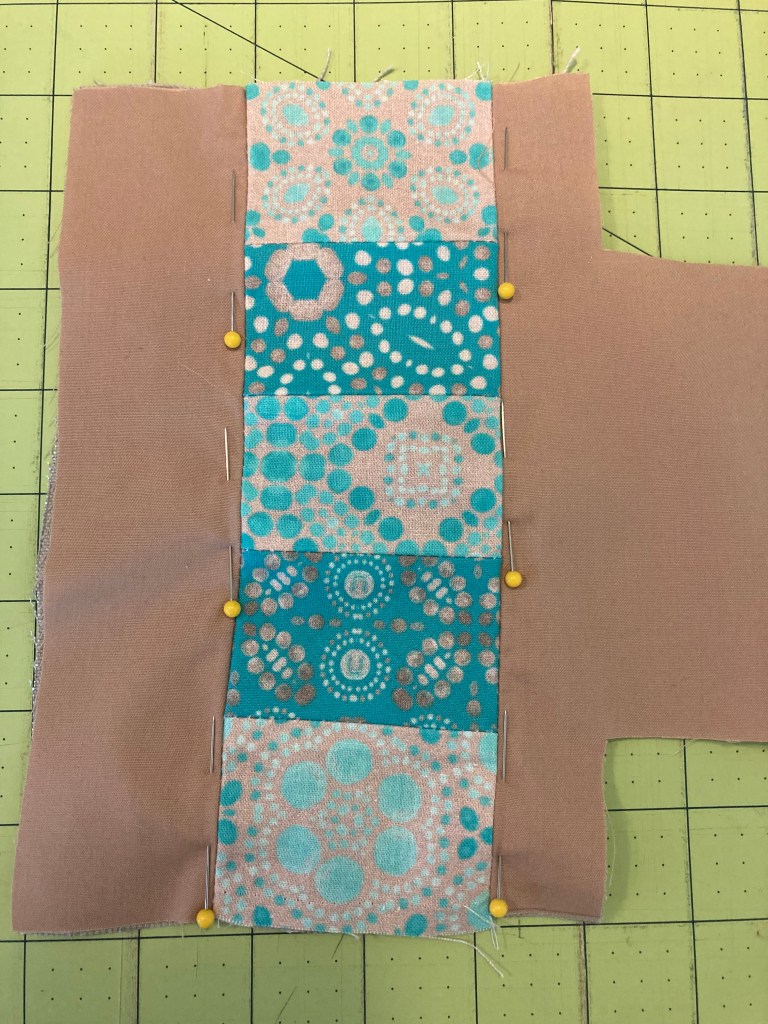
Step 3: Attach Top to Bottom
Pin one striped strip right sides together along one long edge of Template C. Stitch with ¼” seam allowance. Repeat on the other side of Template C. Press seams open. (see above photo)
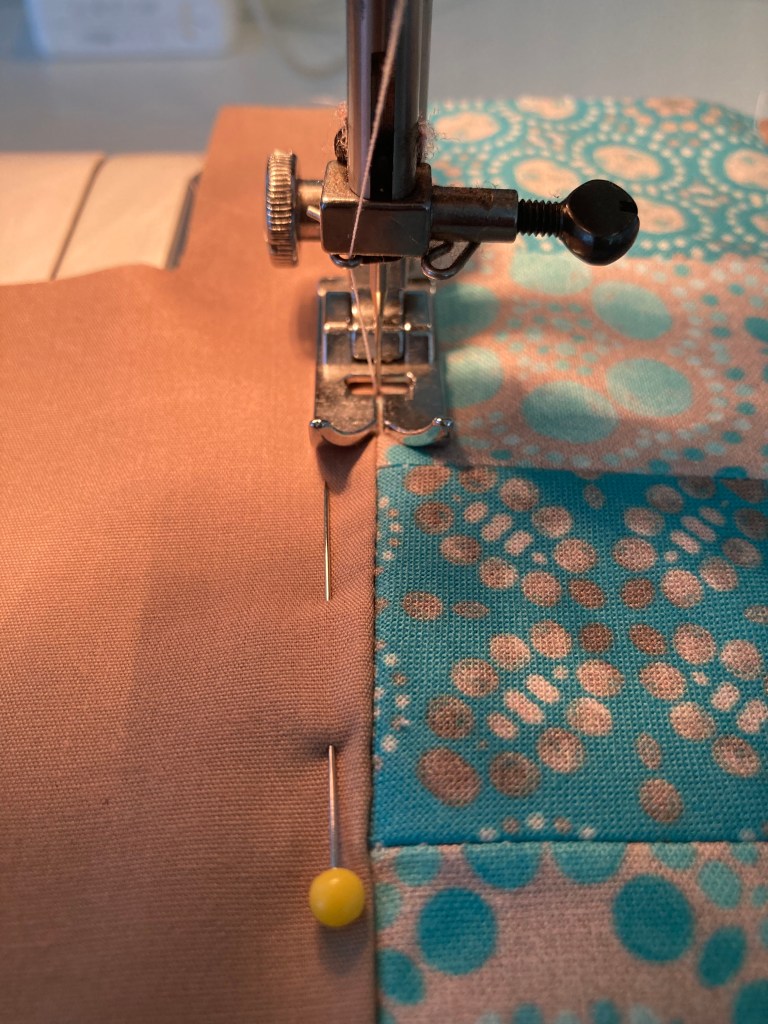
Lay your fashion fabrics (Templates A/B/C) on top of the canvas/denim or quilt batting (Template D), right side facing up, lining up edges. Pin through all layers along both sides of the stripe. Stitch in the ditch (in the seam) between the stripe and the solid fabric along both long seams.

Step 4: Quilting Layers
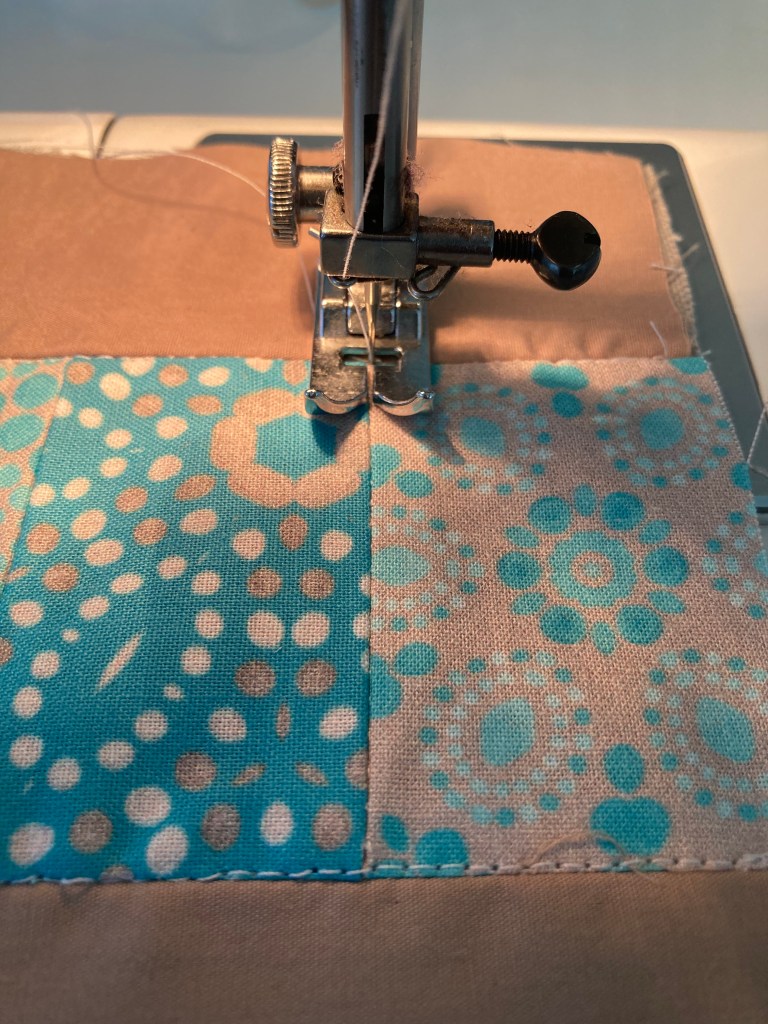
Stitch in the ditch again through all layers along the seams between each section of the stripe (Template A). If you are doing a solid contrasting stripe, no need to stitch it further.
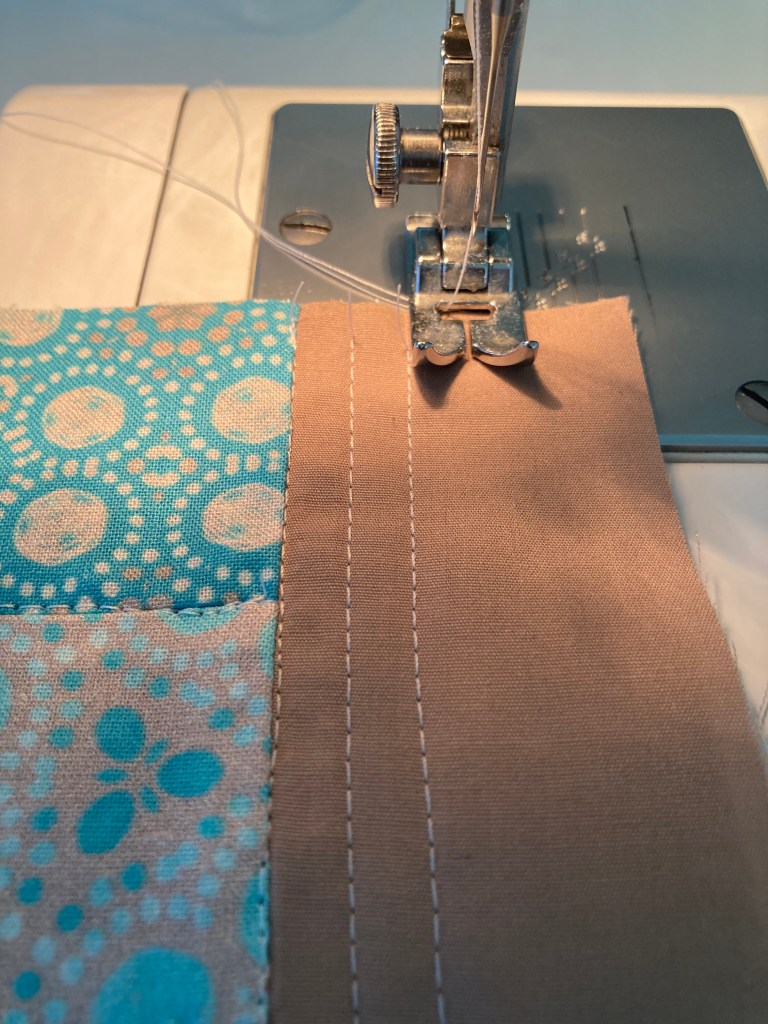
On the solid fabric, “quilt” through all layers by sewing straight lines parallel to the long edge of the stripe. Stitcher’s choice of how far apart to make them, but I think ¼” or one presser foot length apart looks nice. No need to back stitch, because the ends will get caught in the side seams.

Step 5: Side Seams & Corners
Fold the quilted piece right sides together, matching the side seams together. Stich the side seams from Point 1 to Point 2, backstitching beginning & end with a ¼” seam allowance. Press seams open.
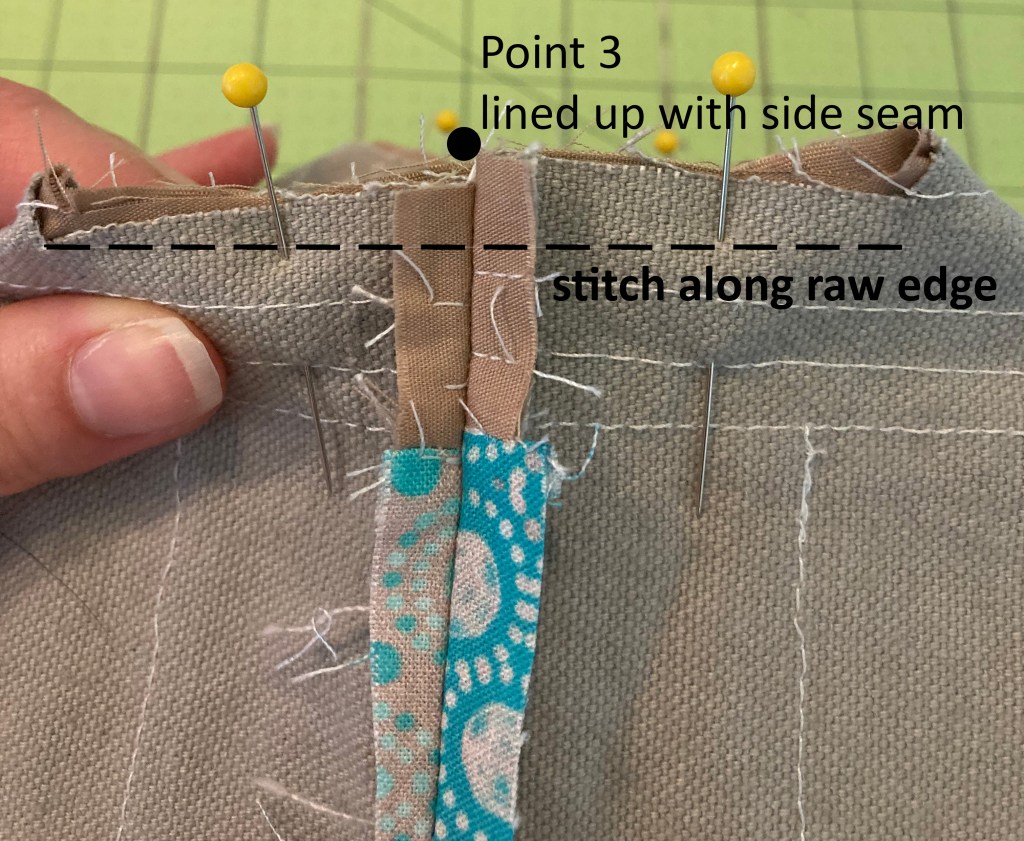
To make the corners, keeping the bag inside out, with right sides still together, fold the corners so that Point 3 matches up with the side seam. Pin in place. Stitch with a ¼” seam allowance. Turn bag right-side-out, it should stand up on its own.


Step 6: Lining
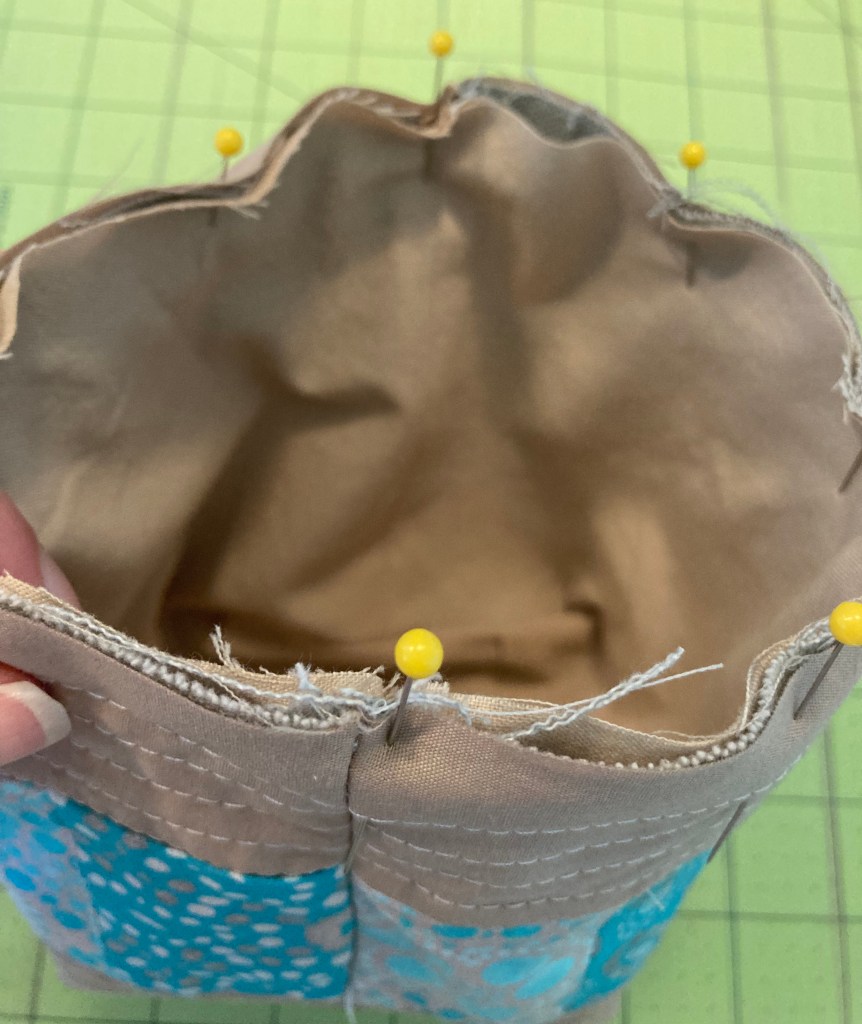
Stitch the side seams and corners of the lining fabric (Template D) the same way you just did in Step 5. Leave the lining bag “inside out” so that the seams are on the outside. Slip the lining bag inside the fashion fabric bag wrong sides together, matching side seams. Pin along the top edge. Stitch in place through all layers with a ¼” seam allowance.
Step 7: Finishing the Edge
Bias tape! Cut approx. 16” of bias tape. If you are making your own, you can follow this great tutorial on Spoonflower’s blog: https://blog.spoonflower.com/2021/11/09/bias-tape-tutorial/ I promise I’ll get a post up on how to make bias, but for now this one is pretty good.
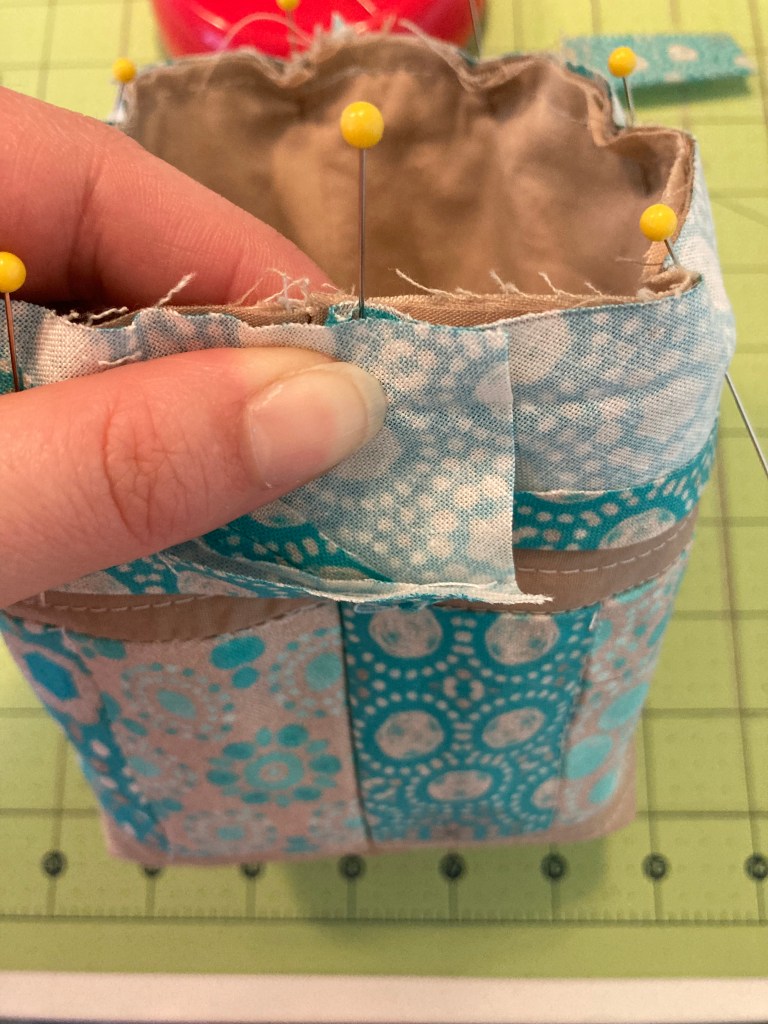
Pin one edge of your bias tape along the top edge of the bag, folding over the short end of the bias, and then overlapping that fold when you get back around to the beginning. This will create a nice, clean, continuous look. Stitch in the crease of the bias, backstitching beginning & end. Trim away about half (1/4”) of the seam allowance around the top edge through all layers.
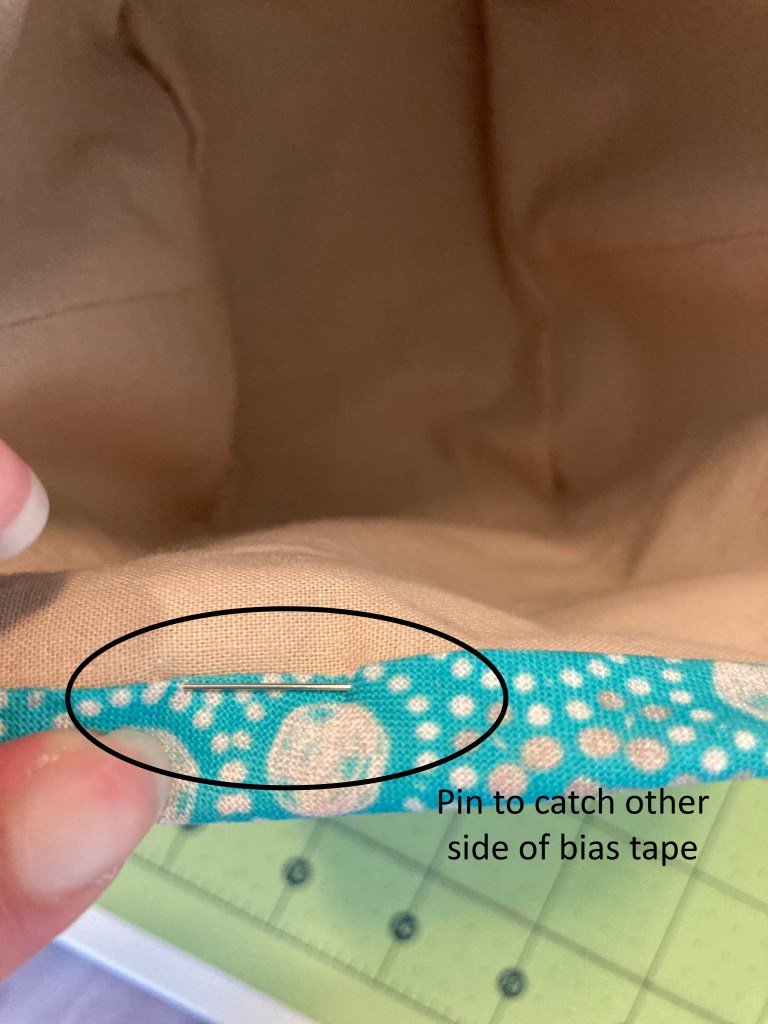
Fold the bias over the raw edge. The inside/back edge should land a little bit past the stitch line of the bias you just did. Pin in place through all layers. Stitch in the ditch through all layers, catching the back of the bias.


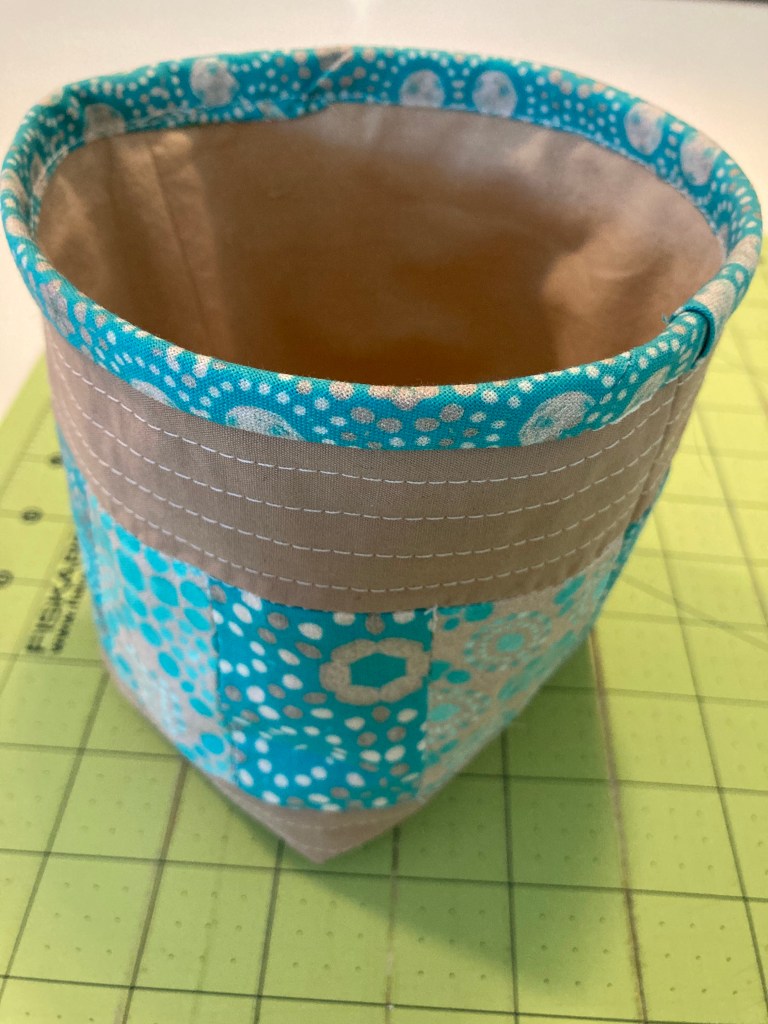
I want to see your fabulous work! Tag a photo of your thread catcher @mcwolldesigns on social media!
Download written instructions and template below. Written tutorials will always be free to download, but if you’d like to show your support, you can buy me a virtual coffee.
