(How to copy your favorite commercial pattern onto something better than tissue paper)
If you’ve ever used a commercial pattern (Simplicity, Butterick, McCalls, Vogue, etc.) you’ve probably wondered why on Earth they are printed on such flimsy tissue paper. Well, you can thank Ebenezer Butterick for that. The first to sell graded (or multi-size) patterns, Butterick chose tissue paper because it is easier to ship and fold. Well, he thought it was easy to fold…we all know how awful it is to try to get a pattern back into it’s little envelope. I do have some good news–there is an alternative! It will require a bit of DIY, but you can transfer your favorite tissue paper pattern onto more durable paper so that use after use you can have confidence it won’t get ripped or damaged.
Gather Your Supplies

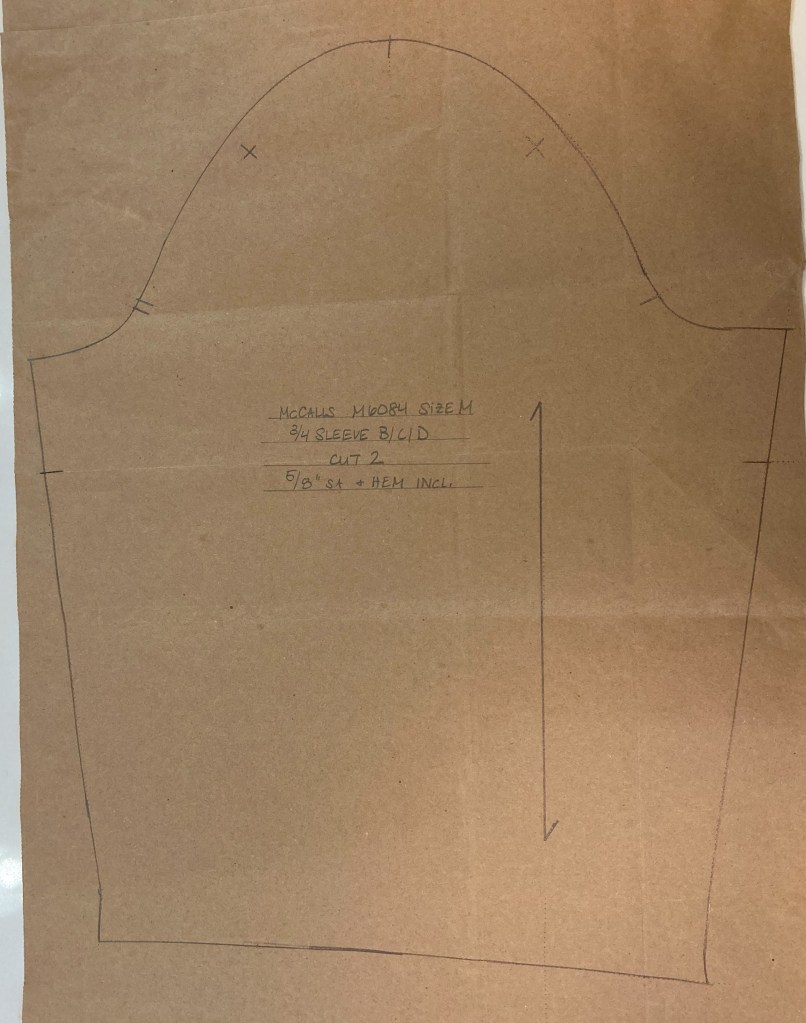
- your favorite commercial pattern (I’m using McCall’s 6084 in this example)
- brown kraft paper or paper grocery bags
- paper or craft scissors
- tape (Scotch magic tape is best, but masking tape will work as well)
- tracing paper
- tracing wheel
- pattern weights
- pencil
- clear ruler
- French curve (or a hip curve ruler)
- pattern notcher or single hole punch (optional)
Prep Your Pattern & Kraft Paper
If you haven’t already, cut out your pattern from the tissue paper. No need to cut the exact size, or be super neat about following on a line, you’ll be tracing it out to the size you want. But you will want all the pieces separate and not on the big sheet.
Brown kraft paper is super sturdy and will make your pattern last years. But if you’re like me and you’d rather find ways to up/recycle instead of going out and buying a new roll, you can use paper grocery bags! Slit them up the side and cut the bottoms out. Recycle bottoms and handles.

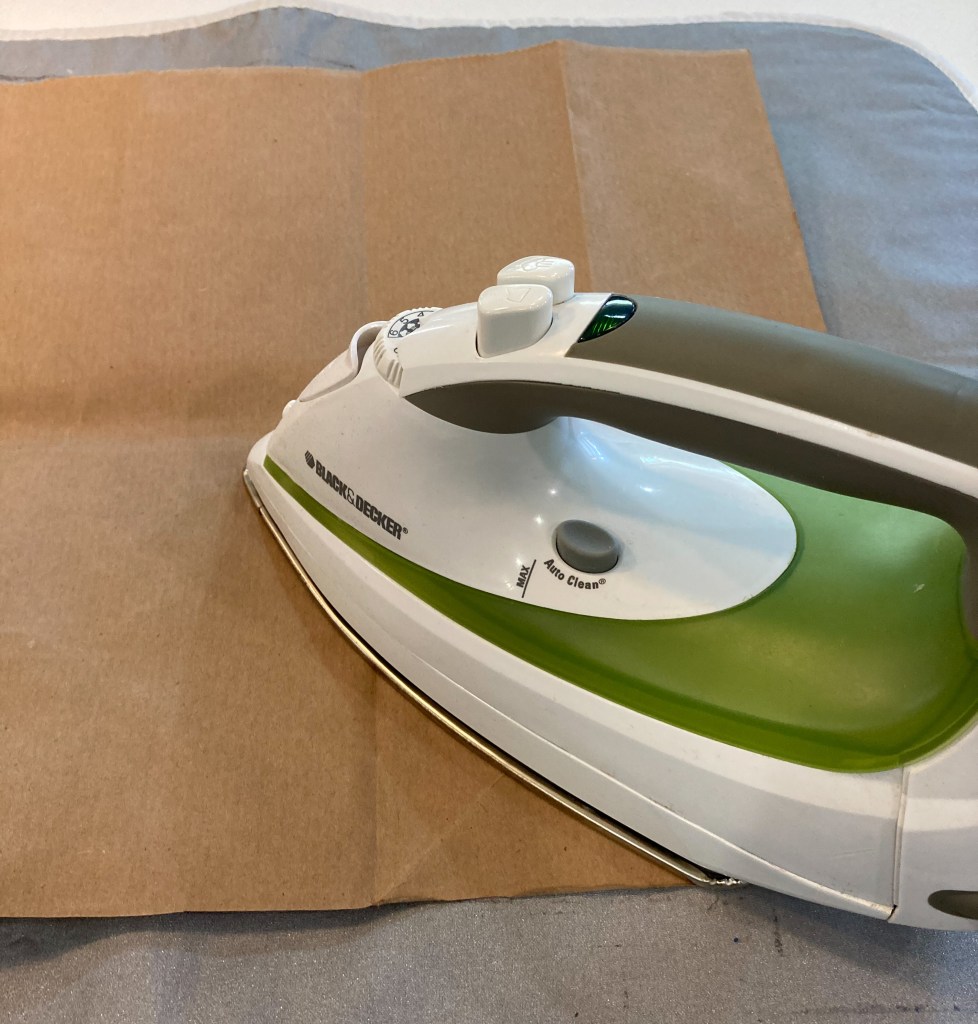
Once you have your bags cut apart, you can iron the paper to get rid of the creases. If you have a tissue paper pattern piece that is larger than your bag, tape bags together until you have a sheet the correct size to fit the pattern piece on.
Start Tracing!
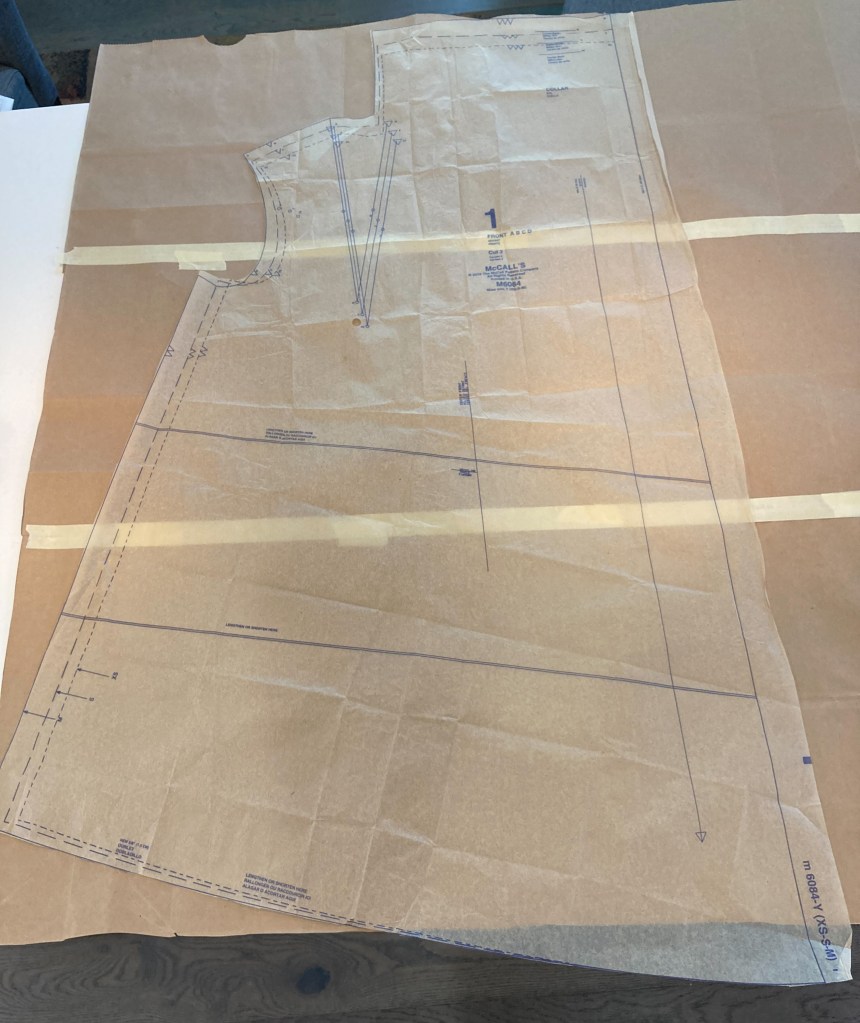
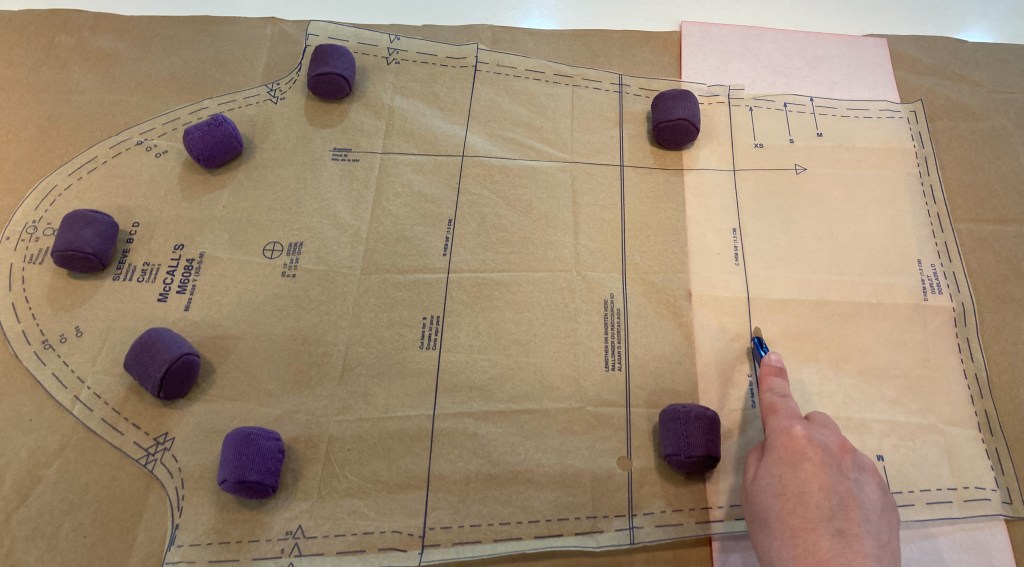
Lay out your first paper bag (or roll out some kraft paper if you’re using a roll) with your first pattern piece on it right-side-up. To keep your pattern from shifting as you trace it, use pattern weights to hold it down. If you don’t have pattern weights anything small-ish and heavy-ish will do like tile coasters, river rocks, washers (the hardware not the laundry machine), or a cat–they’re going to be there anyway so may as well put them to work.
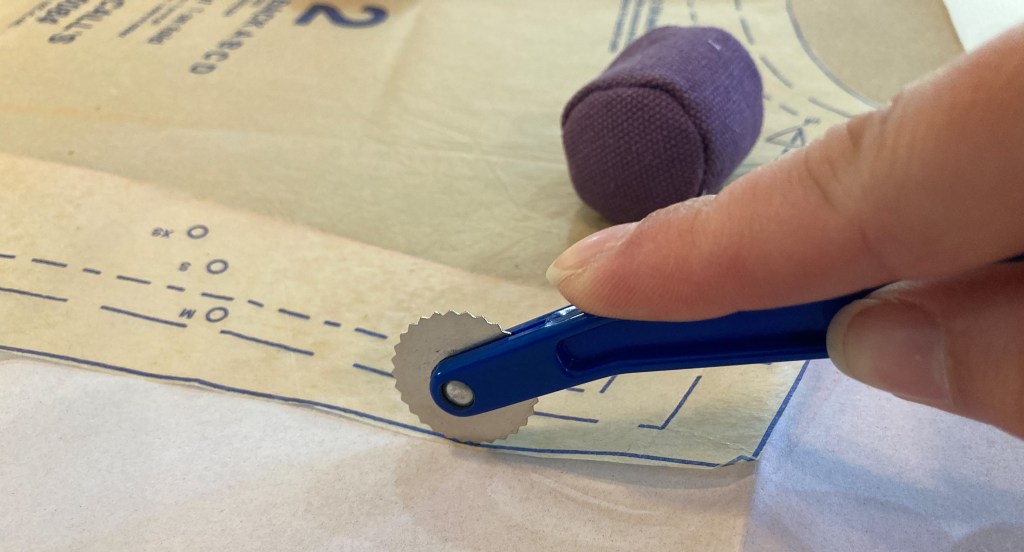
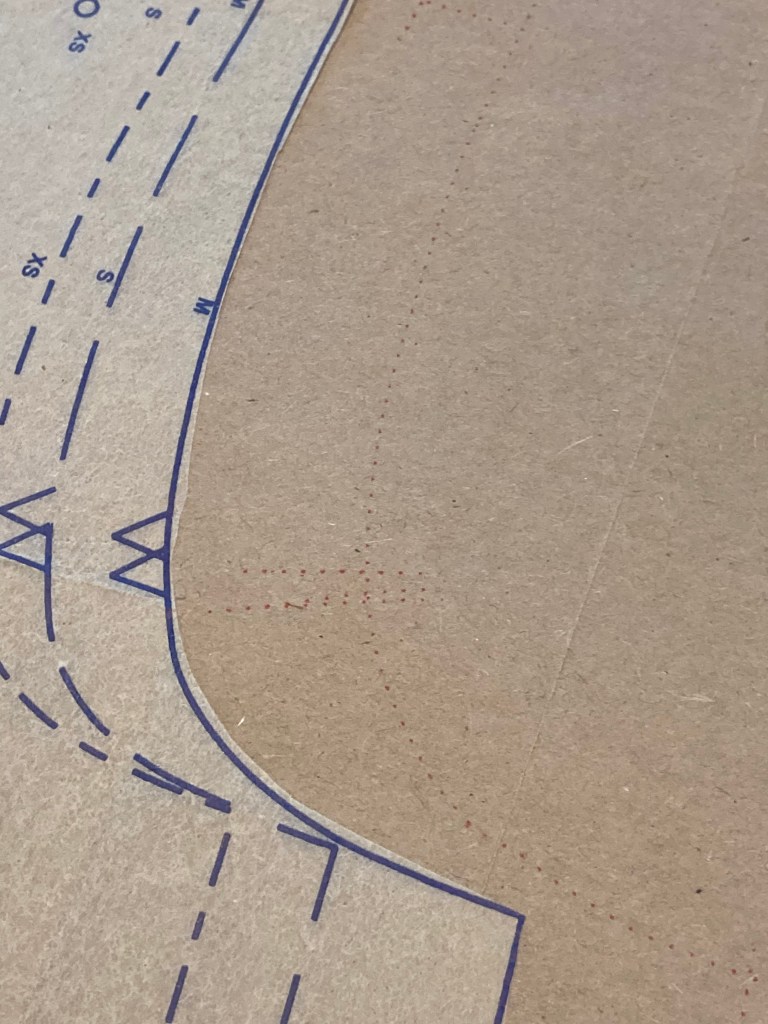
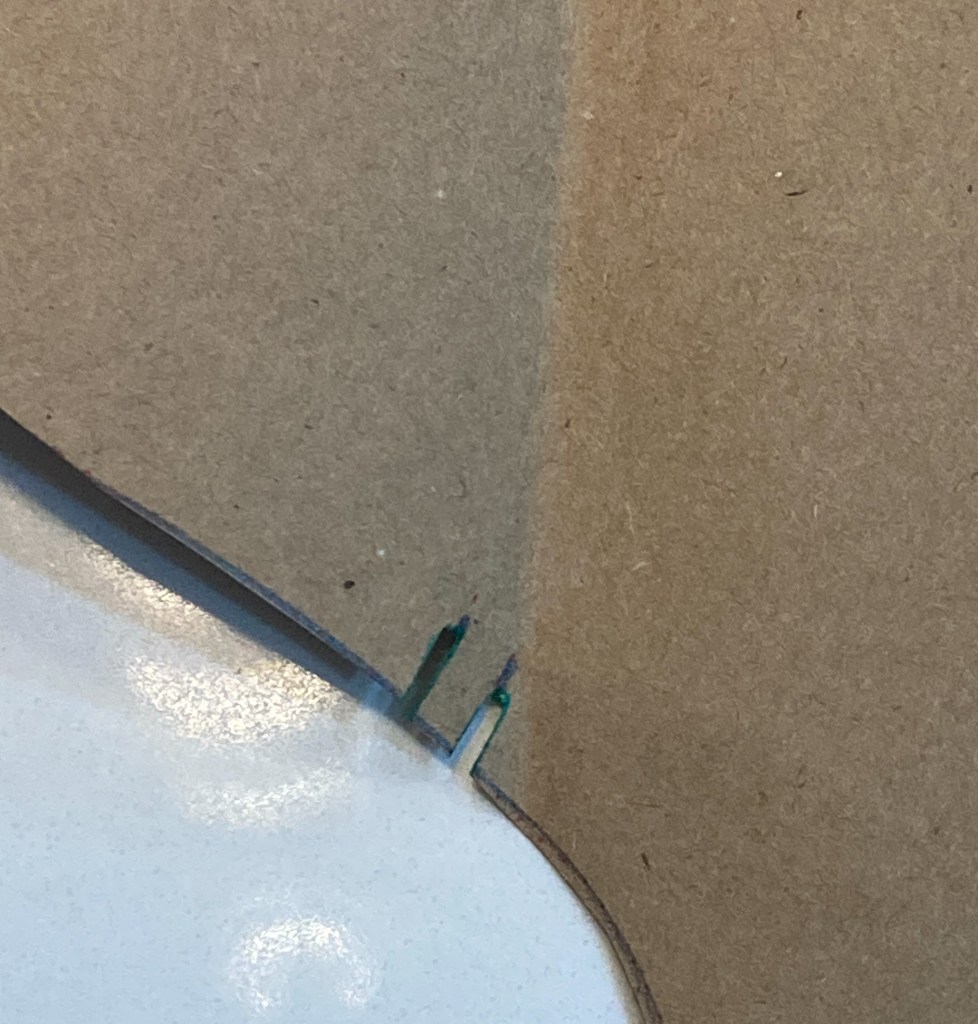
Once you have your pattern in place and weighted, slide the tracing paper color side down under a section of the pattern along the line you want to trace. Use the tracing wheel to trace along the line. Don’t worry if you’re a little wobbly, we’ll fix that in the next step. Pause to re-position the tracing paper as necessary. Don’t forget to transfer marks like notches, darts, triangles, etc! Be sure to trace the grain line! Repeat for all pattern pieces.
True Up the Tracing
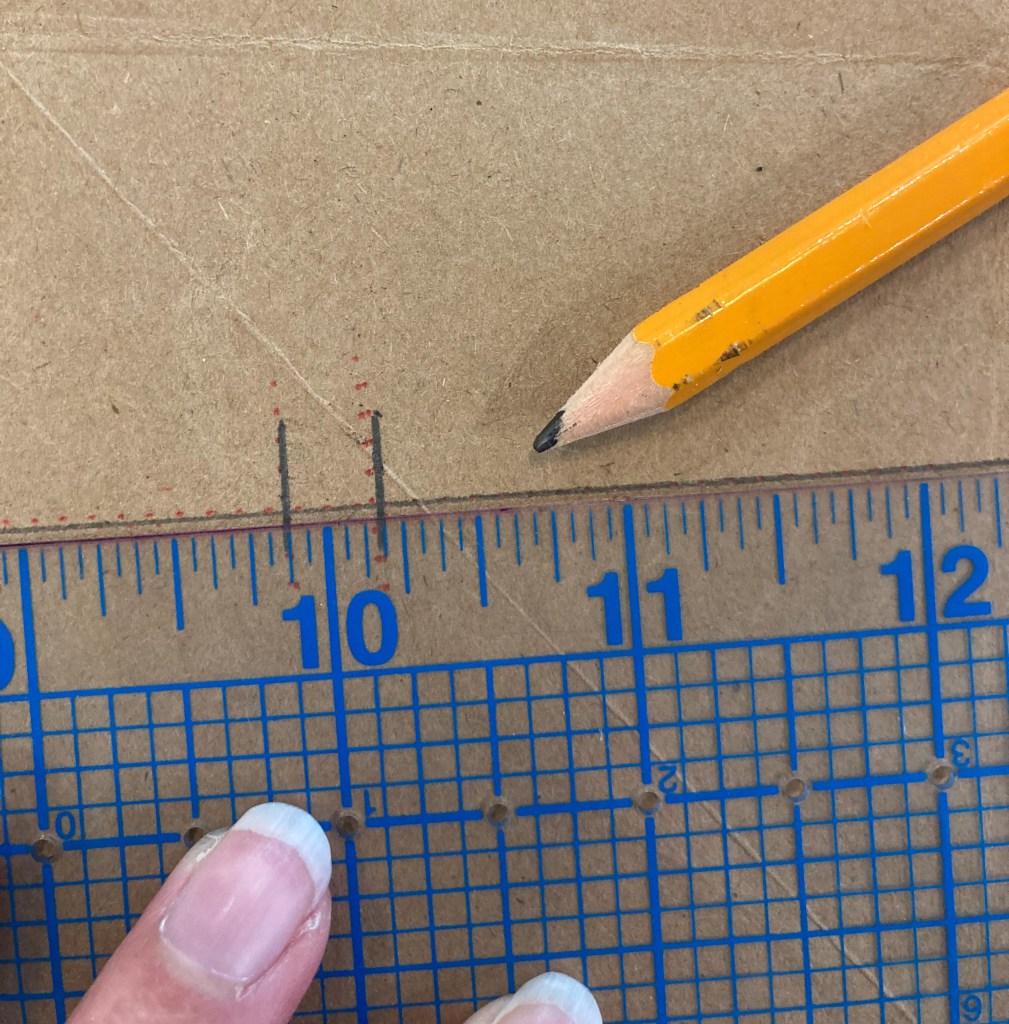
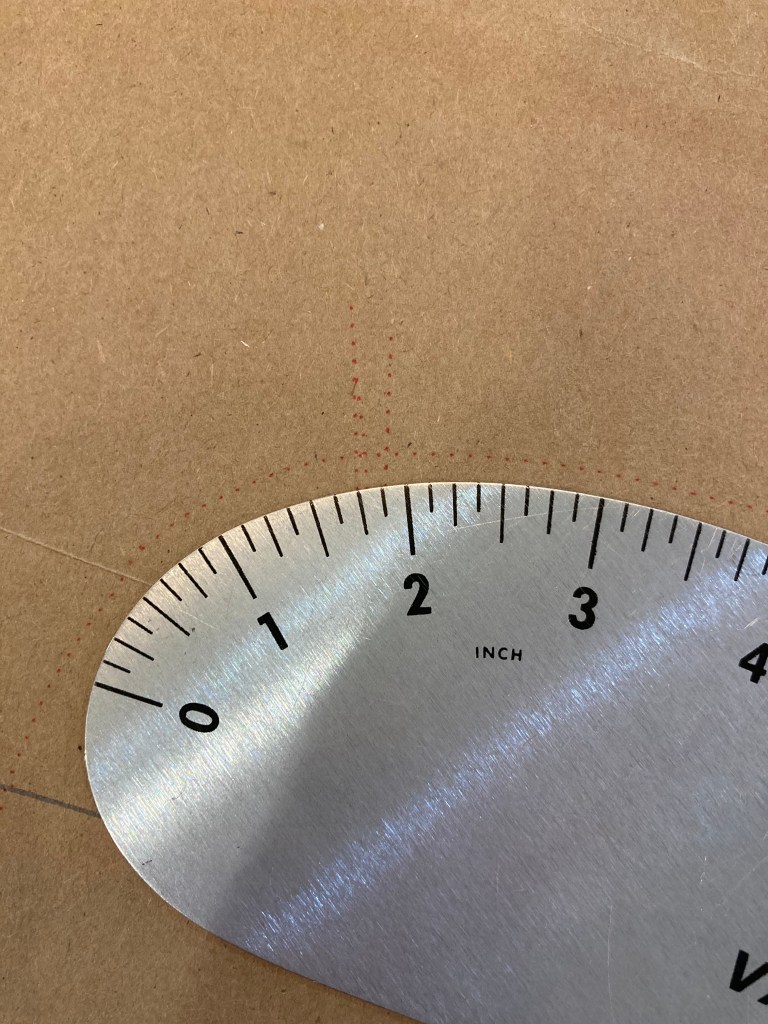
Once you have the pattern traced out, it’s time to clean up or “true” the tracing. I start by going over all the notches, darts, grain line, and any other markings in regular pencil first so I don’t forget them. For straight lines, use the clear ruler. If your tracing has wobbled a bit, this is where you can correct it by drawing a line along the straightest “average” of your tracing. For curved lines, use the French curve ruler. Slide the curve of the ruler until it matches the curve of the line. The curve of the ruler will not always match the whole line, you may have to match the curve in sections, adjusting the ruler around to match the slope of different parts of the curve.
Finishing Touches
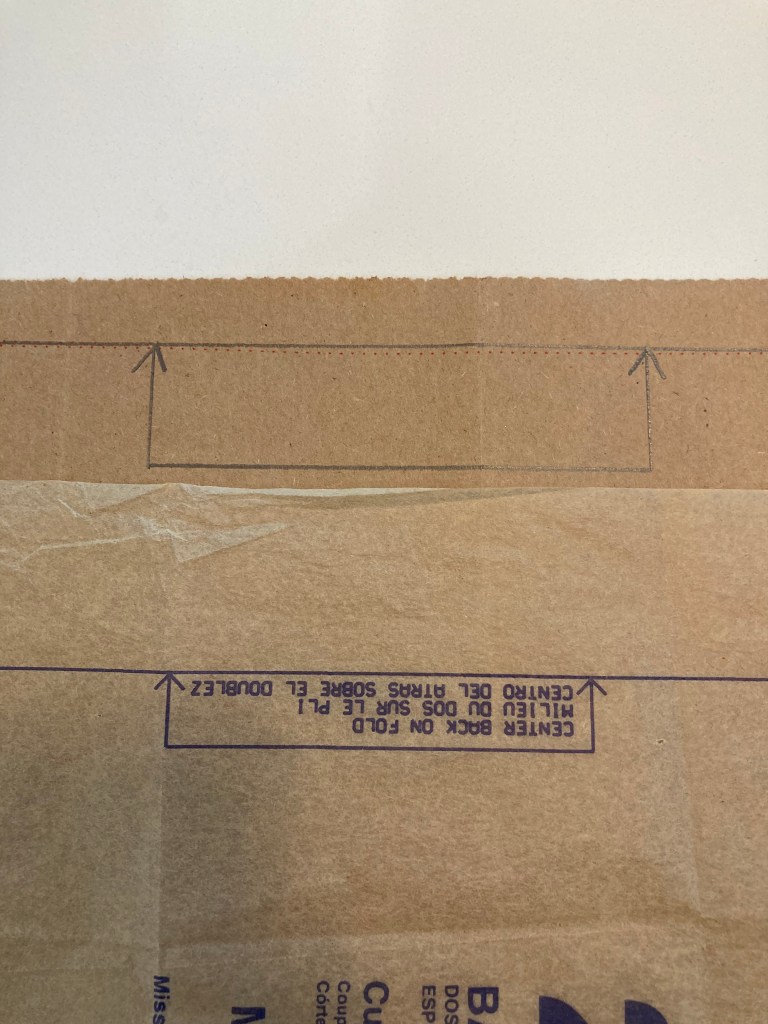
Once you’ve gotten everything trued up, cut out your pattern following your pencil lines. Lay adjoining pieces together to make sure that the notches match up–if they don’t, erase and adjust one side so that they do. Copy the pattern piece name/number, pattern number, and the size you cut out onto each piece. I also include a notation that the copy includes 5/8″ seam allowance. To get the grain line on the opposite side of the pattern (because you will have to flip it!), position the tracing paper color side up under the grain line, and trace with the tracing wheel. Flip over and trace over your line with the ruler and regular pencil.

Punching Out Notches (optional)
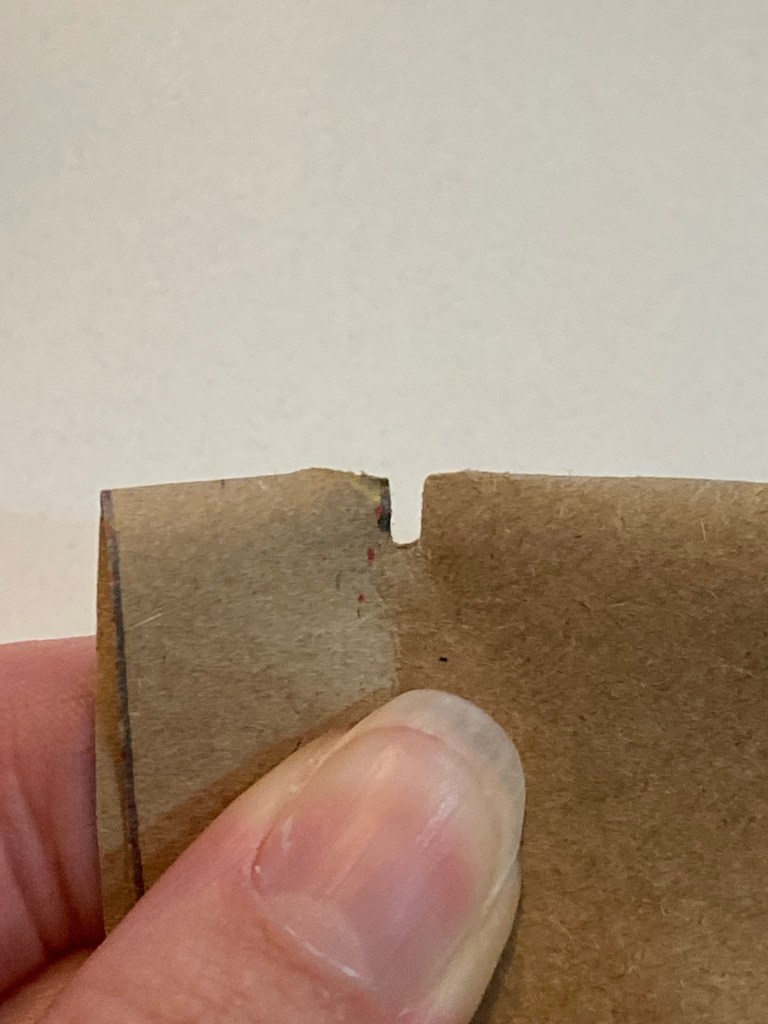
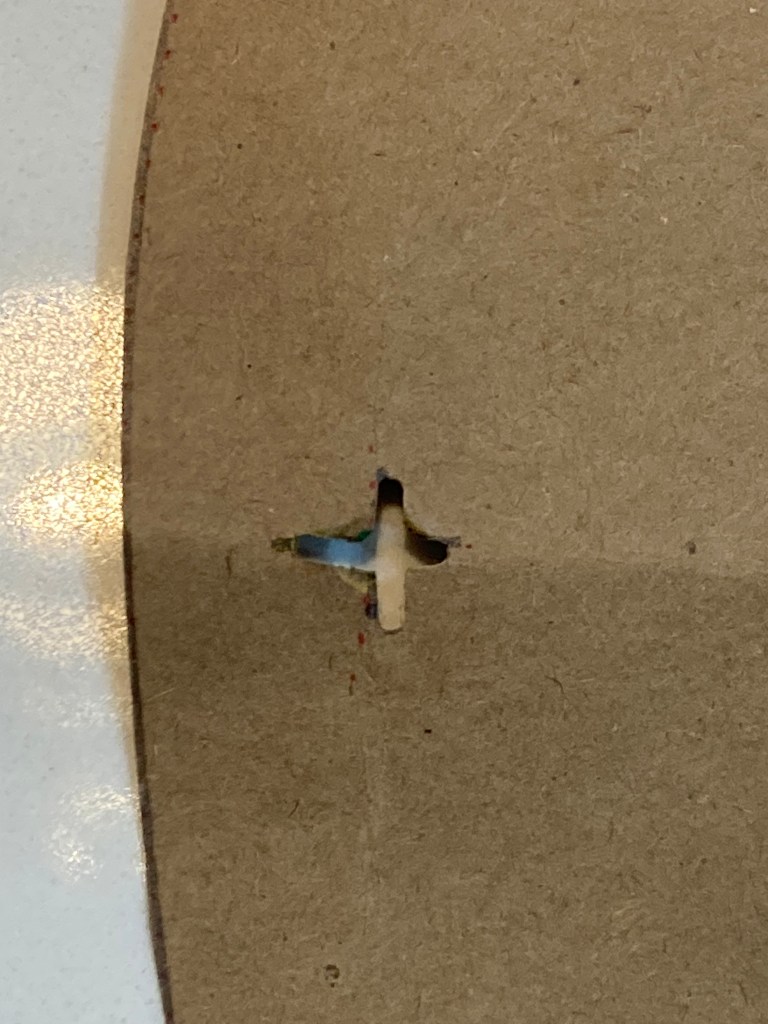
You can leave the notches, dots, and other markings as-is and transfer them to your fabric as you normally would when cutting out a commercial pattern. But if you have a pattern notcher, you can take things one step further. A pattern notcher is basically a single hole punch, but it is oval shaped, and designed for use on the edge of the paper. Align the notcher with one of your notch marks and punch! To create punches that are not along the edge, you need to get a little crafty. Make a small fold in the paper to create an “edge” and punch! This may take a bit of practice to wrap your head around which way to fold the paper so that the punch is following the mark that you want, so it’s a good idea to try it on some scrap paper first.

Ready for Fabric!
Now you have a sturdy pattern ready for multiple uses! The one downer is that now it probably won’t fit into that little pattern envelope with it’s tissue paper original. I recommend using a 9×12 manilla envelope to store kraft paper patterns. I’m so terrible at getting tissue paper patterns back in the envelope that I’ve given up and even all my tissue paper patterns are in manilla envelopes with the original envelope front and back taped to it.
Did you try it? I’d love to see it! Tag your pattern transfer adventures @mcwolldesigns on social media.
Subscribe below to get new blog posts right in your inbox!
If you would like to support the creation of more sewing tips, tricks, and downloadable tutorials you can buy me a virtual coffee. Thank you!

Thank you what a great tutorial. I always wondered how you used a tracing wheel.
LikeLike
I’m so glad you found it helpful!
LikeLiked by 1 person