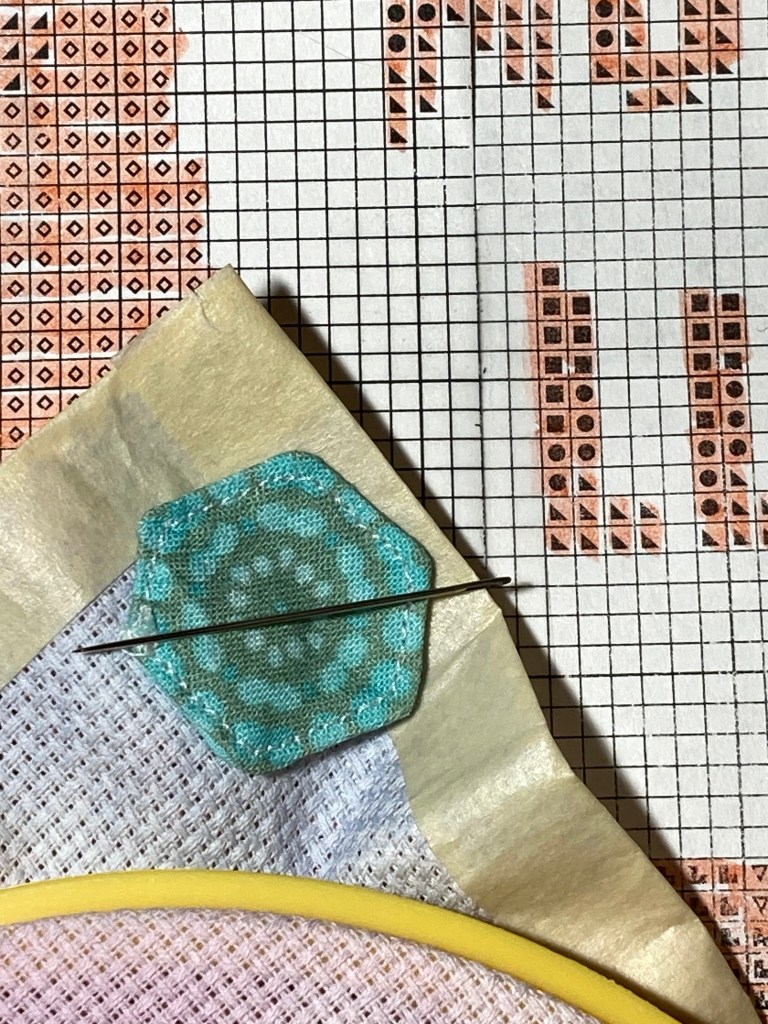
Another great scrap-buster project! This one is perfect if you have prints with smaller motifs/patterns. I will notoriously stick my needle in my shirt when I’m hand sewing, or stab it randomly into my project when I’m doing a counted cross-stitch. Knowing there’s a better way out there, I finally got around to making these adorable hexagon (henceforth: hexie) magnetic needle minders.
Option 1: A matched set. Two magnets enclosed in their own hexagons (a front/top hexie, and a back/bottom hexie)
Option 2: A single hexagon. To hold it to your project you will need another magnet for the back. A single can be used as a fridge or whiteboard magnet, or as the back for a button needle minder (tutorial coming soon).
Materials
- Hexagon template (download below) or punch
- Scrap of patterned fabric (minimum 4×4”)
- Scrap of solid fabric for the back (minimum 4×4”)
- Scrap of lightweight fusible interfacing
- Button magnets (I recommend rare earth magnets, but craft magnets will do the trick as well)
- Matching (or contrasting!) thread
- Fabric scissors
- Iron
- Pencil or fabric marker for tracing template
- Chopstick or pencil for turning
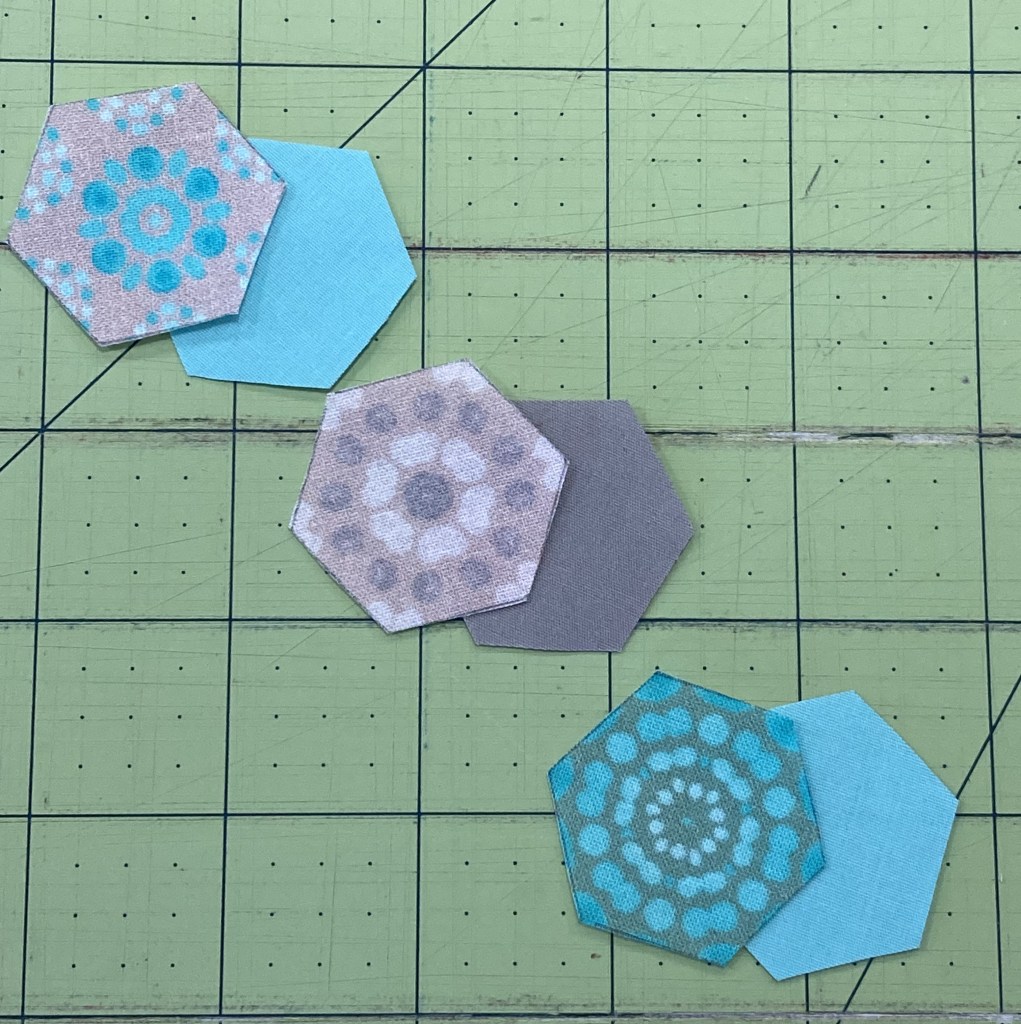
Since this is a great scrap-buster project, I’m working my way through my stash of Spoonflower swatches for the patterned fabric. I’m using fabrics from my Peacock Pop and Gorgeous Greige collections.
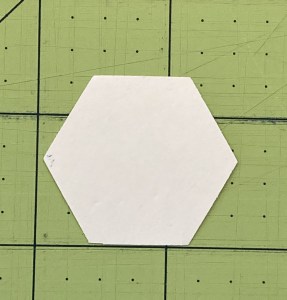
For my template, I’m using hexagon punch—but after searching Fiskar’s website, it doesn’t look like they make the medium side any more. So I’ve included a template in the downloadable instructions below. However, if you’d like to make a larger one (or a different hexie project) I recommend the Fiskars hexagon squeeze punch.
Step 1
If your fabric is wrinkly, give it a quick press so you’re working on a smooth surface. Iron the interfacing to the wrong side of the fabric you will be using for the back of the needle minder. I’m using solid-colored cottons for the backs. This just helps give the hexie a little support. You don’t need to put interfacing on the front/patterned fabric, but if you want to you totally can.
Step 2
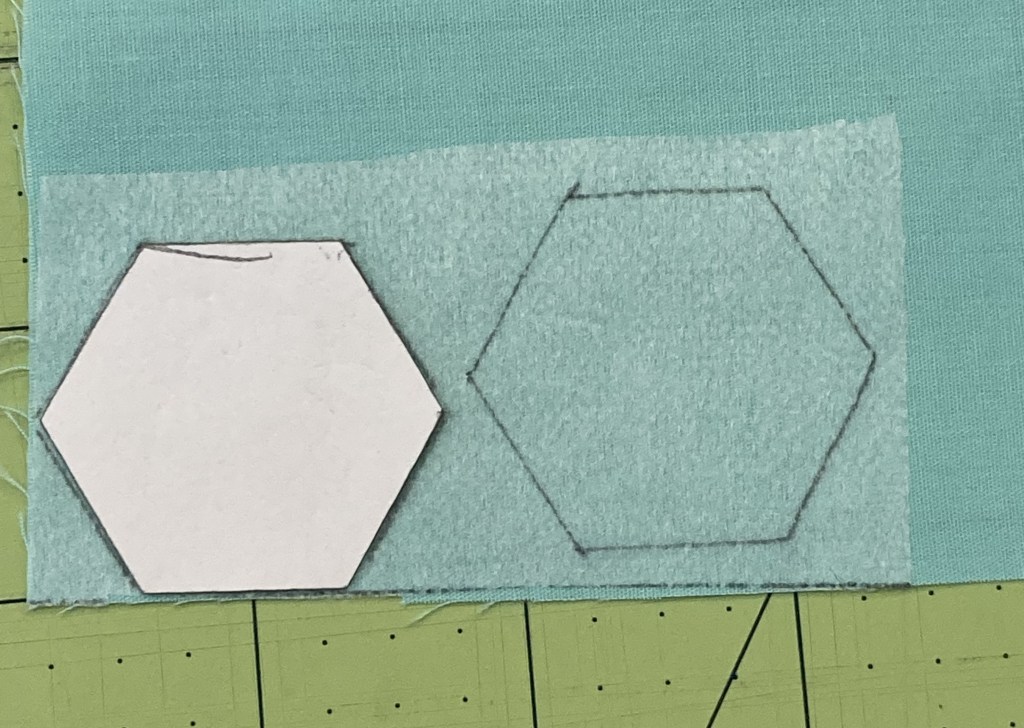
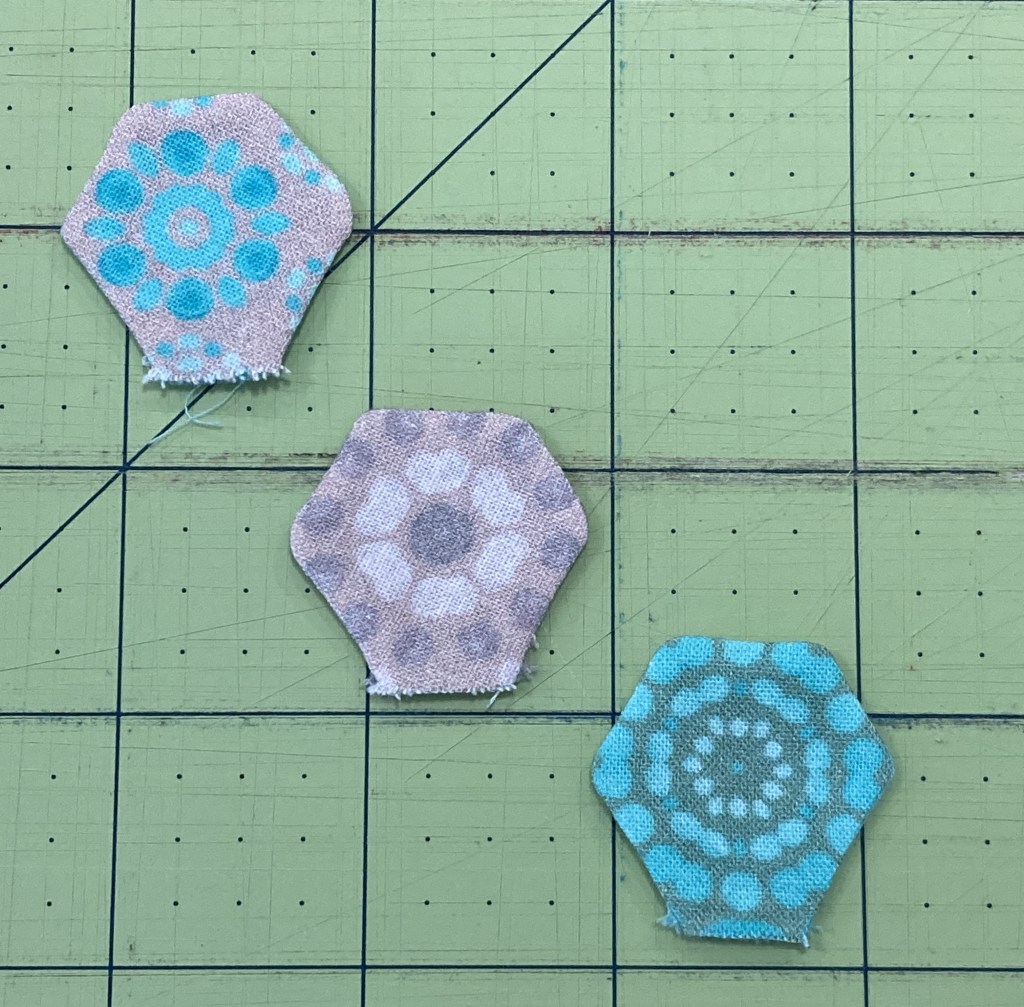
Trace your hexies! To make a matched set, you’ll need to prep 2 backs, and 2 fronts. Using your template, trace around the hexagon (twice!) on the interfacing side of your back fabric. For the front fabric, you can do it from the right side so you can “fussy cut” or center the hexie on a pattern (your pencil marks will be in the seam allowance). Depending on the size of your pattern you want to fussy cut, you may need larger than a 4×4” scrap to get both hexies. Cut your hexies.
Step 3

Stack up your backs to their fronts right sides together. Stitch around 5 sides at about 1/8”, backstitching beginning and end, and leaving one side open. Clip off the corners at a 45* angle (be careful not to cut through your stitching!).
Step 4

Using the chopstick (or pencil) turn the hexie right-side-out. You can use the point of the chopstick to gently push out the corners so you’ll get nice points. Give the hexies a quick press to crisp up the edges and corners.
Step 5
Insert the magnet into the open end of the hexie. Be sure to check the polarity so that when you have your finished needle minder, it won’t repel the other magnet. However, if you do get them mixed up, it’s not difficult to get them flipped around inside their hexie.

Pause for Safety
So. We need to talk about magnets for a minute. If you are using rare earth magnets some safety precautions:
- Keep away from electrical medical devices such as a pacemaker, or insulin pump. They can cause the device to malfunction. If you have an electrical medical device, I would recommend using craft magnets instead.
- Keep away from small kiddos and pets. If swallowed, they will attract to each other and pose the risk of internal tissue damage. No one wants that ER bill.
- They are super strong, so be careful not to get your fingers pinched because they will snap together fast!
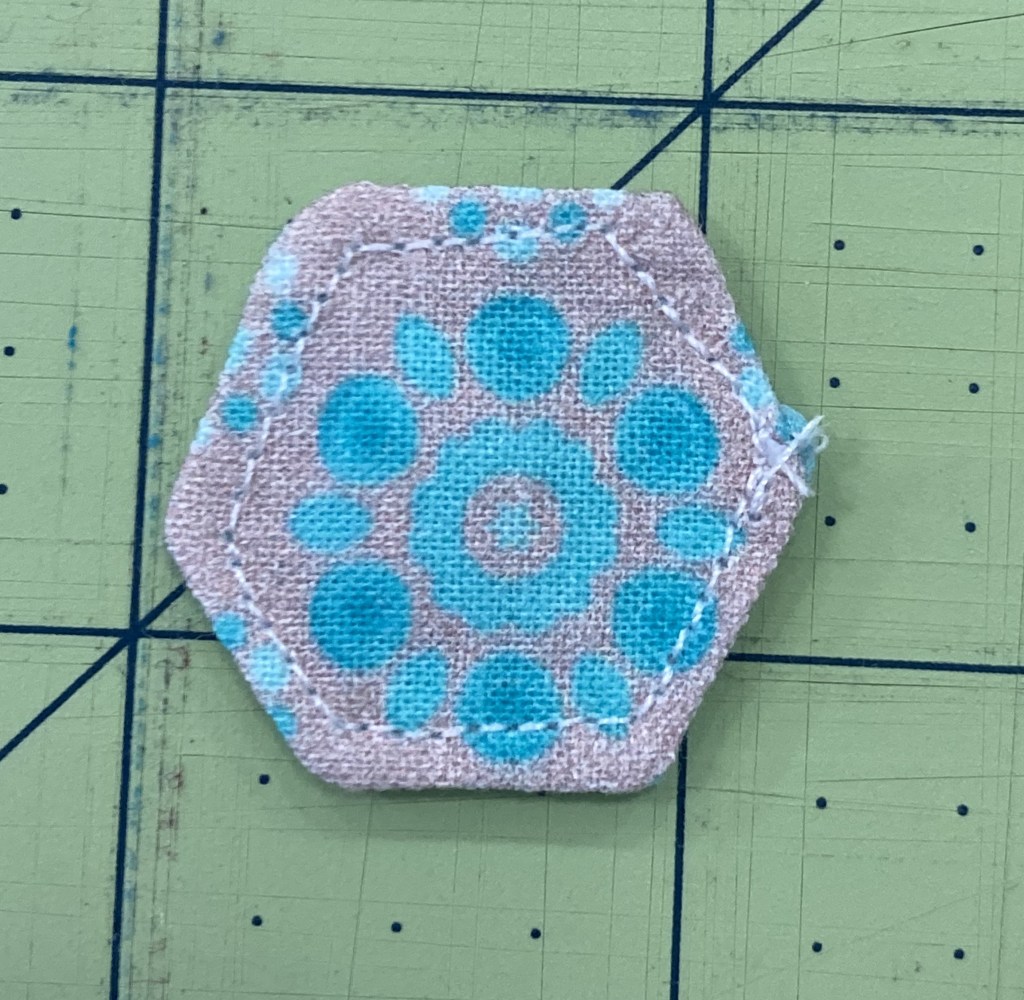
Step 6

OK, this is where it is going to get tricky. Tuck the seam allowance from the open edge inside the hexie. If you finger press it down, it will stay. Topstitch about 1/8” around the edge of the hexie, catching the seam allowance of the open end inside. Where this gets tricky is the magnet will want to grab onto the faceplate of your machine. But it is small enough that you can move it along pretty easily—don’t rely solely on the feed dogs to move the fabric. You’re going to need to help it a bit.

I want to see your fabulous work! Tag a photo of your needle book @mcwolldesigns on social media!
Download written instructions and template below. Written tutorials will always be free to download, but if you’d like to show your support, you can buy me a virtual coffee.

One thought on “Hexie Needle Minder”