Materials
- Scrap of fabric for the back—a fun color or pattern works great! (HINT: a Spoonflower swatch is perfect!)
- Straight pins or clips
- Chopstick or pencil
- Filler (stuffing, sawdust, crushed walnut shells)
- Fabric scissors
Step 1
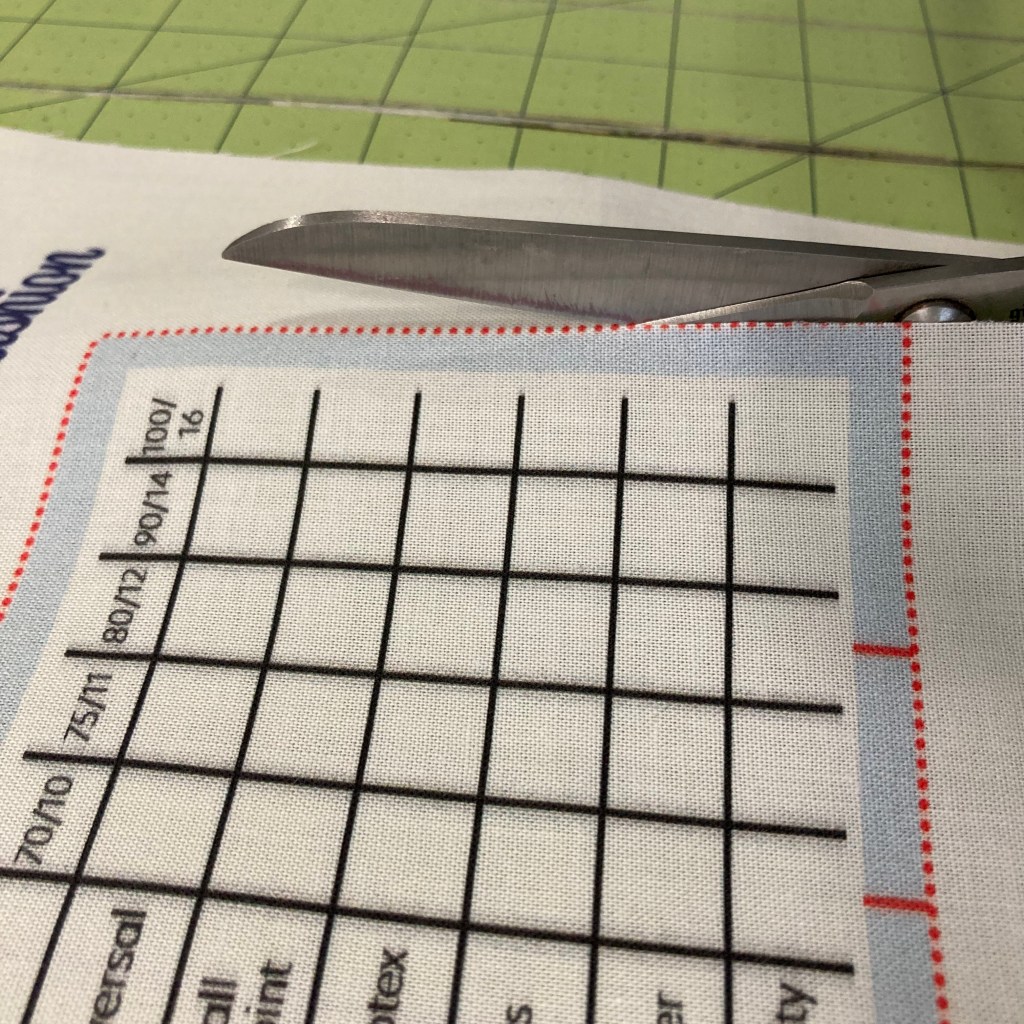
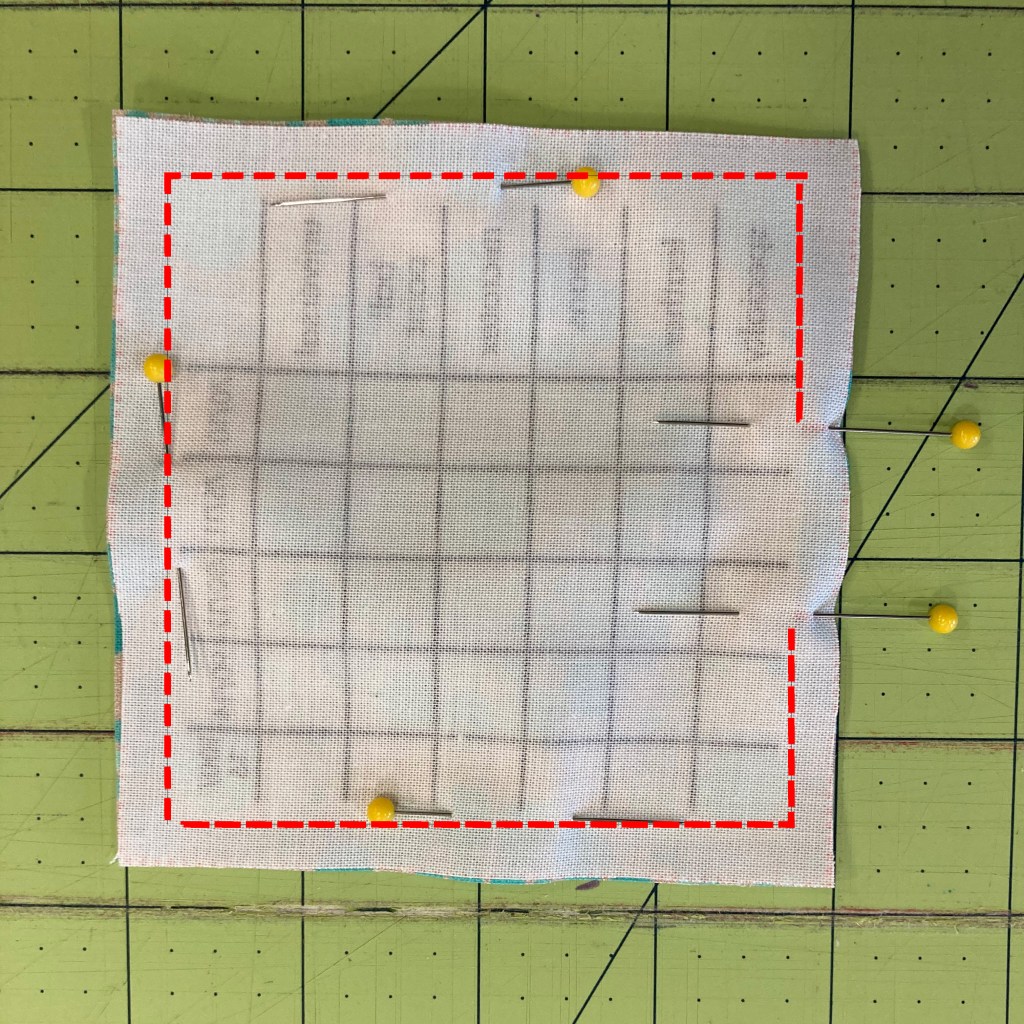
Cut out the pin cushion front along the red dotted line.
Step 2
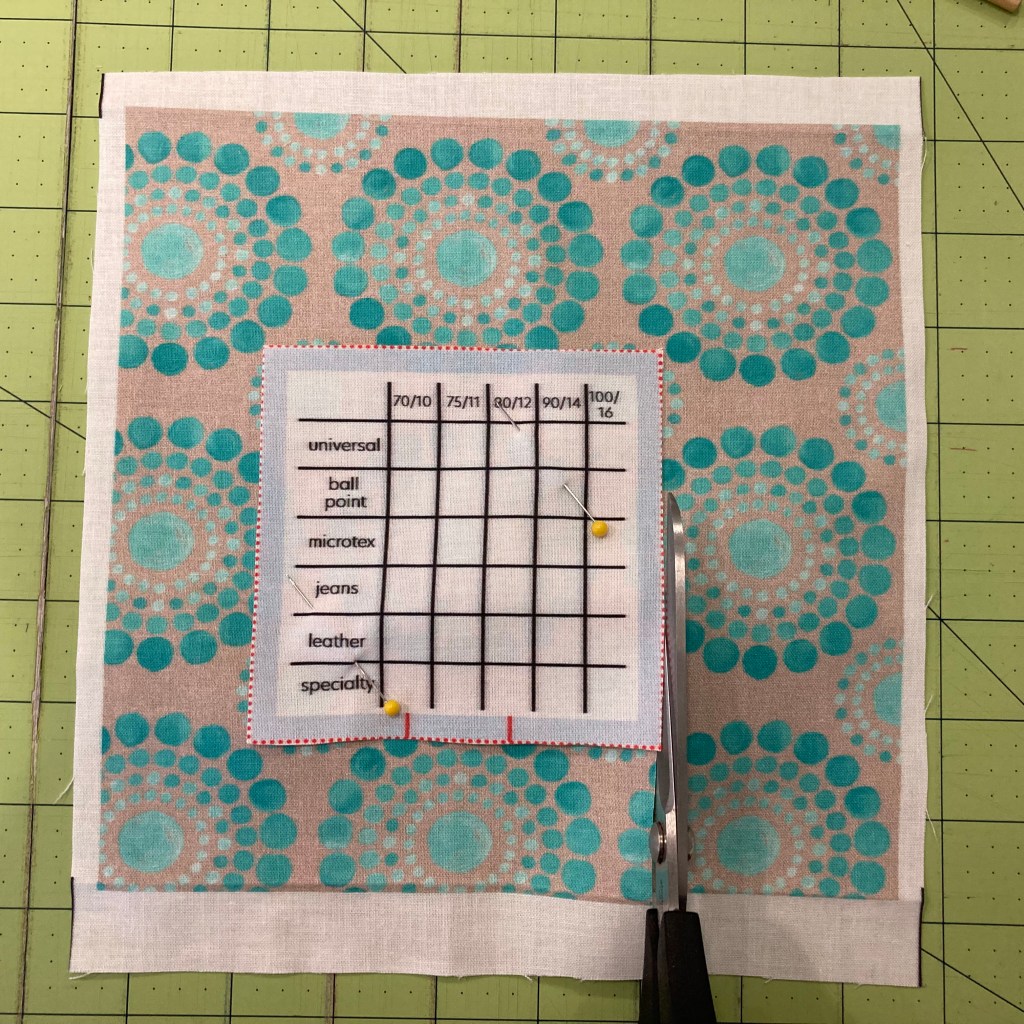
Cut the pin cushion back out of your colorful/patterned fabric scrap. Place the pin cushion top on top of the back fabric and pin in place. If you are using a patterned fabric, you can “fussy cut” out a particular pattern or section by placing the pin cushion top over the center of the design you want to use. Use the pin cushion top as a template to cut the back fabric.
Step 3
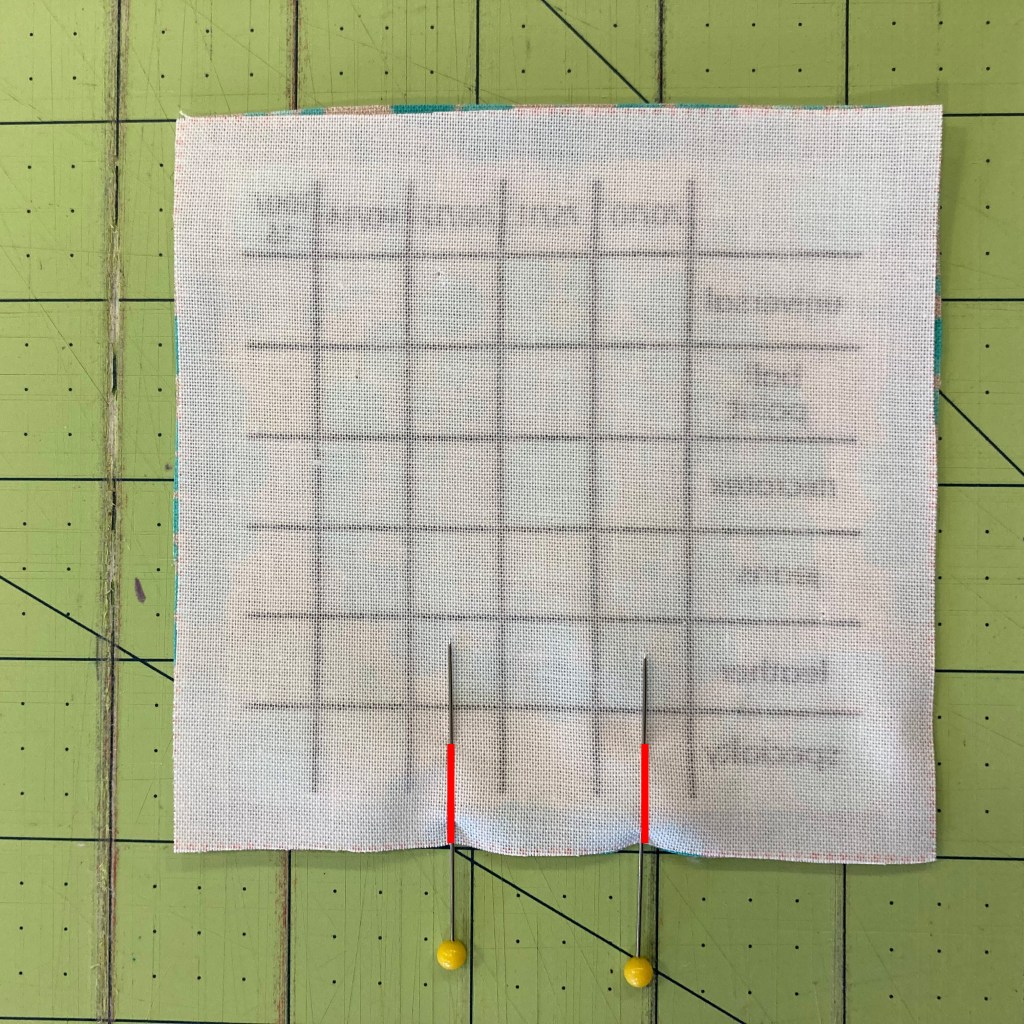
Place the pin cushion front and the back fabric right sides together. You should be able to see the straight red lines through the top fabric. Pin along those lines. The space between the pins should be big enough to stick your thumb through (this will be important later!). If it is not, space the pins a little further apart—it’s totally OK if they are not on the red lines! Pin or clip the other 3 sides in place.
Step 4

Stitch the entire square using a ¼” seam allowance, leaving open between the thumb-gap pins (don’t forget to back stitch beginning and end!). HINT: The light blue border is exactly ¼”! Most regular walking feet/straight stitch feet will stitch at ¼” if you line up the edge of the fabric with the edge of the foot.
Step 5
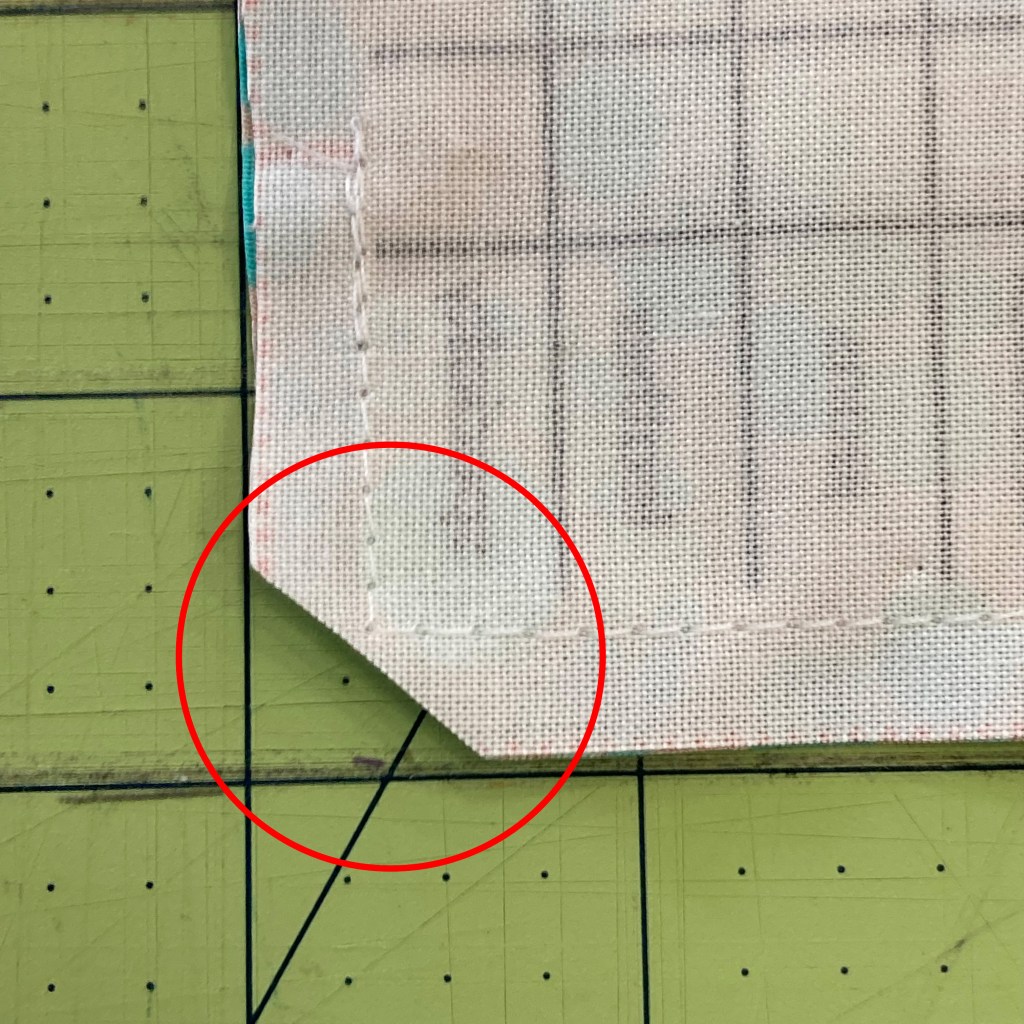
Clip the corners at a 45 degree angle. Be careful not to cut through the stitching!
Step 6
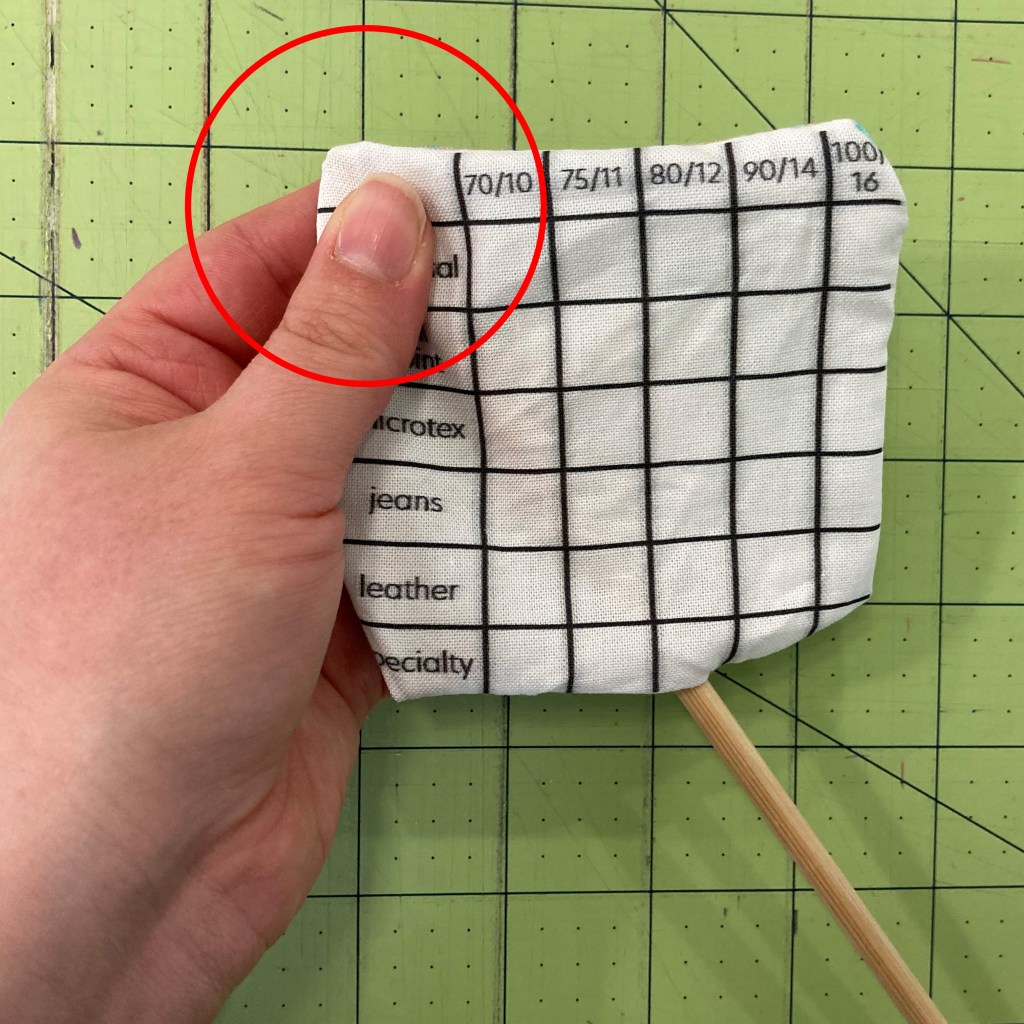
Turn the pin cushion right-side out!
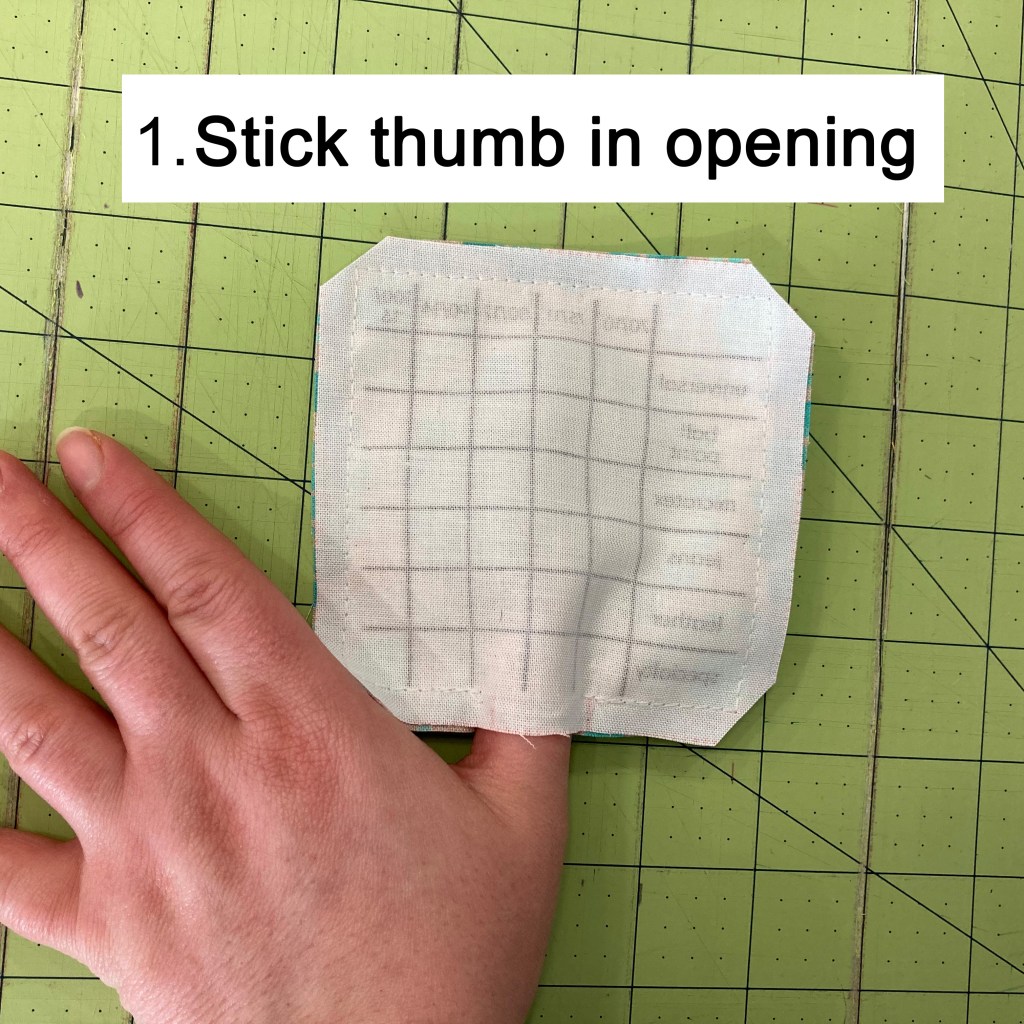

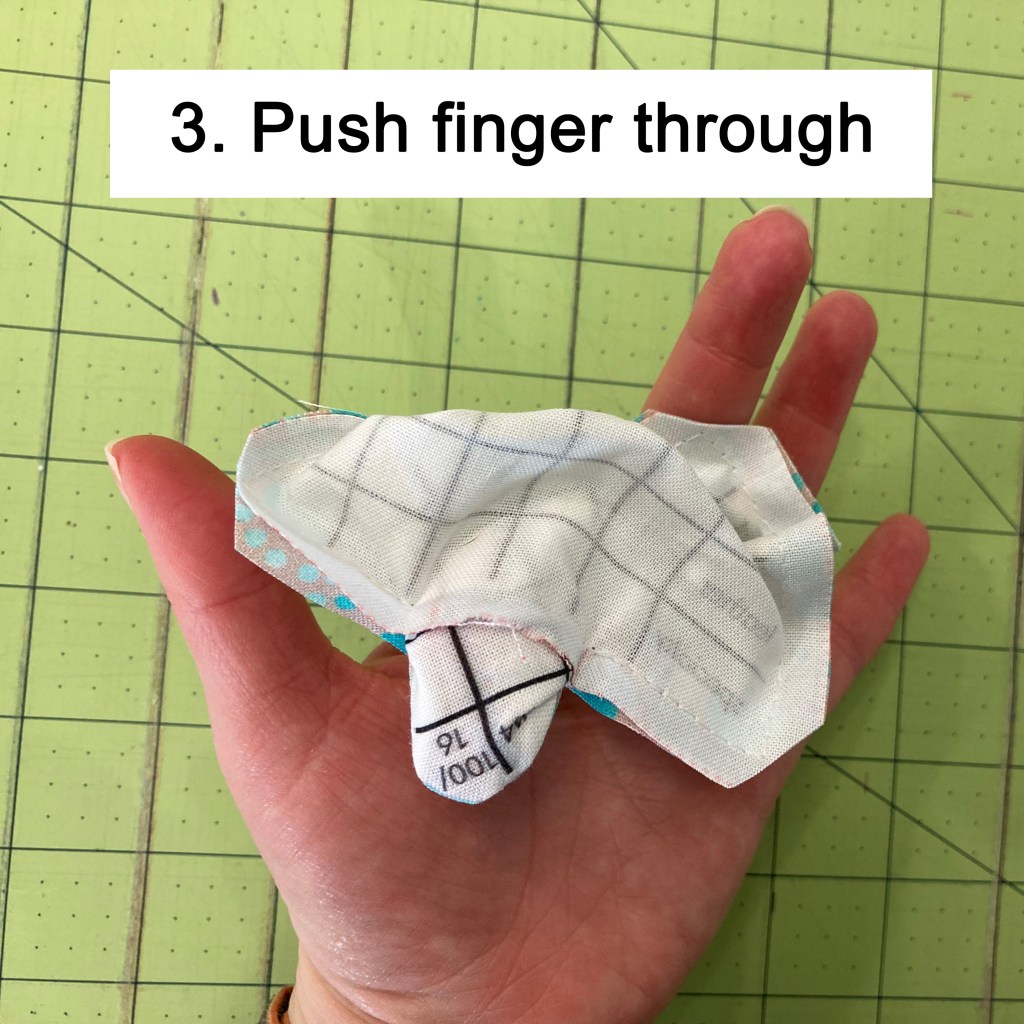
OK, this is where it gets a bit tricky. Stick your thumb into the open gap. Pinch an opposite corner with your thumb (on the inside) and index or middle finger. Work the fabric over your finger as you push it trough the opening—your thumb should end up on the outside and your finger on the inside! Pull the corner through the opening and the rest should follow, turning the pin cushion right-side out.
Step 7
Push out the corners. Use the chopstick or pencil to gently push out the corners to form points. Don’t push too hard or your could push through the stitching!
Step 8
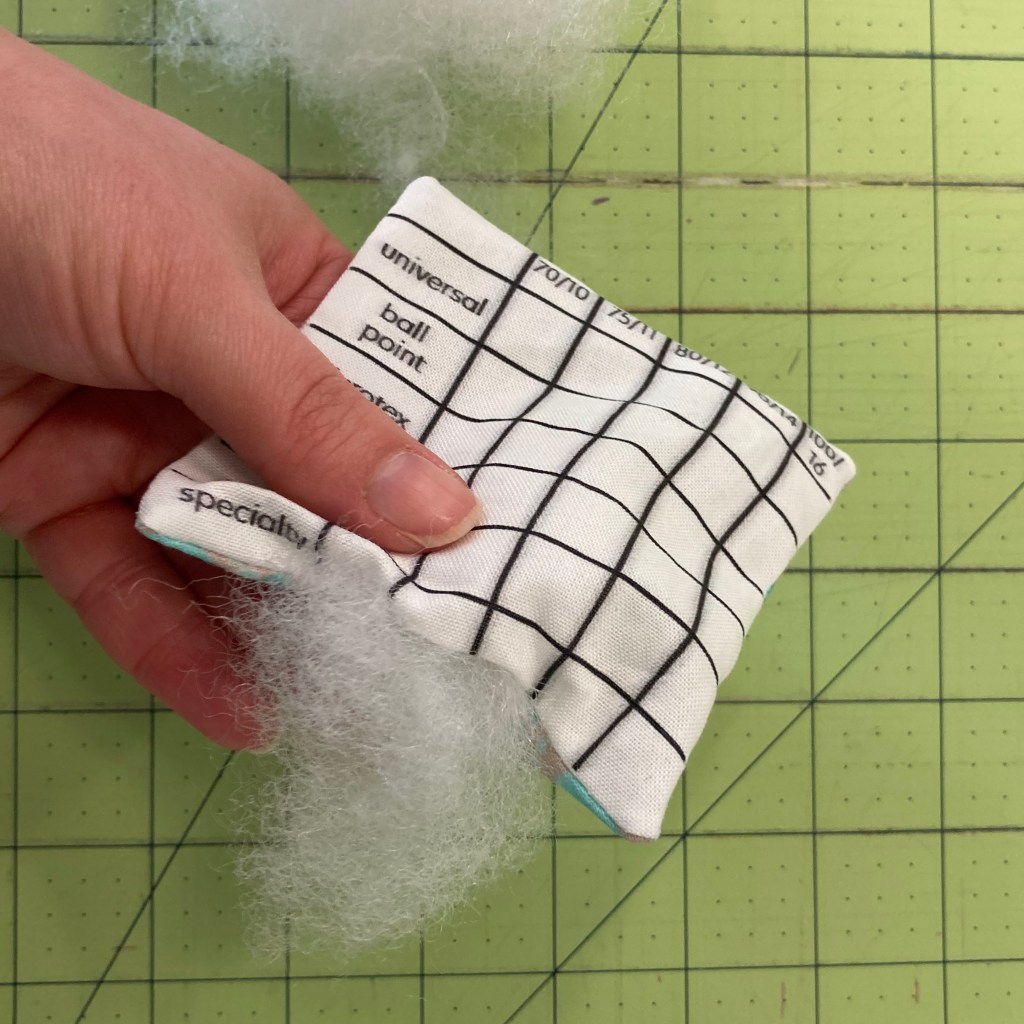
Fill your pin cushion! No matter what filler you’re using, you want it to have enough so the pin cushion is firm but not hard, and not over-filled. Here are some tips for different fillers:
Stuffing: Add a little bit at a time until you’ve reached the desired fullness. You can use the chopstick or pencil to help push the stuffing into the corners.
Sawdust: Use a funnel to pour it in to the opening. Much less mess!
Walnut shells: Be sure that they are well crushed—about the consistency of a graham cracker crust, or a little more chunky than sawdust.
Step 9
Close up the opening. You can do this either by machine or hand.

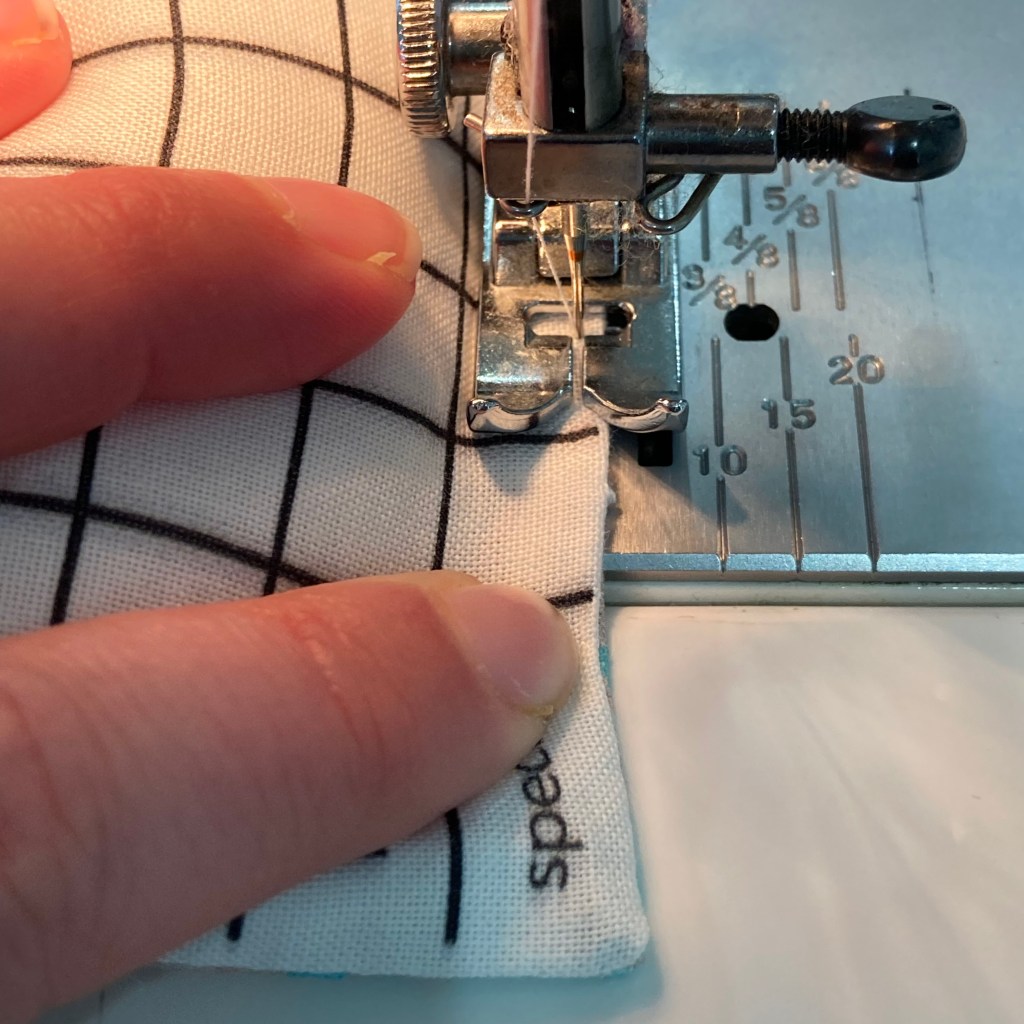
Machine: Keep the seam allowance folded to the inside. Pin it closed by using perpendicular pins HINT: you can stick the end of the pin into the cushion so it doesn’t stick you when you sew it! Stitch it as close as you can to the folded edge—don’t forget to back stitch beginning and end!
By Hand: Keep the seam allowance folded to the inside. Pin it closed by using perpendicular pins HINT: you can stick the end of the pin into the cushion so it doesn’t stick you when you sew it! Use a whip stitch or a slip stitch to close the gap. Not sure what those are? No worries! Click the links for a tutorial!
